English
Freezer Features and Use
Operating Your Freezer
•Once the freezer is in its proper place, plug it in an electrical outlet having 115 volts and 15 amps. Turn on power switch. Power light
will come on, and the green run light will be lit indicating that the freezer has power.
•Set the temperature on the temperature control knob. “1” being the warmest and “7” being the coldest. Initially set the temperature on “4”. Place food inside the freezer. After using the freezer for 24 hours set the freezer to your desired setting.
•In case you unplug your freezer or experience an electrical outage, allow 5 minutes before plugging it back in.
Note: Cool Down Period During Initial
•To ensure proper food storage, allow 4 hours for freezer to cool down completely. The freezer will run continuously for the first several hours. Already frozen foods may be placed in after the first few hours of operation, however you must wait 4 hours before placing in any unfrozen food.
General Features
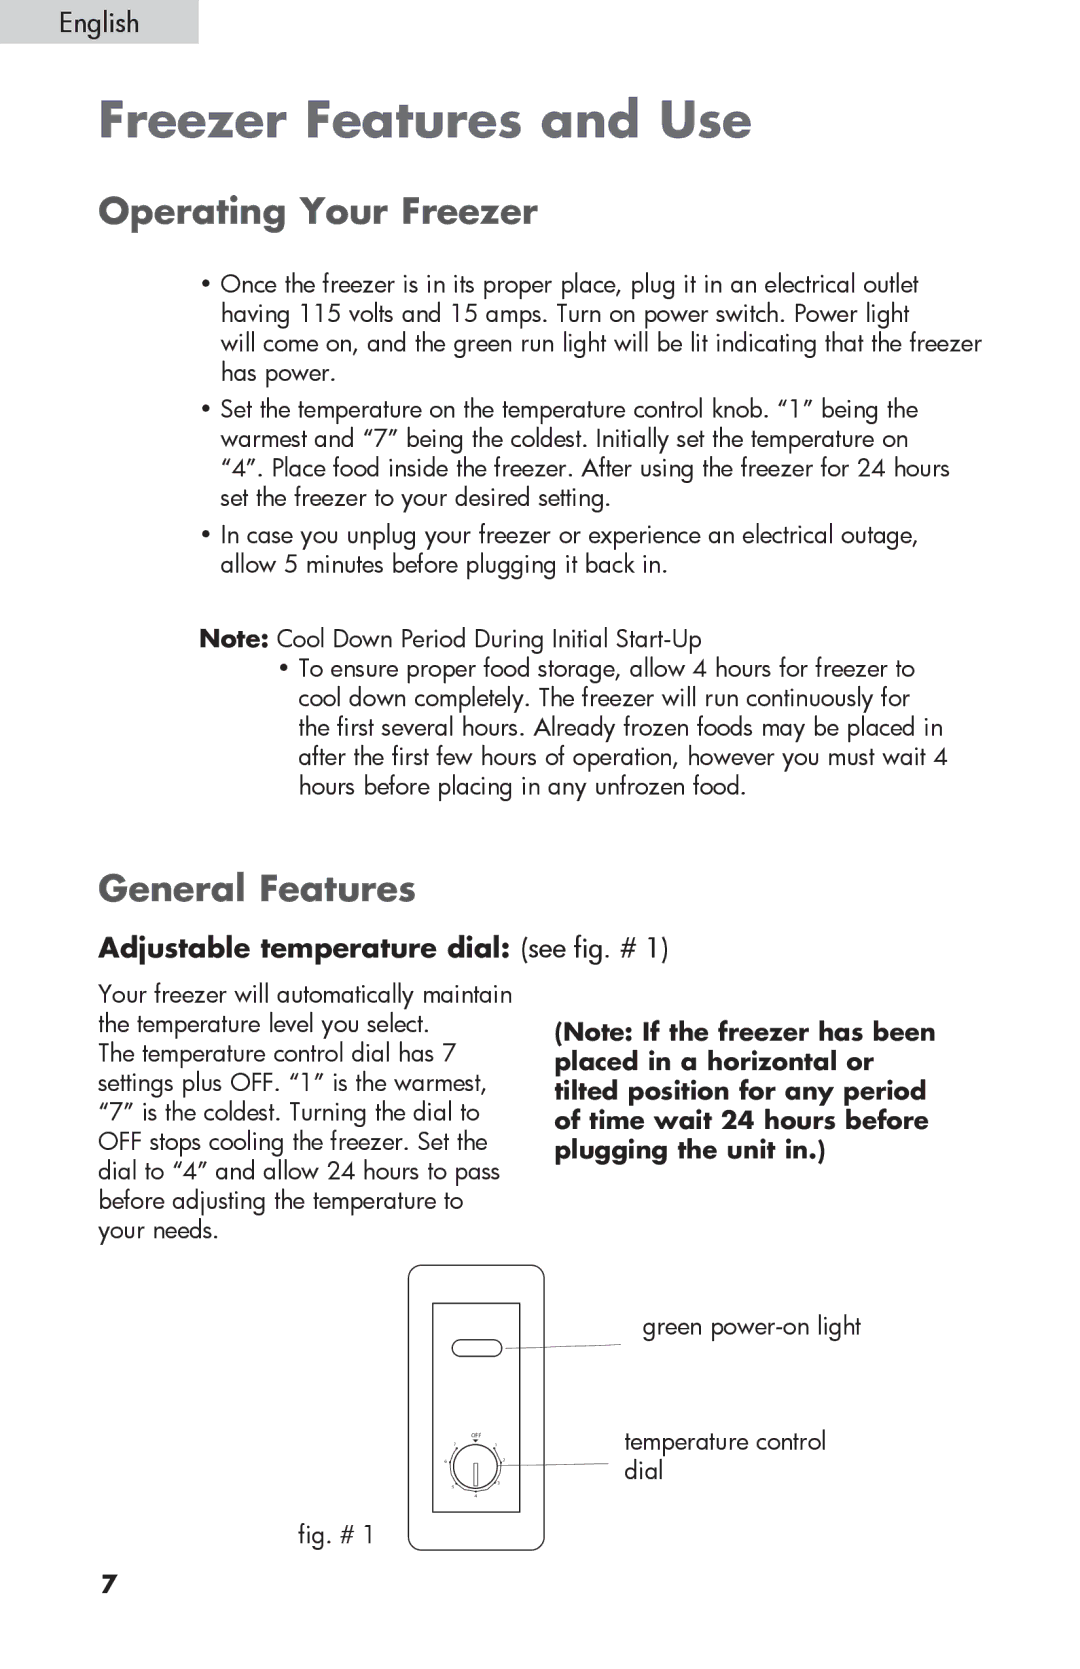
Adjustable temperature dial: (see fig. # 1)
Your freezer will automatically maintain the temperature level you select.
The temperature control dial has 7 settings plus OFF. “1” is the warmest, “7” is the coldest. Turning the dial to OFF stops cooling the freezer. Set the dial to “4” and allow 24 hours to pass before adjusting the temperature to your needs.
(Note: If the freezer has been placed in a horizontal or tilted position for any period of time wait 24 hours before plugging the unit in.)
green
OFF
7
6 ![]()
5
4 |
fig. # 1
1
2
![]() 3
3