
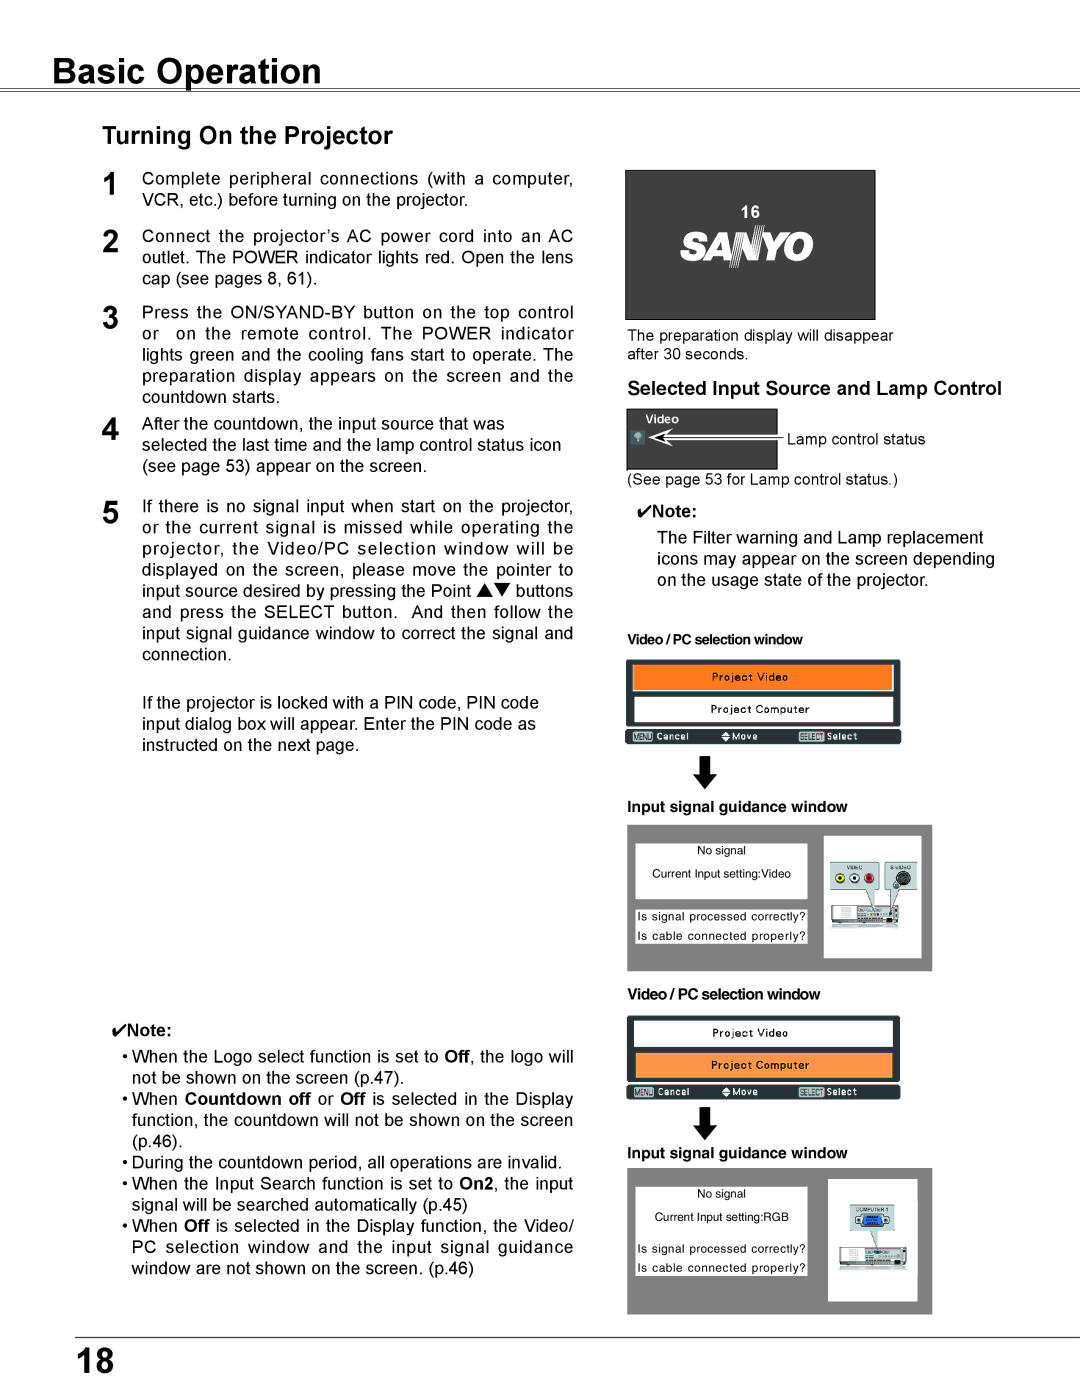
PLC-XU350K, PLC-XU300K, PLC-XU300, PLC-XU350 specifications
The Sanyo PLC-XU350, PLC-XU300, PLC-XU300K, and PLC-XU350K are a series of high-performance projectors designed to meet the needs of various environments, including educational institutions, corporate settings, and large venues. These projectors are known for their advanced technologies, reliability, and user-friendly features, making them suitable for a variety of applications.The Sanyo PLC-XU350 and PLC-XU300 projectors feature a native XGA resolution (1024x768), which ensures sharp and clear images, ideal for presentations, lectures, and meetings. With brightness levels of up to 3500 lumens for the PLC-XU350 and 3000 lumens for the PLC-XU300, these projectors deliver vibrant colors and crisp details even in well-lit rooms.
One of the standout technologies in these models is the use of LCD (Liquid Crystal Display) panels. LCD technology offers excellent color reproduction and can produce a wider color gamut, resulting in beautiful, lifelike images. The projectors also include a high contrast ratio, further enhancing the image quality by providing deeper blacks and more vivid colors.
Portability is a key advantage of the PLC-XU series. Weighing less than 10 pounds, these projectors are easy to transport between rooms, making them ideal for mobile presentations. Moreover, the integrated lens shift and zoom functions allow for flexible installation options, accommodating various screen sizes and room layouts.
Connectivity options are abundant in the Sanyo PLC-XU350 and PLC-XU300 models. They feature multiple input interfaces including VGA, HDMI, and composite video, ensuring compatibility with a wide range of devices such as laptops, DVD players, and video game consoles. The addition of a USB port enables easy plug-and-play capabilities for presentations directly from USB flash drives.
The PLC-XU300K and PLC-XU350K models also cater to specific needs by incorporating unique features like a built-in speaker, providing an all-in-one solution for small to mid-sized venues without the need for additional sound equipment.
In terms of longevity, these projectors are equipped with advanced lamp technology designed to enhance lifespan and reduce maintenance costs. With proper care, the lamps can last for several thousand hours, ensuring reliable performance throughout their usage.
In conclusion, the Sanyo PLC-XU350, PLC-XU300, PLC-XU300K, and PLC-XU350K stand out as robust projection solutions packed with features that offer versatility, quality, and convenience. Whether in a classroom, boardroom, or theater, these projectors deliver sharp visuals and ease of use, making them a smart choice for anyone looking to enhance their visual presentations.