SAFETY

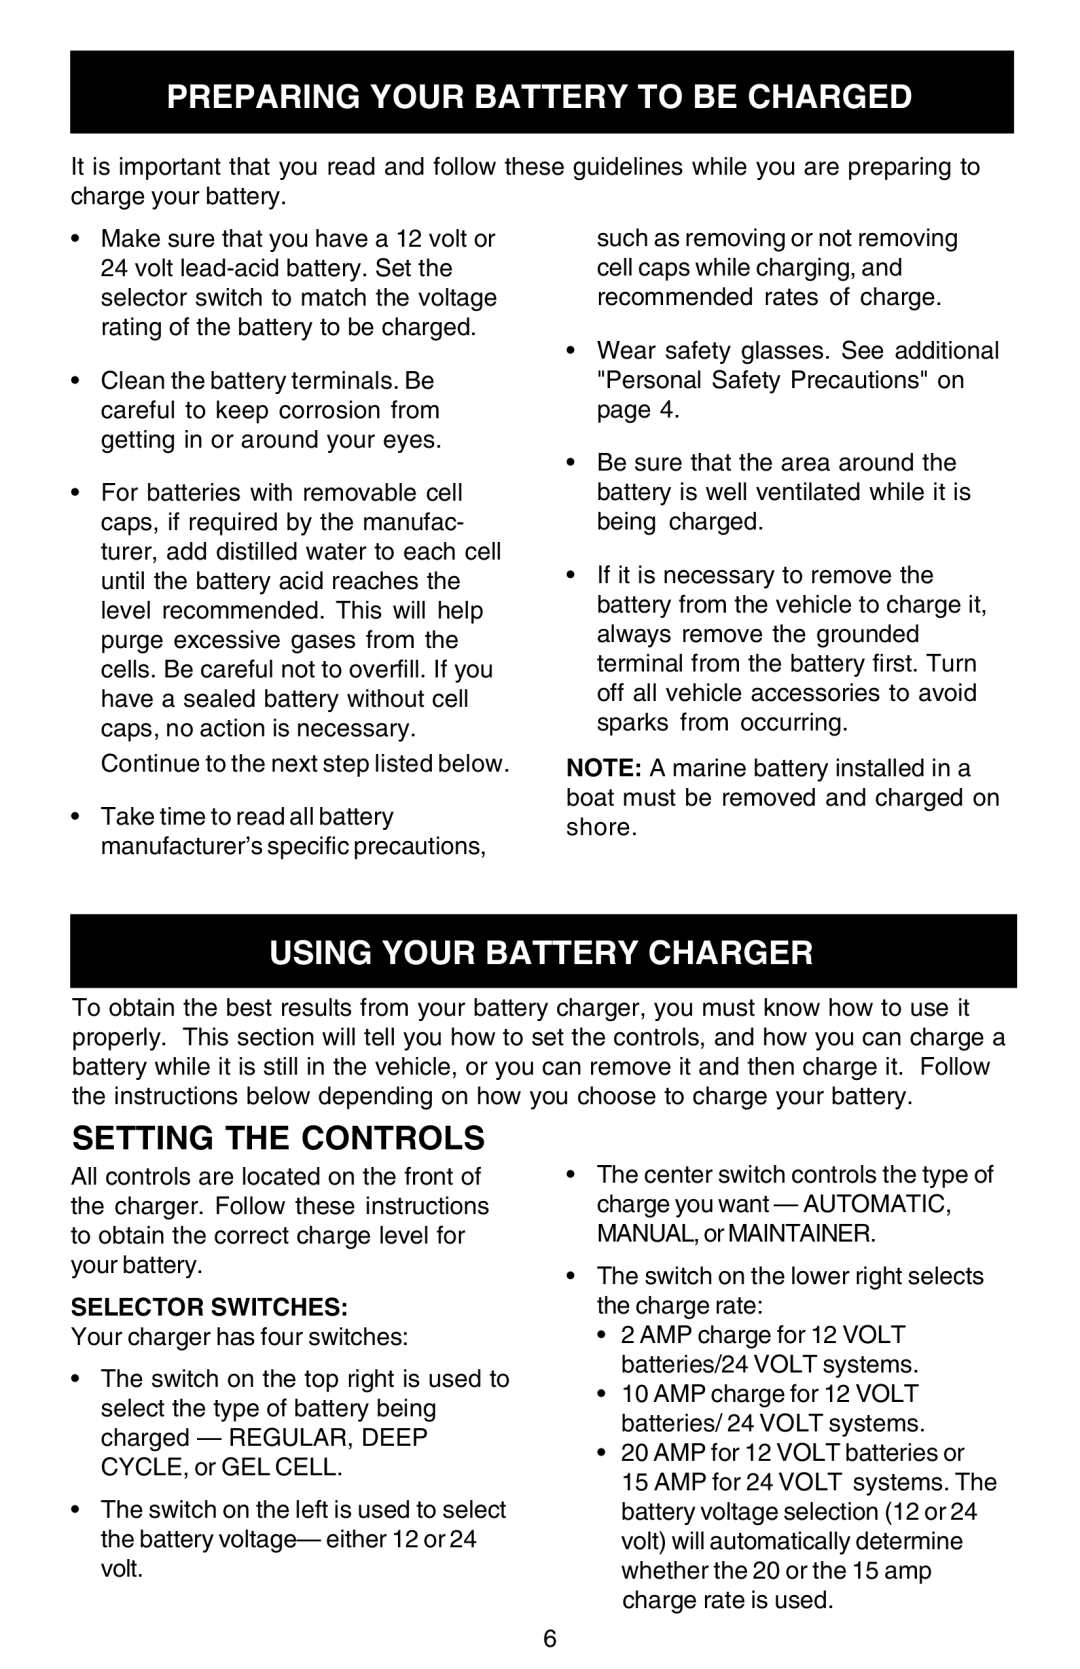
PREPARING YOUR BATTERY TO BE CHARGED

It is important that you read and follow these guidelines while you are preparing to charge your battery.

OPERATION MAINTENANCE

Make sure that you have a 12 volt or 24 volt lead-acid battery. Set the selector switch to match the voltage rating of the battery to be charged.

Clean the battery terminals. Be careful to keep corrosion from getting in or around your eyes.

For batteries with removable cell caps, if required by the manufac- turer, add distilled water to each cell until the battery acid reaches the level recommended. This will help purge excessive gases from the cells. Be careful not to overfill. If you have a sealed battery without cell caps, no action is necessary. Continue to the next step listed below.

Take time to read all battery manufacturer’s specific precautions,

such as removing or not removing cell caps while charging, and recommended rates of charge.

Wear safety glasses. See additional "Personal Safety Precautions" on page 4.

Be sure that the area around the battery is well ventilated while it is being charged.

If it is necessary to remove the battery from the vehicle to charge it, always remove the grounded terminal from the battery first. Turn off all vehicle accessories to avoid sparks from occurring.

NOTE: A marine battery installed in a boat must be removed and charged on shore.

TROUBLESHOOTING

USING YOUR BATTERY CHARGER

To obtain the best results from your battery charger, you must know how to use it properly. This section will tell you how to set the controls, and how you can charge a battery while it is still in the vehicle, or you can remove it and then charge it. Follow the instructions below depending on how you choose to charge your battery.

PARTS

SETTING THE CONTROLS

All controls are located on the front of the charger. Follow these instructions to obtain the correct charge level for your battery.

SELECTOR SWITCHES: Your charger has four switches:

The switch on the top right is used to select the type of battery being charged — REGULAR, DEEP CYCLE, or GEL CELL.

The switch on the left is used to select the battery voltage— either 12 or 24 volt.

The center switch controls the type of charge you want — AUTOMATIC, MANUAL, or MAINTAINER.

The switch on the lower right selects the charge rate:

2 AMP charge for 12 VOLT batteries/24 VOLT systems.

10 AMP charge for 12 VOLT batteries/ 24 VOLT systems.

20 AMP for 12 VOLT batteries or

15 AMP for 24 VOLT systems. The battery voltage selection (12 or 24 volt) will automatically determine whether the 20 or the 15 amp charge rate is used.

6

Page 6
Image 6
Sears 200.713201 owner manual Preparing Your Battery to be Charged, Operation Maintenance, Using Your Battery Charger

200.713201 specifications

The Sears 200.713201 is a versatile and reliable appliance that has garnered attention for its blend of functionality and user-centric design. This model stands out in the realm of household equipment, particularly among sewing machines, due to its robust features and technological advantages.

One of the key features of the Sears 200.713201 is its user-friendly interface, making it suitable for both beginners and experienced sewers alike. The machine typically includes a range of stitch options, allowing users to craft a variety of projects from simple repairs to complex designs. Its automatic stitching functions help reduce the learning curve, enabling newcomers to quickly master basic sewing techniques.

Incorporating advanced technology, the Sears 200.713201 is equipped with an electronic sewing control that allows for precise adjustments in speed and stitch length. This feature enhances the sewing experience by providing greater control over projects, ensuring accuracy and consistency. Additionally, the machine often includes a built-in needle threader, which simplifies the process of preparing the machine for sewing and saves time.

Another laudable characteristic of the Sears 200.713201 is its durable construction. Designed to withstand regular use, it features high-quality materials that guarantee longevity. This makes it an ideal investment for hobbyists and those who engage in sewing as a profession. Its compact design also makes it easy to store, a significant advantage for users with limited space.

The aforementioned model is also recognized for its ability to handle a variety of fabrics, from lightweight materials like cotton to heavier textiles such as denim. This versatility empowers users to expand their creative horizons, enabling them to take on more ambitious sewing projects without worrying about compatibility issues.

In summary, the Sears 200.713201 stands out for its combination of usability, advanced features, and durability. With an emphasis on user experience, this sewing machine caters to a wide range of sewing needs, making it a popular choice for both novices and seasoned crafters. Whether for casual sewing or intricate projects, the Sears 200.713201 proves to be a reliable companion in every sewing endeavor.