SECTION 3

[

3C. REPLACING MINERAL...

Average life of the activated carbon mineral bed is about 1 year (see page 12). It'stime to replace the bed when the tastes and/or odors begin to return in the water supply. Do the following.

STEPS TO REPLACE MINERAL

= Press the face plate BACKWASH NOW button [] and hold for 3 seconds, until RCHG begins to flash in the display.

=When water begins to flow from the valve drain hose, place the bypass valve(s) in BYPASS

position.., see FIG. 8, page 18.

CAUTION:

BE SURE TO DO STEPS 1AND2AS INSTRUCTED, TO RELIEVE WATER PRESSURE IN THE TANK.

=Unplug the transformer at the wall outlet.

4.Carefully, pull the 2 clips (key #41, page 26) at the inlet and outlet fittings. Slide the adaptors, or bypass valve, from the filter valve.

=Referring to FIG. 7, page 14, remove the clamp retainers (2) and clamp sections (2) that hold the

valve to the tank. Lift upward to remove the valve.

gRemove the o-rings (3) and top distributor from the top of the tank.

=Next to a floor drain, carefully tip the tank over,

catching the used carbon in a burlap sack or

other suitable container. Remove the bottom distributor assembly, and flush the inside of the tank with water.

CAUTION:

HANDLE THE TANK CAREFULLY. FULL OF WATER

AND CARBON, IT IS VERY HEAVY. DO NOT

ATTEMPT TO LIFT IT BY YOURSELF. DO NOT DROP AND BREAK THE TANK.

CAREOFYOURFILTER

I

TASTE & ODOR FILTER

. Stand the tank upright and replace the bottom distributor assembly. Temporarily, plug the top end of the distributor (use rag, etc.) to prevent accidental mineral spills into it.

1 Using a large neck funnel (FIG. 6), first add 17 Ibs. of gravel, followed by 10 Ibs. of filter sand. Next, add the 1 cu. ft. of activated carbon. Use

water sparingly to assist carbon flowthrough the funnel.

NOTE:

Be sure the bottom distributor is centered in the tank

while adding mineral.

10.Use water to flush the tank top opening. Then, replace the top distributor and 3 o-rings. Be sure

to locate o-ring seals correctly...

FIG. 7, page

14.


11.Carefully, install the valve assembly and retain-

ing clamps. DOUBLE-CHECK TO BE SURE CLAMPS AND RETAINERS ARE SECURELY FASTENED IN PLACE.

12.Referring to your installation manual, reconnect the filter to the plumbing. BE SURE THE PLUMB-

ING IS HELD FIRMLY IN PLACE, IN THE VALVE INLET AND OUTLET.

13.Place the valve drain hose at the drain point and secure in place.

14.Return the plumbing bypass valve(s) to SERV- ICE position.

15.Plug the transformer into the wall outlet. The filter will complete the backwash cycle, started in step 1, and will automatically return to service.

NOTE:

All new carbon mineral contains some smaller than

normal particles called "fines." Backwashing the filter removes the fines. If, after the backwash in step 15 is over, fines are still in the filtered water, repeat step 1 for added backwashing.

16

Page 16
Image 16
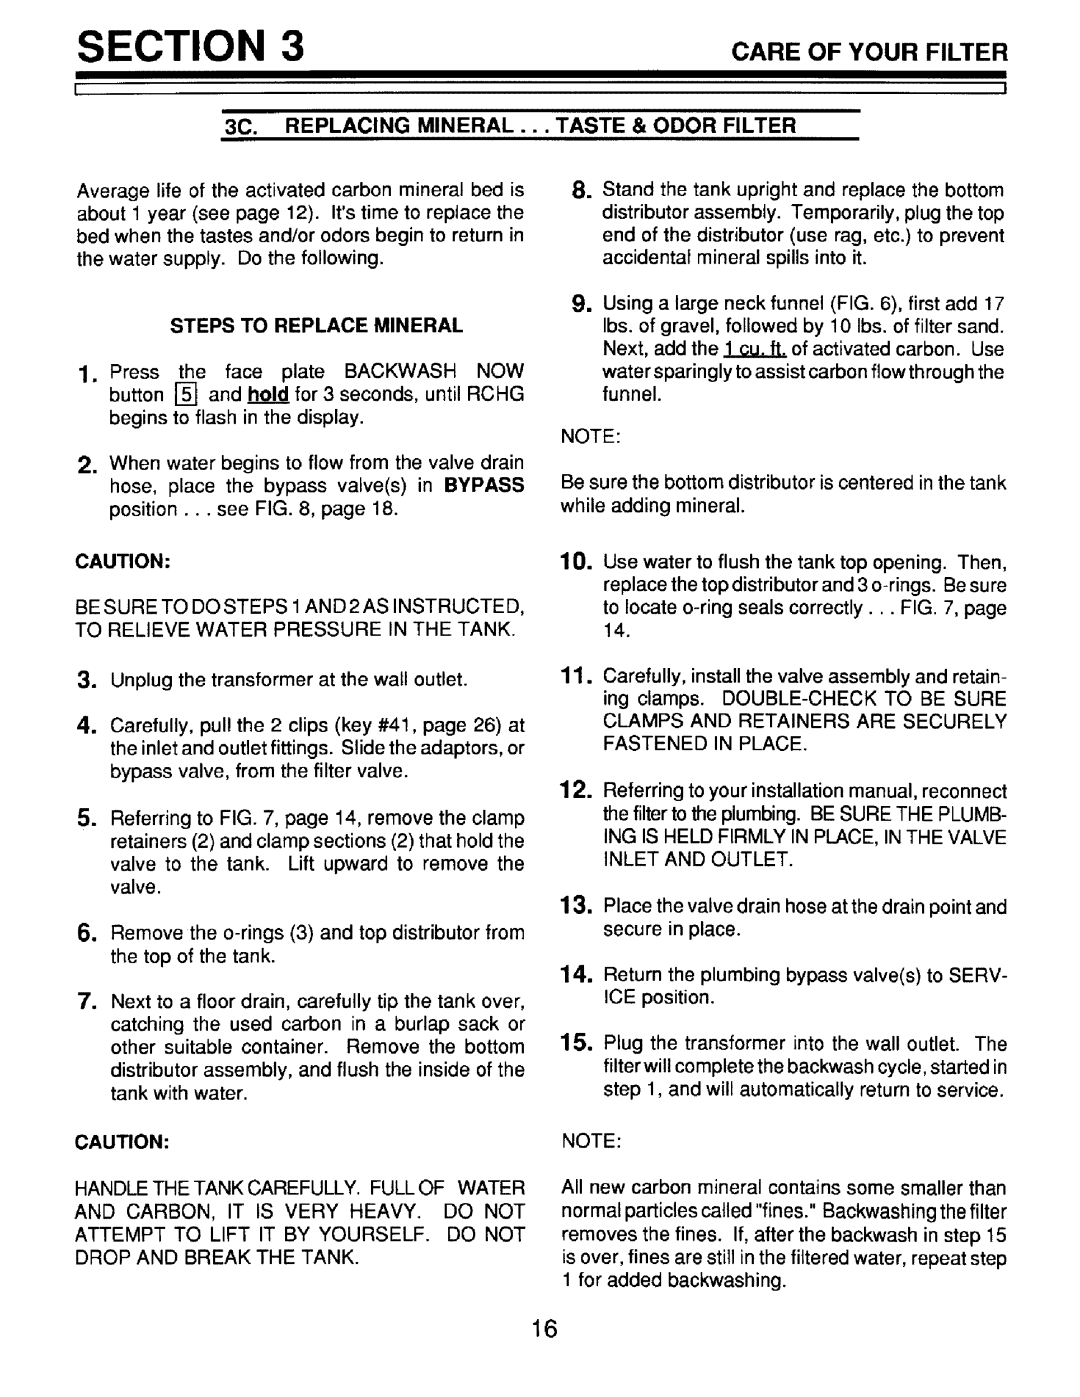
Sears 625.348241, 625.348251, 625.348234 owner manual Steps to Replace Mineral, 3C. Replacing Mineral

625.348234, 625.348241, 625.348251 specifications

The Sears 625.348251, 625.348241, and 625.348234 are a series of innovative products that exemplify Sears' commitment to quality and functionality. These models, while unique in their own right, share several core features and technologies that reflect the brand's dedication to enhancing user experience.

One of the standout features of these models is their ergonomic design, which enhances comfort during use. The lightweight structure makes them easy to maneuver, further increasing their practicality for various applications. Additionally, the design incorporates anti-slip materials, ensuring a secure grip, even in slippery conditions.

In terms of technology, these models are equipped with advanced functionality that is tailored to meet diverse consumer needs. For instance, integrated smart technology allows for greater versatility, as users can connect their devices seamlessly. This feature not only enhances productivity but also incorporates user-friendly interfaces, making operation straightforward for all skill levels.

Another significant aspect of the Sears 625 series is its durability. Constructed from high-quality materials, these models are built to withstand regular wear and tear. The robust design ensures that they remain operational even under demanding conditions, which is particularly beneficial for users who rely on dependability in their tools.

Safety features are paramount in the design of these models. Each unit is equipped with advanced safety mechanisms designed to minimize the risk of injury. These include automatic shut-off functions and protective guards that ensure users can operate the tools with peace of mind.

Performance is a critical characteristic of the Sears 625 series. The models boast powerful engines that deliver consistent output, allowing for efficient operation across various tasks. Whether used for home improvement or professional applications, these products provide the reliability and effectiveness that users have come to expect from Sears.

In summary, the Sears 625.348251, 625.348241, and 625.348234 models stand out as an excellent option for consumers seeking quality, performance, and safety. Their innovative design, advanced technology, and focus on user comfort make them a valuable addition to any toolkit. Sears continues to uphold its legacy of excellence with these models, providing products that are not only practical but also durable and user-friendly.