900.74526 specifications
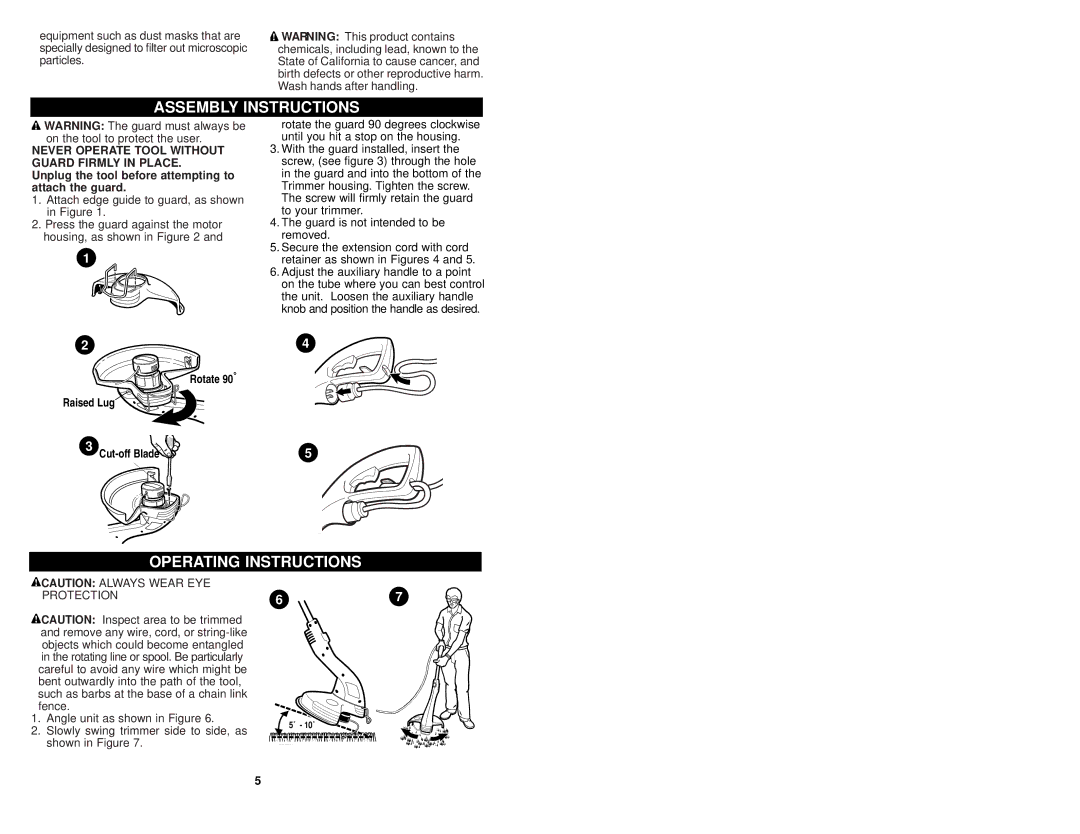
The Sears 900.74526 is a versatile and robust piece of equipment designed for various applications, standing out in the marketplace for its innovative features and user-friendly design. One of the main highlights of this model is its powerful motor, which delivers impressive performance and efficiency. The 900.74526 boasts a reliable power output that ensures consistent operation, making it suitable for both light and heavy-duty tasks.In terms of design, the Sears 900.74526 incorporates ergonomic elements, allowing for ease of use and comfort during extended periods of operation. The handle is crafted to prevent slippage, ensuring secure control even in demanding conditions. This feature enhances the overall user experience, reducing fatigue and improving productivity.
The technology used in the Sears 900.74526 sets it apart from competitors, showcasing a blend of traditional construction and modern ingenuity. This model often includes advanced components such as an electronic speed control system, which provides precise adjustments to suit different project needs. This ability to finely tune the speed can significantly impact the quality of work and allow users to achieve professional results with minimal effort.
Another characteristic that enhances the functionality of the Sears 900.74526 is its compatibility with a range of accessories, expanding the machine's capabilities. This adaptability means users can customize their setup based on specific tasks, whether it’s for cutting, sanding, or other applications.
Durability is a critical aspect of the Sears 900.74526. Constructed with high-quality materials, it is designed to withstand wear and tear, ensuring longevity in demanding environments. This resilience offers peace of mind to users, knowing they are investing in a product that will serve them well over time.
The Sears 900.74526 also emphasizes safety features, including built-in protective mechanisms that help prevent accidents during operation. These safety enhancements ensure that users can focus on their work without undue concern for their well-being.
Overall, the Sears 900.74526 stands as a testament to quality and innovation. Its blend of power, ergonomic design, advanced technology, and safety features make it a valuable tool for both professionals and DIY enthusiasts alike. With the Sears 900.74526, users can expect reliable performance that meets the demands of their projects, ensuring excellent results every time.

