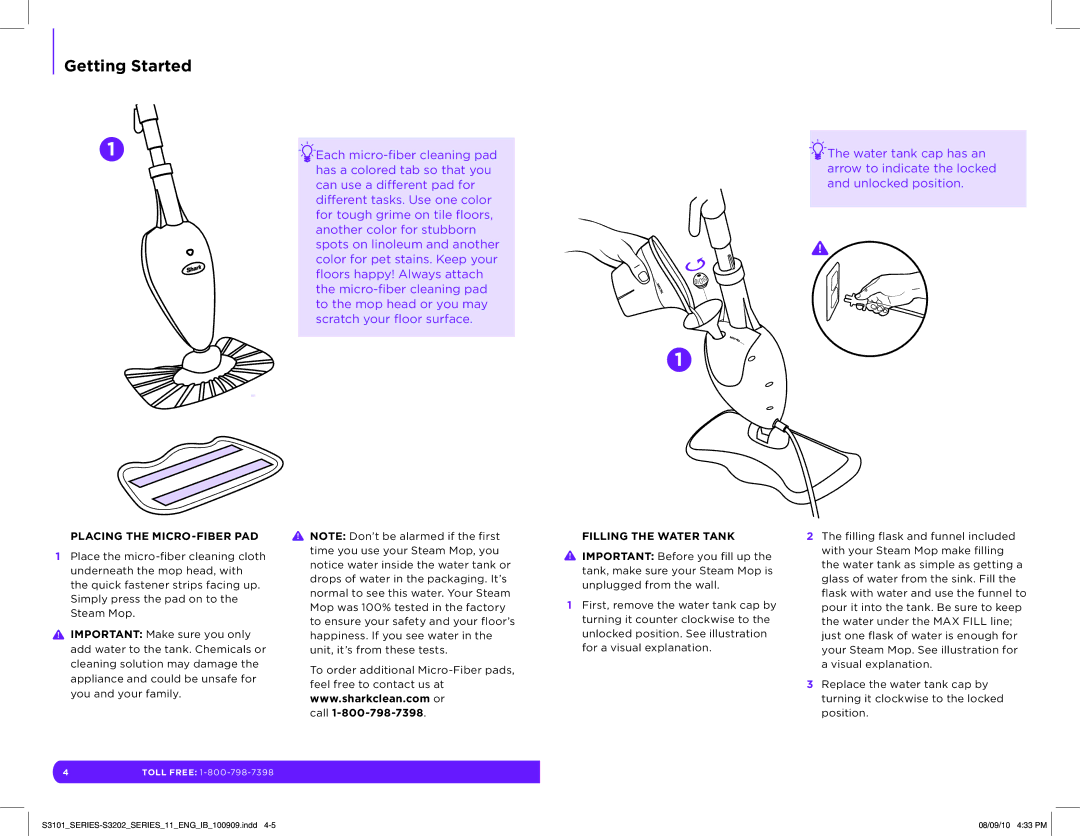
S3101, S3202 specifications
The Shark S3202 and S3101 are two powerful and innovative vacuum cleaner models from Shark, designed to meet the diverse cleaning needs of modern households. Both models are characterized by their user-friendly features, advanced technologies, and versatile performance, making them popular choices among consumers.The Shark S3202 is a versatile upright vacuum cleaner that excels in both carpet and hard floor cleaning. One of its standout features is the Anti-Allergen Complete Seal Technology, which captures 99.9% of dust and allergens inside the vacuum, ensuring cleaner air quality in your home. The TruePet Mini Motorized Brush is another highlight, designed specifically for pet owners to tackle stubborn pet hair and dander with ease. The S3202 also offers a large capacity dust cup, allowing for longer cleaning sessions without the need for frequent emptying.
Meanwhile, the Shark S3101 is a lightweight, portable option that combines the performance of an upright vacuum with the convenience of a handheld device. This model is equipped with a detachable pod, allowing users to easily maneuver and clean hard-to-reach areas. Like the S3202, the S3101 features the Anti-Allergen Complete Seal Technology, making it ideal for allergy sufferers. Its powerful suction capability ensures that both large debris and fine dust are effectively picked up.
In terms of design, both models boast an ergonomic handle and user-friendly controls, making them easy to operate for prolonged periods. The swivel steering feature enhances maneuverability, allowing for effortless navigation around furniture and other obstacles. The LED headlights provide illumination in dark spaces, ensuring that hidden dirt is not missed.
Both the S3202 and S3101 incorporate advanced brush roll technologies, which can be adjusted based on the type of flooring. This adaptability enhances cleaning performance, making it equally effective on carpets, rugs, and hardwood floors. Additionally, both models come with a range of useful accessories, including various attachments for upholstery and crevice cleaning, adding to their versatility.
In summary, the Shark S3202 and S3101 vacuum cleaners are engineered to deliver exceptional cleaning results while prioritizing user comfort and convenience. Their innovative technologies and features make them top contenders in the vacuum cleaner market, catering to the needs of pet owners, allergy sufferers, and anyone looking for an efficient cleaning solution. With these models, Shark continues to elevate the standards of home cleaning appliances.

