Contents |
|
Terms of guarantee | 1 |
Safety precautions | 2 |
Contents | 3 |
Accessories | 3 |
Remote Control Battery Installation | 3 |
Controls & Terminals | 5 |
Aerial Connections | 6 |
Auto Installation | 7 to 8 |
Switching on | 9 |
Menu Structures | 10 |
TV Channel Setting | 11 |
TV operation (Channel selection) | 15 |
Picture Adjustments | 16 |
Audio Adjustments | 17 |
On Timer and Off Timer | 19 |
Child Lock (Channel Block) | 20 |
POSTCODE and VCR Mode | 22 |
TV/VIDEO Selector | 23 |
23 | |
Headphone Jack | 23 |
Teletext Mode | 24 |
27 | |
Typical connections | 28 |
Troubleshooting | 29 |
General Specifications for Television Receiver | 30 |
Index | 31 |
Dear SHARP Customer
Congratulations! You are now the proud owner of a SHARP Colour Television Receiver. To ensure proper operation, please read this manual carefully. After reading, keep this manual in a safe place for future reference.
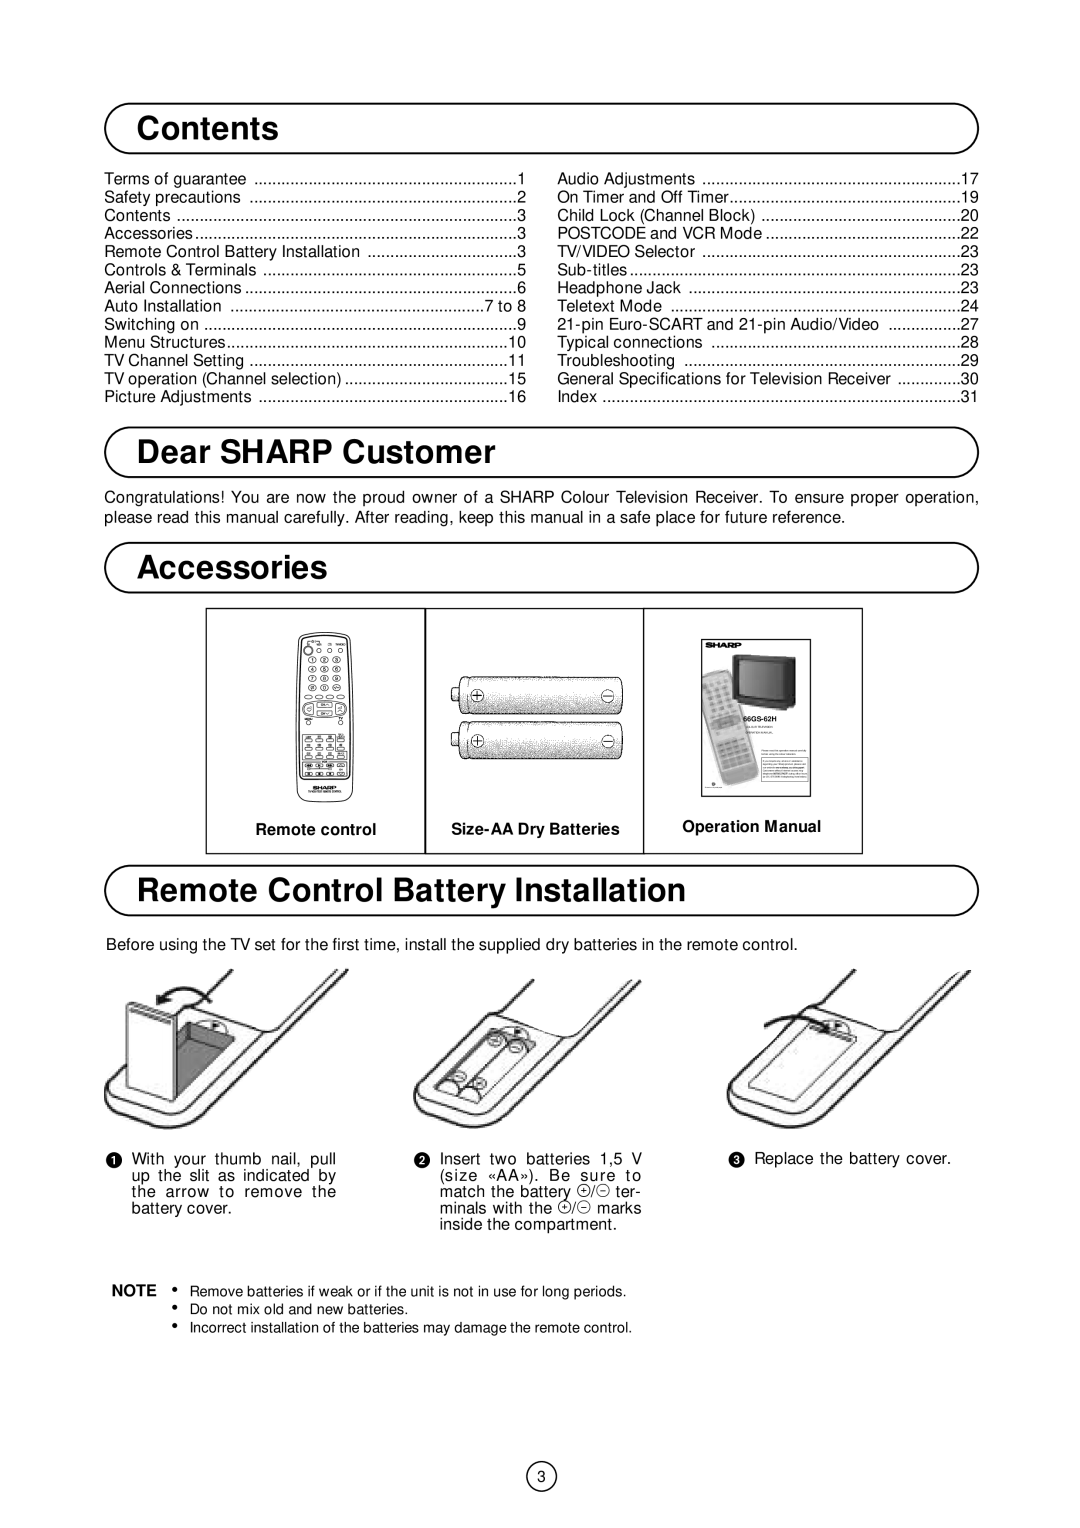
Accessories
COLOUR TELEVISION
OPERATION MANUAL
Please read this operation manual carefully before using the colour television.
If you require any advice or assistance regarding your Sharp product, please visit our
Remote control
Operation Manual
Remote Control Battery Installation
Before using the TV set for the first time, install the supplied dry batteries in the remote control.
With your thumb nail, pull up the slit as indicated by the arrow to remove the battery cover.
Insert two batteries 1,5 V | Replace the battery cover. |
(size «AA»). Be sure to |
|
match the battery A/D ter- |
|
minals with the A/D marks |
|
inside the compartment. |
|
NOTE • Remove batteries if weak or if the unit is not in use for long periods.
•Do not mix old and new batteries.
•Incorrect installation of the batteries may damage the remote control.
3
