Press c/dto select “Installation”.

DTV menu operations

Select

Use this function to jump to the specific service in one step. This is useful when there are many services displayed on screen to scroll through.

1 Press on the remote control. Now you can change the service number on the left side of the screen.

2 Enter the number using - numeric buttons, and then press OK. The highlight moves to the selected service.

Erase

Erase the selected service(s) from the memory.

1 Press a/bto select the desired service.

2 Press on the remote control. An icon displays indicating the service to be erased.

Pressing will turn the erase icon on and off.

Do not press END to exit the screen here if you wish to register the change.

3 Press OK.

• A confirmation message displays.

4 Press c/dto select “Yes”, and then press OK.

Label

Change individual service names.

1 Press a/bto select the desired service.

2 Press on the remote control. A character set screen displays.

3 Enter new name for the service. See page 23 for operations using the character set screen.

Auto Installation

The TV automatically detects and stores all available services in your area. See Initial auto installation (DTV) on page 8 for details.

NOTE

If the TV detects a new carrier/service that has become available after performing “Auto Installation”, the message

“Do you want to save?” displays.

Press c/dto select “Yes” or “No”, and then press OK.

Carrier Scan

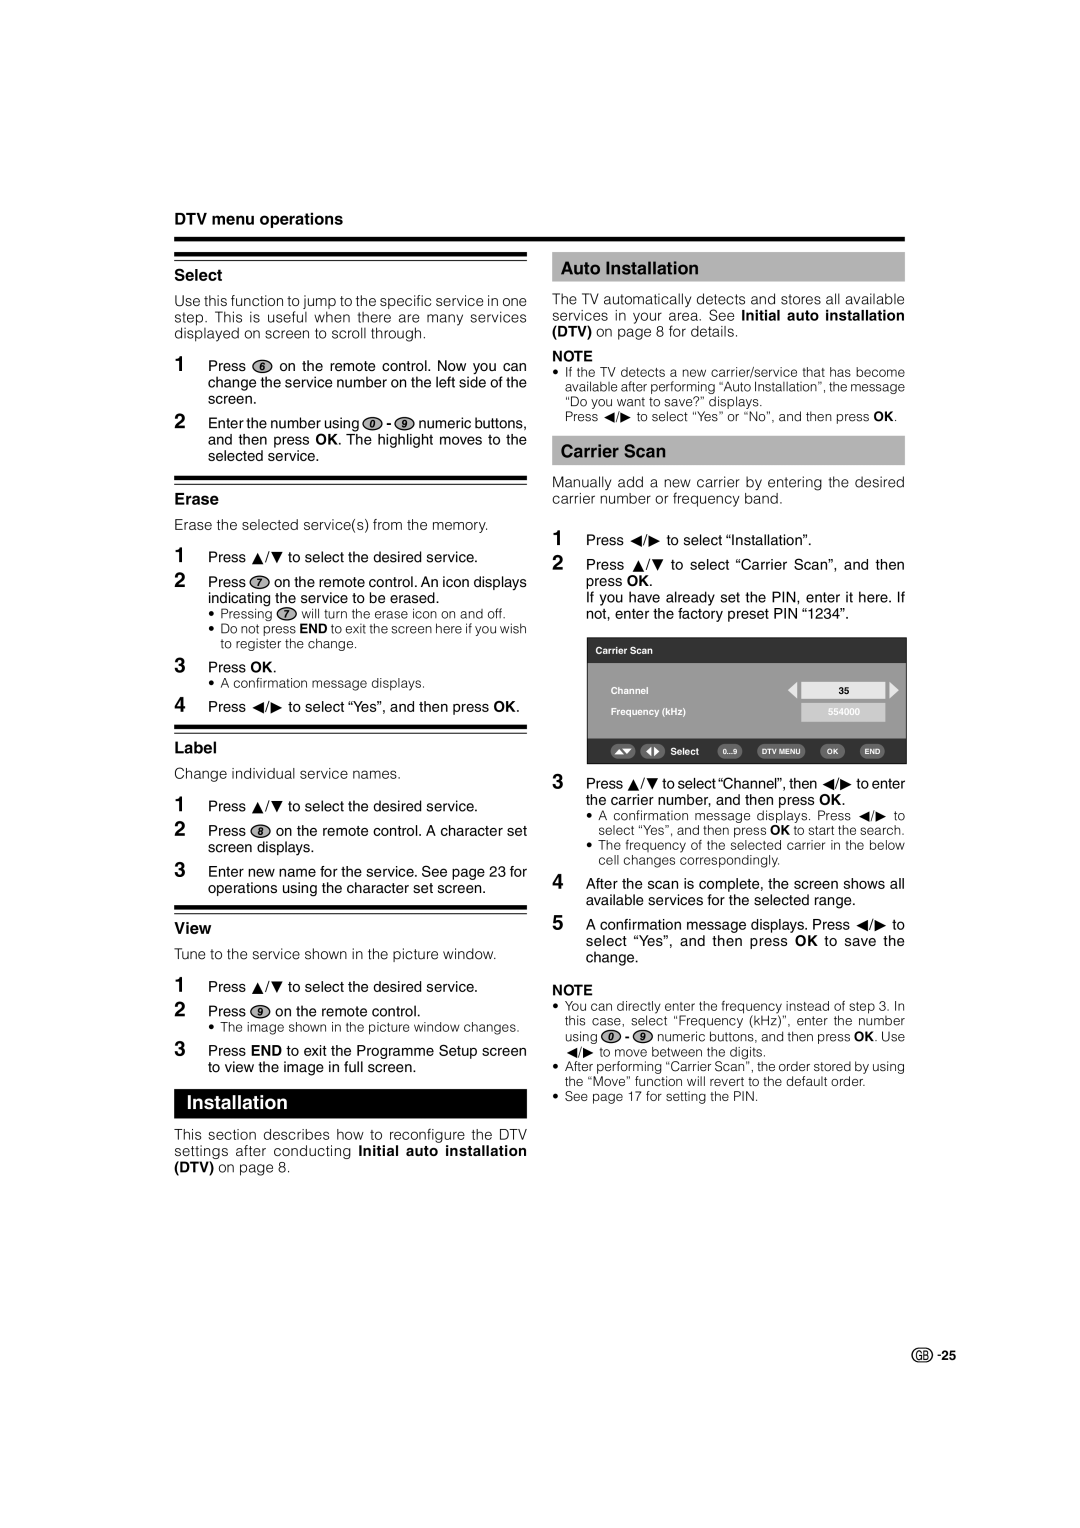
Manually add a new carrier by entering the desired carrier number or frequency band.

1

2 Press a/b to select “Carrier Scan”, and then press OK.

If you have already set the PIN, enter it here. If not, enter the factory preset PIN “1234”.

Carrier Scan

Channel


35


Frequency (kHz)


554000


Select

0...9

DTV MENU

OK

END


3 Press a/bto select “Channel”, then c/dto enter the carrier number, and then press OK.

A confirmation message displays. Press c/d to select “Yes”, and then press OK to start the search.

The frequency of the selected carrier in the below cell changes correspondingly.

4 After the scan is complete, the screen shows all available services for the selected range.

View

Tune to the service shown in the picture window.

1 Press a/bto select the desired service.

2 Press on the remote control.

• The image shown in the picture window changes.

3 Press END to exit the Programme Setup screen to view the image in full screen.

Installation

This section describes how to reconfigure the DTV settings after conducting Initial auto installation (DTV) on page 8.

5 A confirmation message displays. Press c/dto select “Yes”, and then press OK to save the change.

NOTE

You can directly enter the frequency instead of step 3. In this case, select “Frequency (kHz)”, enter the number

using - numeric buttons, and then press OK. Use c/dto move between the digits.

After performing “Carrier Scan”, the order stored by using the “Move” function will revert to the default order.

See page 17 for setting the PIN.

25

Page 27
Image 27
Sharp LC-32P70E, LC-37P70E, LC-26P70E operation manual Auto Installation, Carrier Scan

LC-32P70E, LC-26P70E, LC-37P70E specifications

The Sharp LC-37P70E, LC-26P70E, and LC-32P70E are part of Sharp's innovative P70E series of LCD televisions, designed to deliver an exceptional viewing experience for users. These TVs utilize advanced LCD technology which provides vibrant visuals and impressive clarity, making them ideal for both casual viewing and serious entertainment enthusiasts.

One of the standout features of the P70E series is the incorporation of Sharp's proprietary AQUOS picture technology. This enhances picture quality by delivering deeper blacks, brighter whites, and a broader color spectrum. The result is a stunningly realistic picture that brings movies, sports, and games to life. Each model in the series comes equipped with a full HD resolution of 1920x1080 pixels, ensuring that every detail is captured in high definition for crystal-clear images.

The LC-37P70E, with its 37-inch screen size, is perfect for larger living spaces, providing an immersive viewing experience. This model boasts a high dynamic contrast ratio, which aids in producing rich contrasts between light and dark scenes. The integrated 2x10W speakers ensure that the audio matches the visual performance, delivering a balanced sound that complements the overall viewing experience.

The LC-26P70E, featuring a compact 26-inch display, is ideal for smaller rooms or as a secondary television. Despite its smaller size, it does not compromise on picture quality, offering the same AQUOS technology that enhances color and brightness. Its lightweight design allows for easy mounting and placement in various environments, making it a versatile choice for apartment dwellers or bedroom entertainment.

The LC-32P70E sits comfortably in the middle with a 32-inch display, providing a great balance between screen size and image quality. This model also incorporates Sharp's latest image processing technologies, which help to reduce noise and improve overall picture stability, making it a good choice for watching fast-paced action videos or sports.

Additionally, the entire P70E series is equipped with multiple HDMI and USB ports, allowing for easy connectivity with various external devices such as gaming consoles, Blu-ray players, and streaming devices. This versatility ensures that users can easily expand their entertainment options and enjoy content from various sources.

In summary, the Sharp LC-37P70E, LC-26P70E, and LC-32P70E are excellent choices for anyone seeking high-quality television entertainment. With their cutting-edge LCD technology, vibrant picture performance, and convenient features, these models collectively cater to diverse viewing needs while delivering an enjoyable experience.