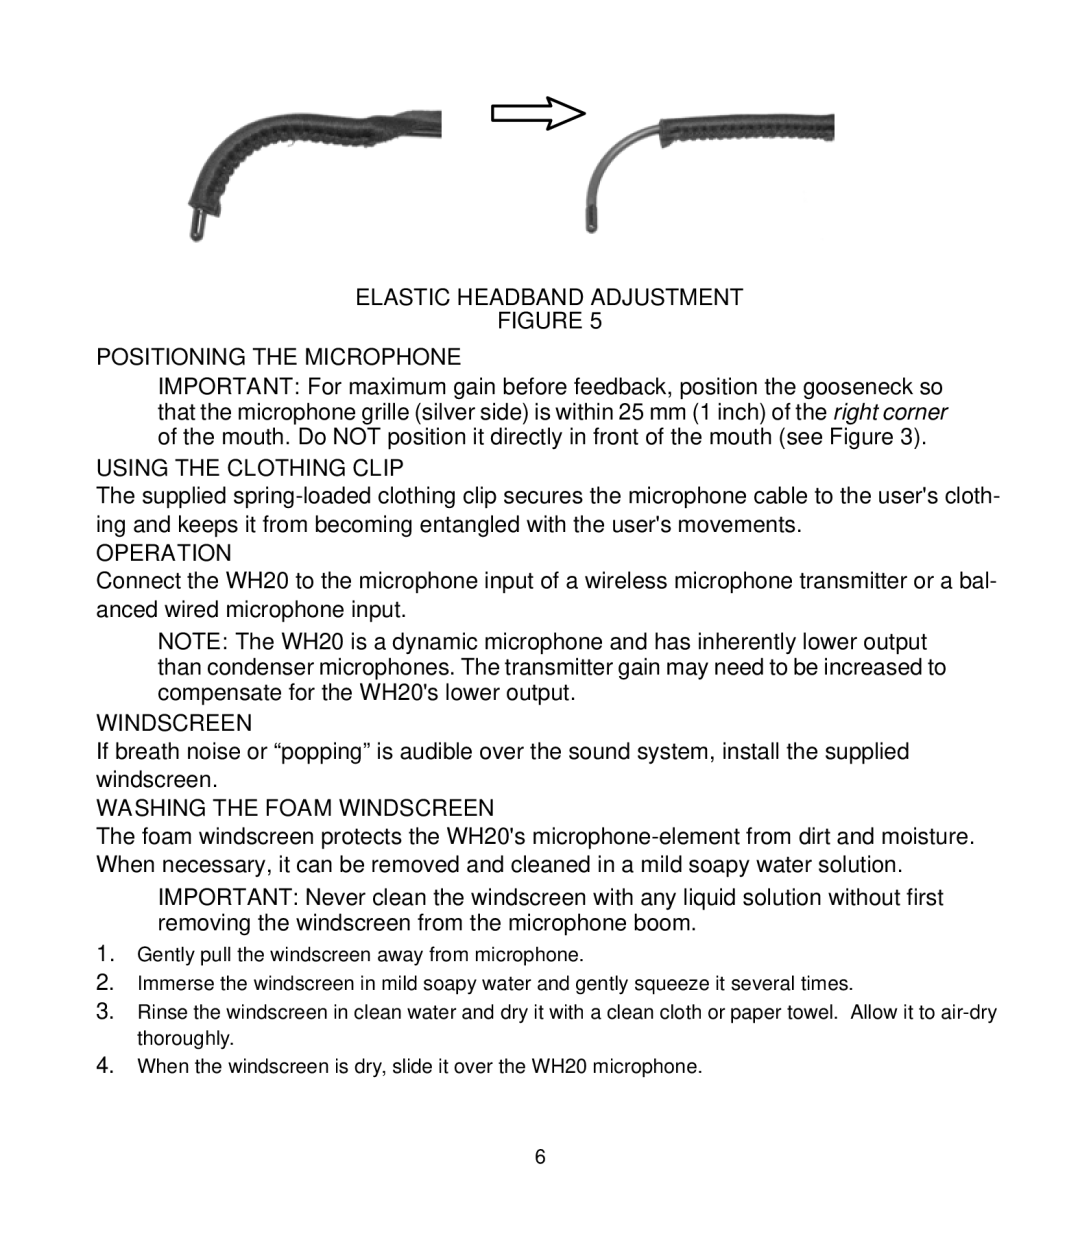
WH20 specifications
The Shure WH20 is a dynamic handheld microphone that has gained popularity among performers, speakers, and content creators due to its robust design and exceptional audio performance. Known for its versatility and reliable performance in various settings, the WH20 is an ideal choice for both live sound environments and studio recordings.One of the key features of the Shure WH20 is its cardioid polar pattern. This design captures sound primarily from the front while minimizing unwanted noise from the sides and rear. This directional sensitivity allows performers to use the microphone in noisy environments without the risk of picking up extraneous sounds, ensuring that the vocals or instruments are the primary focus.
The WH20 is built with a durable construction that can withstand the rigors of frequent use. Its rugged metal body is designed to resist wear and tear, making it suitable for touring musicians or presenters who need a reliable mic that can endure the demands of live events. Moreover, the mic includes a built-in windscreen to help reduce plosive sounds and wind noise, ensuring clear audio transmission.
In terms of connectivity, the WH20 is equipped with a standard XLR connector, making it compatible with a wide range of audio equipment, including mixers, audio interfaces, and PA systems. This versatility allows users to integrate the microphone seamlessly into their existing setups.
The microphone's frequency response is optimized for vocal applications, featuring a range that captures the natural sound of the human voice while preventing feedback. The WH20's warm, clear sound signature enhances vocal performances, making it suitable for various styles, whether it’s singing, public speaking, or recording.
Additionally, the WH20 benefits from Shure’s decades of expertise in microphone technology. The microphone is engineered to provide consistent sound quality and reliability over time, even in challenging conditions. Users frequently praise its excellent feedback rejection, which further enhances its usability in live environments.
In summary, the Shure WH20 is an excellent choice for those in need of a high-quality handheld microphone. With its cardioid polar pattern, durability, ease of connectivity, and optimized frequency response, it stands out as a versatile tool for performers and presenters alike. Whether on stage or in the studio, the WH20 delivers professional-grade audio performance that meets the demands of various applications.

