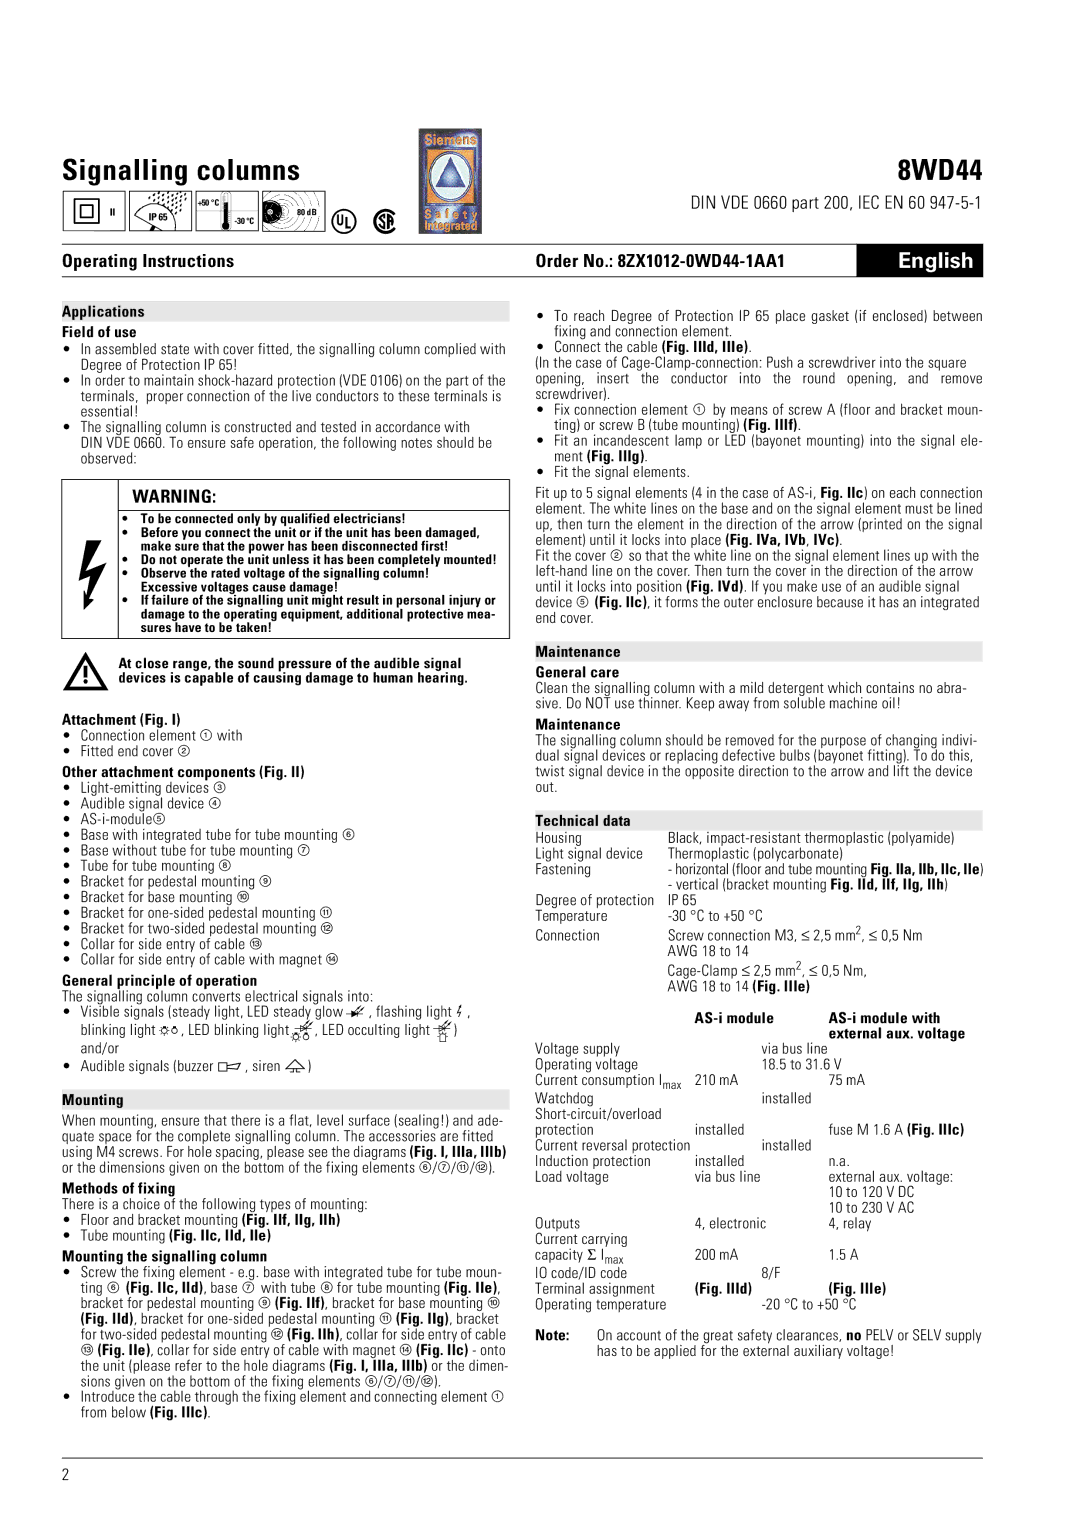
Applications
Field of use
•In assembled state with cover fitted, the signalling column complied with Degree of Protection IP 65!
•In order to maintain shock-hazard protection (VDE 0106) on the part of the terminals, proper connection of the live conductors to these terminals is essential!
•The signalling column is constructed and tested in accordance with DIN VDE 0660. To ensure safe operation, the following notes should be observed:
WARNING:
•To be connected only by qualified electricians!
•Before you connect the unit or if the unit has been damaged, make sure that the power has been disconnected first!
•Do not operate the unit unless it has been completely mounted!
•Observe the rated voltage of the signalling column! Excessive voltages cause damage!
•If failure of the signalling unit might result in personal injury or damage to the operating equipment, additional protective mea- sures have to be taken!
At close range, the sound pressure of the audible signal devices is capable of causing damage to human hearing.
Attachment (Fig. I)
•Connection element ¿ with
•Fitted end cover À
Other attachment components (Fig. II)
•Light-emitting devices Á
•Audible signal device Â
•AS-i-moduleÃ
•Base with integrated tube for tube mounting Ä
•Base without tube for tube mounting Å
•Tube for tube mounting Æ
•Bracket for pedestal mounting Ç
•Bracket for base mounting È
•Bracket for one-sided pedestal mounting É
•Bracket for two-sided pedestal mounting Ê
•Collar for side entry of cable Ë
•Collar for side entry of cable with magnet Ì
General principle of operation
The signalling column converts electrical signals into:
•Visible signals (steady light, LED steady glow  , flashing light
  ,
,
blinking light 
 , LED blinking light
 , LED occulting light
  ) and/or
•Audible signals (buzzer 
 , siren
 )
)
Mounting
When mounting, ensure that there is a flat, level surface (sealing!) and ade- quate space for the complete signalling column. The accessories are fitted using M4 screws. For hole spacing, please see the diagrams (Fig. I, IIIa, IIIb) or the dimensions given on the bottom of the fixing elements Ä/Å/É/Ê).
Methods of fixing
There is a choice of the following types of mounting:
•Floor and bracket mounting (Fig. IIf, IIg, IIh)
•Tube mounting (Fig. IIc, IId, IIe)
Mounting the signalling column
•Screw the fixing element - e.g. base with integrated tube for tube moun- ting Ä (Fig. IIc, IId), base Å with tube Æ for tube mounting (Fig. IIe), bracket for pedestal mounting Ç (Fig. IIf), bracket for base mounting È (Fig. IId), bracket for one-sided pedestal mounting É (Fig. IIg), bracket for two-sided pedestal mounting Ê (Fig. IIh), collar for side entry of cable Ë (Fig. IIe), collar for side entry of cable with magnet Ì (Fig. IIc) - onto the unit (please refer to the hole diagrams (Fig. I, IIIa, IIIb) or the dimen- sions given on the bottom of the fixing elements Ä/Å/É/Ê).
•Introduce the cable through the fixing element and connecting element ¿ from below (Fig. IIIc).
•To reach Degree of Protection IP 65 place gasket (if enclosed) between fixing and connection element.
•Connect the cable (Fig. IIId, IIIe).
(In the case of Cage-Clamp-connection: Push a screwdriver into the square opening, insert the conductor into the round opening, and remove screwdriver).
•Fix connection element ¿ by means of screw A (floor and bracket moun- ting) or screw B (tube mounting) (Fig. IIIf).
•Fit an incandescent lamp or LED (bayonet mounting) into the signal ele- ment (Fig. IIIg).
•Fit the signal elements.
Fit up to 5 signal elements (4 in the case of AS-i, Fig. IIc) on each connection element. The white lines on the base and on the signal element must be lined up, then turn the element in the direction of the arrow (printed on the signal element) until it locks into place (Fig. IVa, IVb, IVc).
Fit the cover À so that the white line on the signal element lines up with the left-hand line on the cover. Then turn the cover in the direction of the arrow until it locks into position (Fig. IVd). If you make use of an audible signal device à (Fig. IIc), it forms the outer enclosure because it has an integrated end cover.
Maintenance
General care
Clean the signalling column with a mild detergent which contains no abra- sive. Do NOT use thinner. Keep away from soluble machine oil!
Maintenance
The signalling column should be removed for the purpose of changing indivi- dual signal devices or replacing defective bulbs (bayonet fitting). To do this, twist signal device in the opposite direction to the arrow and lift the device out.
Technical data | | | |
Housing | Black, impact-resistant thermoplastic (polyamide) |
Light signal device | Thermoplastic (polycarbonate) |
Fastening | - horizontal (floor and tube mounting Fig. IIa, IIb, IIc, IIe) |
| - vertical (bracket mounting Fig. IId, IIf, IIg, IIh) |
Degree of protection | IP 65 | |
Temperature | -30 °C to +50 °C | |
Connection | Screw connection M3, ≤ 2,5 mm2, ≤ 0,5 Nm |
| AWG 18 to 14 | |
| Cage-Clamp ≤ 2,5 mm2, ≤ 0,5 Nm, |
| AWG 18 to 14 (Fig. IIIe) | |
| | AS-i module | AS-i module with |
Voltage supply | | via bus line | external aux. voltage |
| |
Operating voltage | | 18.5 to 31.6 V |
Current consumption Imax | 210 mA | 75 mA |
Watchdog | | installed | |
Short-circuit/overload | | | fuse M 1.6 A (Fig. IIIc) |
protection | | installed |
Current reversal protection | installed | |
Induction protection | | installed | n.a. |
Load voltage | | via bus line | external aux. voltage: |
| | | 10 to 120 V DC |
| | | 10 to 230 V AC |
Outputs | | 4, electronic | 4, relay |
Current carrying | | | |
capacity Σ Imax | | 200 mA | 1.5 A |
IO code/ID code | | 8/F | |
Terminal assignment | | (Fig. IIId) | (Fig. IIIe) |
Operating temperature | | -20 °C to +50 °C |
Note: On account of the great safety clearances, no PELV or SELV supply has to be applied for the external auxiliary voltage!