Step 1: Wall Plate Installation
Wood Stud Installation
1Use a
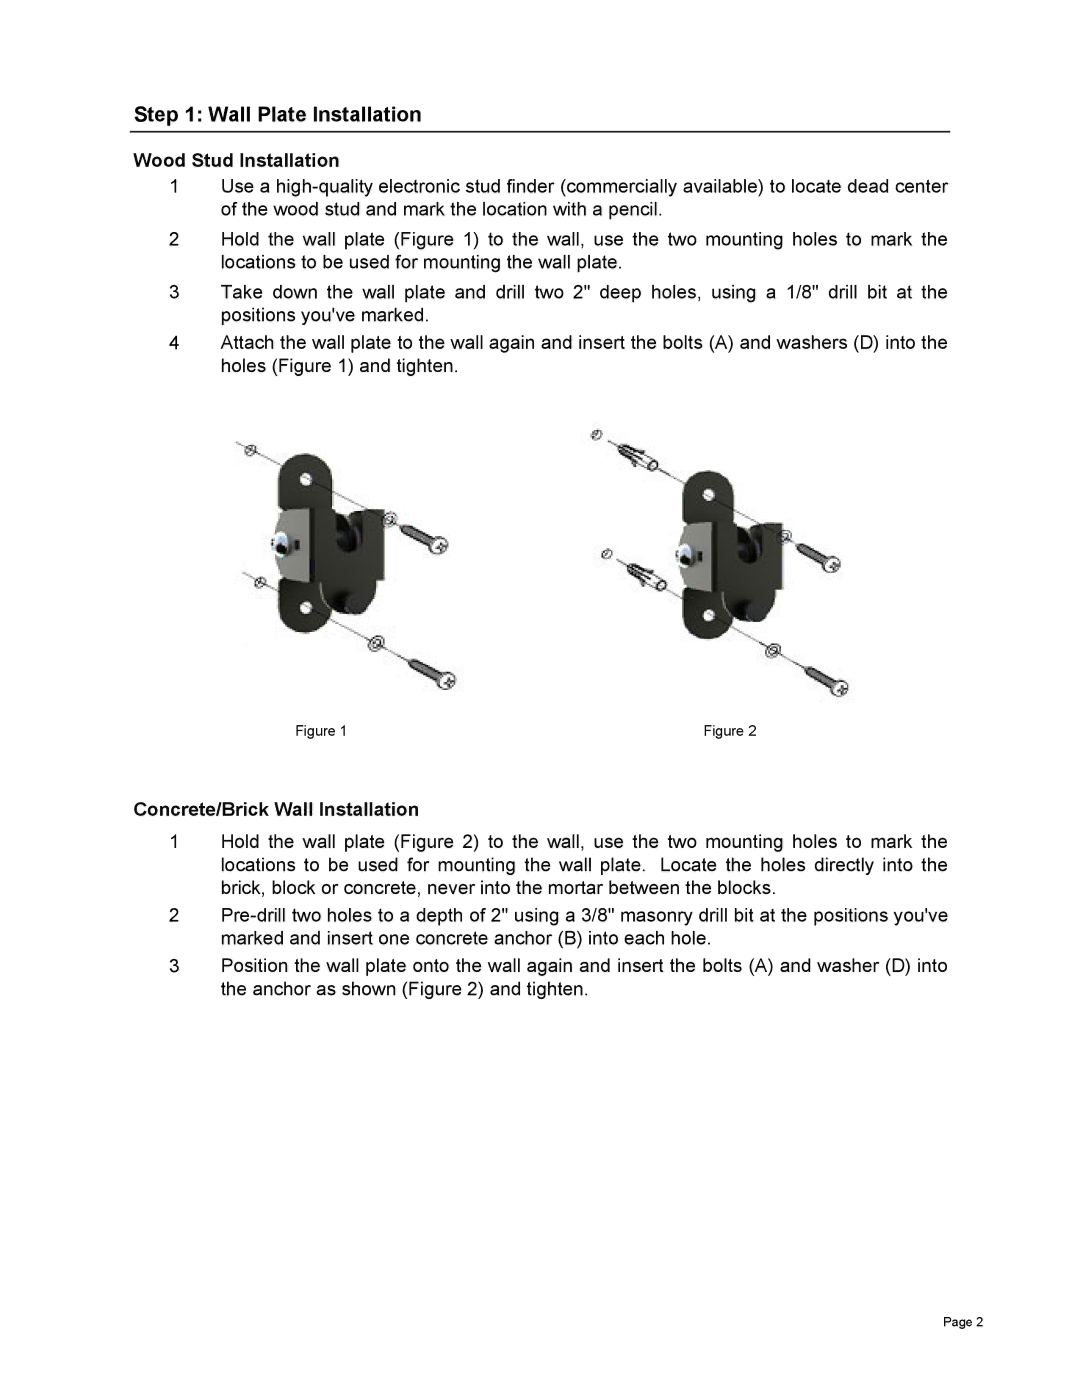
2Hold the wall plate (Figure 1) to the wall, use the two mounting holes to mark the locations to be used for mounting the wall plate.
3Take down the wall plate and drill two 2" deep holes, using a 1/8" drill bit at the positions you've marked.
4Attach the wall plate to the wall again and insert the bolts (A) and washers (D) into the holes (Figure 1) and tighten.
Figure 1 | Figure 2 |
Concrete/Brick Wall Installation
1Hold the wall plate (Figure 2) to the wall, use the two mounting holes to mark the locations to be used for mounting the wall plate. Locate the holes directly into the brick, block or concrete, never into the mortar between the blocks.
2
3Position the wall plate onto the wall again and insert the bolts (A) and washer (D) into the anchor as shown (Figure 2) and tighten.
Page 2
