7.Insert the PC Adapter into an available USB slot on your PC, and click OK
8.The Windows Found New Hardware Wiz- ard will begin when you install your PC Adapter. Choose No, not at this time and click Next
Note: This step will only appear if you have Service Pack 2 installed on your Windows XP computer
9.Choose Install the software automati- cally and click Next
10.Click Continue Anyway
11.Click Finish to complete the hardware wizard.
12.Click Yes to add this software to your Windows Firewall exceptions. If you click No you might not be able to connect.
Note: This step will only appear if you have Service Pack 2 installed on your Windows XP computer.
13. Click Finish to complete the installation.
14.The software will automatically set up your wireless connection. Please wait for the software to connect.
15.Choose your Device Server and click OK. If more than one device server are in your list, look at the label on the back of the device server and choose the one with the same Ethernet Address (underneath the bar code label)
16.If you are using any device server other than a StitchLink (for example, StitchLink II or
Note: If you choose Babylock or Brother from the
Note: If you are connecting to any other device server (for example, StitchLink II or
17.You should now be connected to your sewing machine or other device as if you were connected directly via a USB cable connection. Open the software for your Sewing Machine or other device and you should now be able to use all of the same functionality as if you were directly connected.
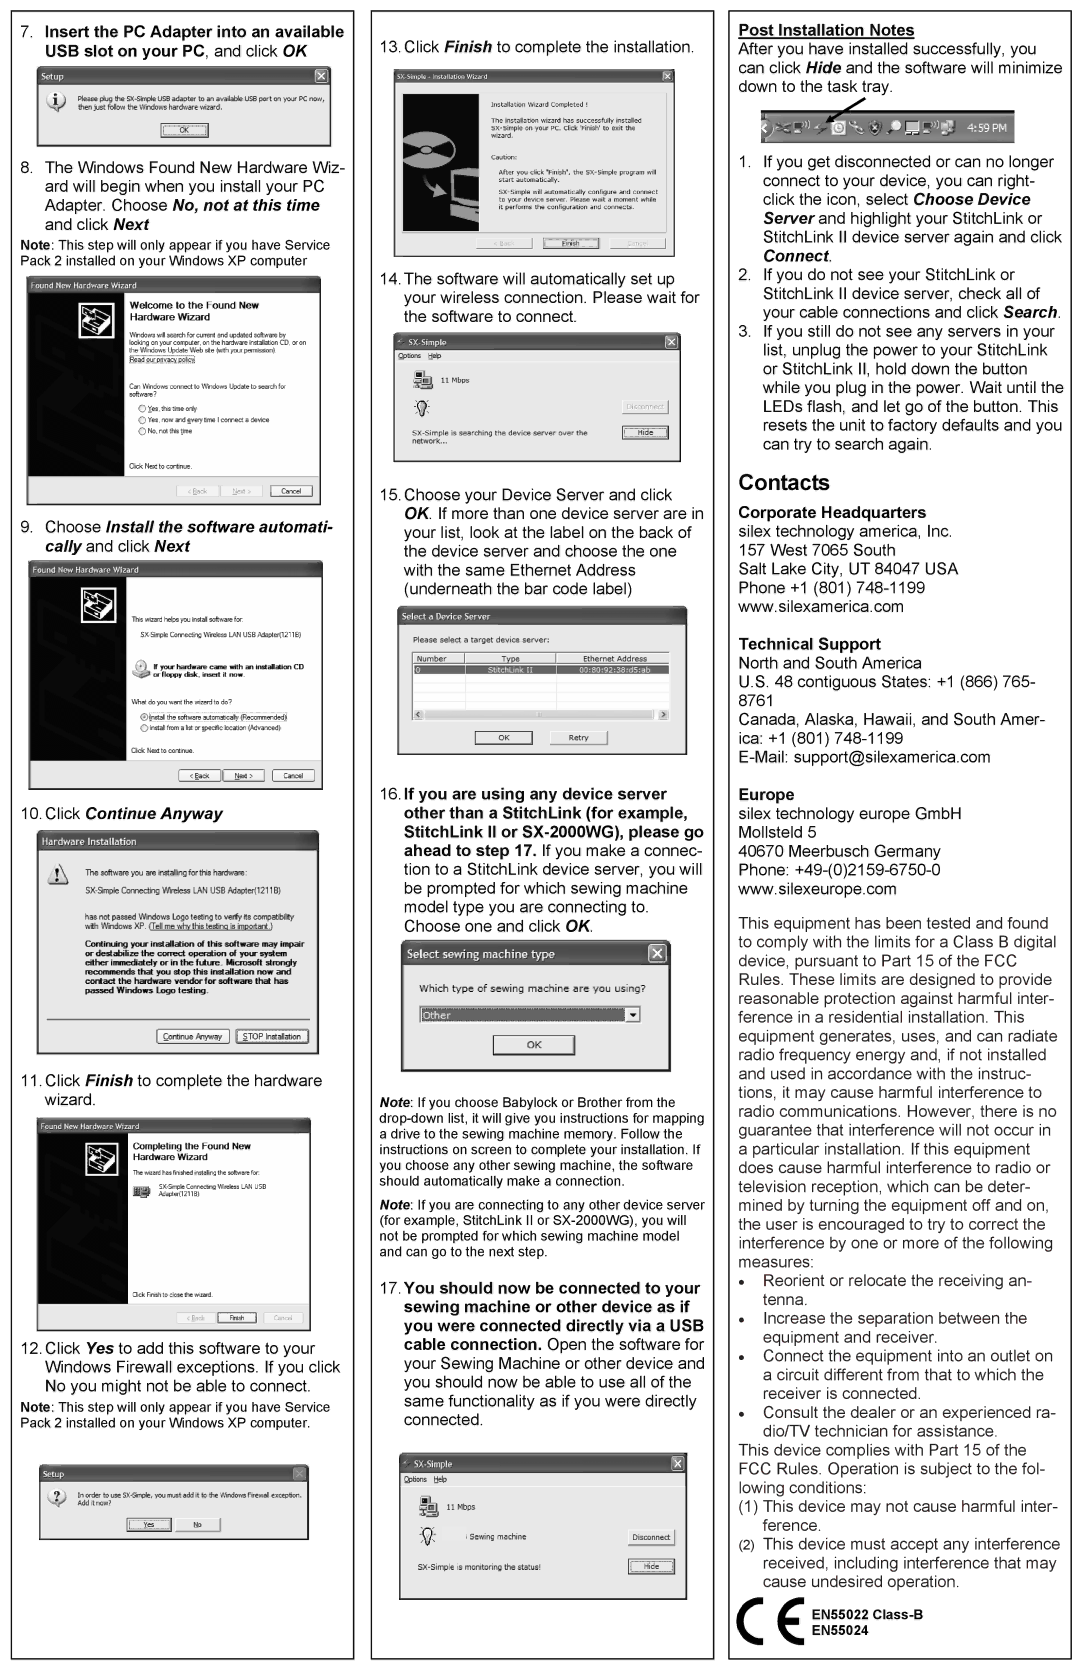
Post Installation Notes
After you have installed successfully, you can click Hide and the software will minimize down to the task tray.
1.If you get disconnected or can no longer connect to your device, you can right- click the icon, select Choose Device Server and highlight your StitchLink or StitchLink II device server again and click Connect.
2.If you do not see your StitchLink or StitchLink II device server, check all of your cable connections and click Search.
3.If you still do not see any servers in your list, unplug the power to your StitchLink or StitchLink II, hold down the button while you plug in the power. Wait until the LEDs flash, and let go of the button. This resets the unit to factory defaults and you can try to search again.
Contacts
Corporate Headquarters silex technology america, Inc. 157 West 7065 South
Salt Lake City, UT 84047 USA Phone +1 (801)
Technical Support
North and South America
U.S. 48 contiguous States: +1 (866) 765- 8761
Canada, Alaska, Hawaii, and South Amer- ica: +1 (801)
Europe
silex technology europe GmbH Mollsteld 5
40670 Meerbusch Germany Phone:
This equipment has been tested and found to comply with the limits for a Class B digital device, pursuant to Part 15 of the FCC Rules. These limits are designed to provide reasonable protection against harmful inter- ference in a residential installation. This equipment generates, uses, and can radiate radio frequency energy and, if not installed and used in accordance with the instruc- tions, it may cause harmful interference to radio communications. However, there is no guarantee that interference will not occur in a particular installation. If this equipment does cause harmful interference to radio or television reception, which can be deter- mined by turning the equipment off and on, the user is encouraged to try to correct the interference by one or more of the following measures:
•Reorient or relocate the receiving an- tenna.
•Increase the separation between the equipment and receiver.
•Connect the equipment into an outlet on a circuit different from that to which the receiver is connected.
•Consult the dealer or an experienced ra- dio/TV technician for assistance.
This device complies with Part 15 of the FCC Rules. Operation is subject to the fol- lowing conditions:
(1)This device may not cause harmful inter- ference.
(2)This device must accept any interference received, including interference that may cause undesired operation.
EN55022
EN55024