SCH1 specifications
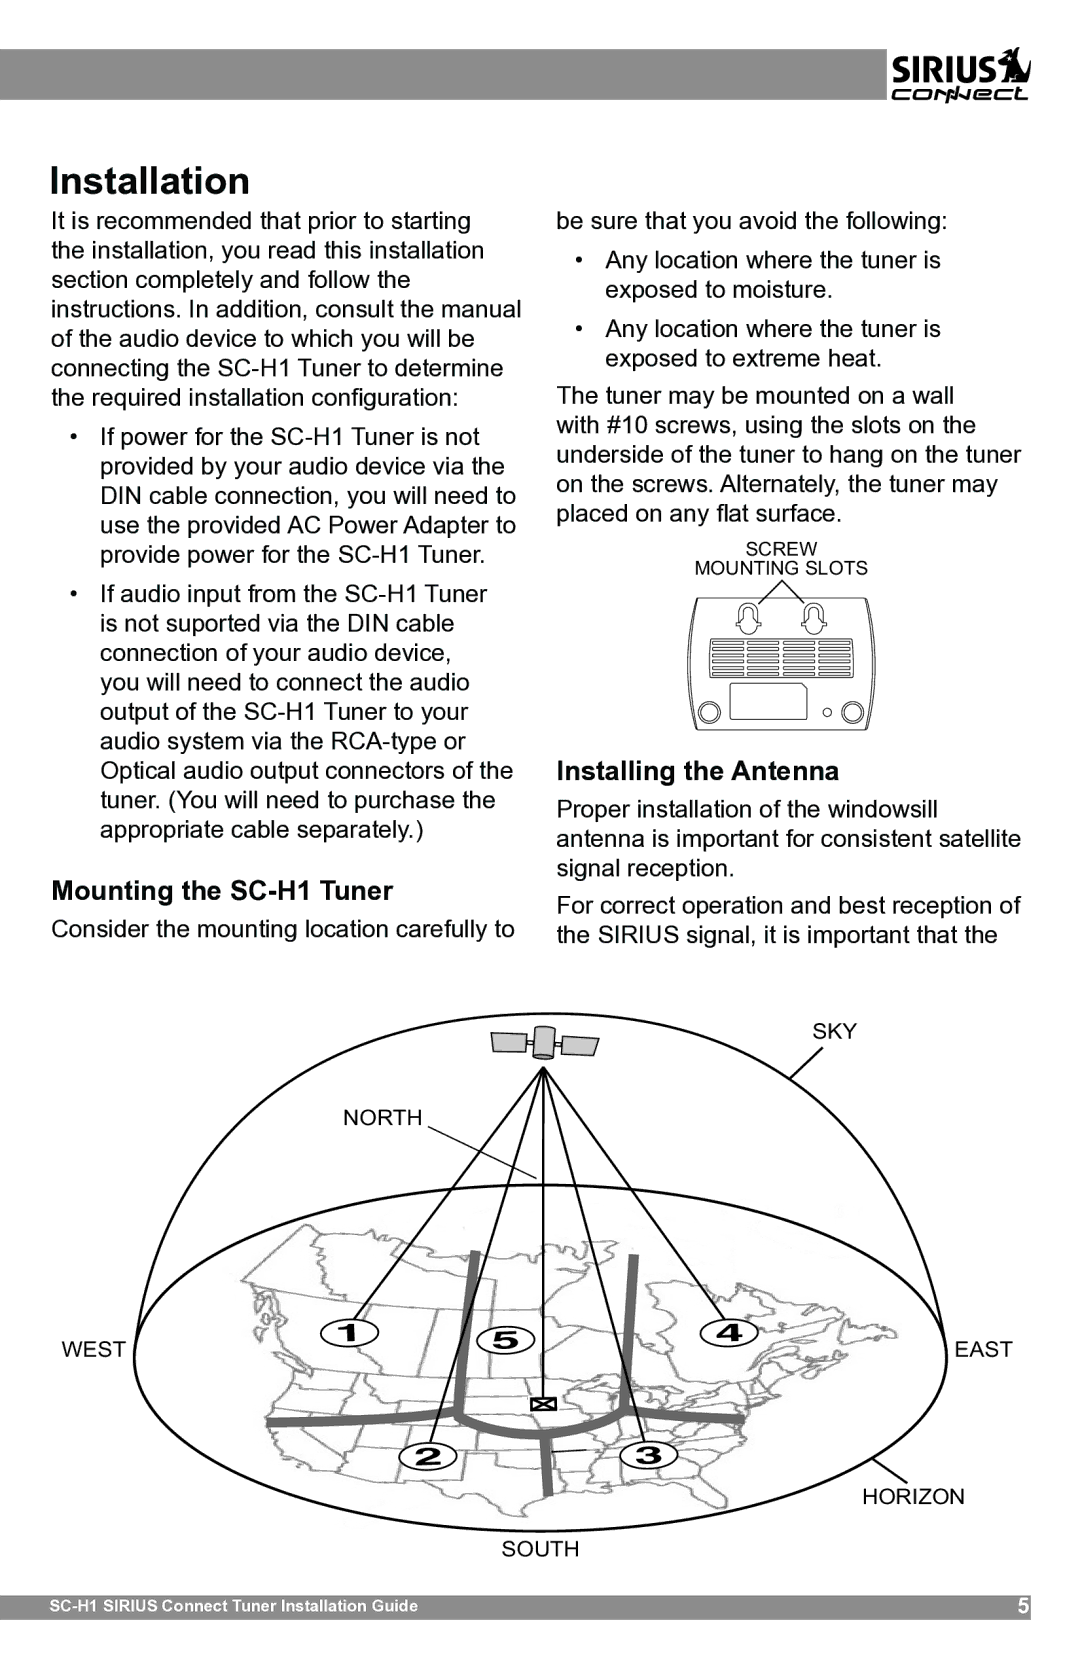
Sirius Satellite Radio, a prominent player in the satellite radio industry, is known for its vast array of programming and advanced features. The Sirius Satellite Radio SCH1, a model that exemplifies the brand's commitment to quality and user-friendly technology, showcases various characteristics that appeal to radio enthusiasts.One of the standout features of the SCH1 is its ability to deliver high-quality audio through a reliable satellite link. This makes it possible to enjoy crystal-clear music, sports, talk shows, and news, regardless of location. This level of audio fidelity sets Sirius apart from traditional AM/FM radio, which can suffer from interference and signal degradation.
The SCH1 is designed with user convenience in mind. It comes equipped with an easy-to-read LCD display, allowing users to navigate through channels and programming effortlessly. Users can also save favorite channels, ensuring quick access to their preferred stations. Additionally, the model typically includes a user-friendly interface that makes browsing through Sirius's extensive content catalog simple and intuitive.
Speaking of content, the SCH1 grants access to over 150 channels, covering a variety of genres including music, sports, talk radio, and exclusive programming. This wide selection ensures that there is something for everyone, catering to diverse tastes and preferences. Notably, Sirius also offers content from notable personalities and live performances, enhancing the overall listening experience.
Another key characteristic of the SCH1 is its capability for real-time data and features. Users can benefit from up-to-date traffic and weather information, which can be especially useful for those on the road. This emphasis on providing relevant information reflects Sirius's commitment to enhancing the overall driver experience.
In terms of technology, the SCH1 utilizes advanced satellite technologies to maintain a robust connection. The satellite network ensures users can enjoy their programming without the usual limits associated with terrestrial radio broadcasting. Compatibility with various vehicles and audio systems adds further appeal, allowing for seamless integration into existing setups.
Overall, the Sirius Satellite Radio SCH1 is a blend of convenience, diverse programming, and advanced technology, making it a notable choice for those seeking reliable and high-quality radio entertainment. Its features ensure that users have an enriching listening experience, regardless of their location, marking it as a strong contender in the satellite radio market.

