Wireless Keyless Entry | Model G5K |
1. INTRODUCTION
Thank you for your purchase of the Skylink garage door remote control, Model G5K. There are 3 different steps you need to setup in order to use this universal garage door remote control to operate your existing garage door opener. These 3 steps are:
1)Frequency switch – select the correct frequency according to the brand of your existing garage door opener.
2)Brand jumpers – place the brand jumpers at the correct position according to the brand of your existing garage door opener.
3)Code setting – Set the DIP switch on the Model G5K so that they match the code setting of your existing garage door opener.
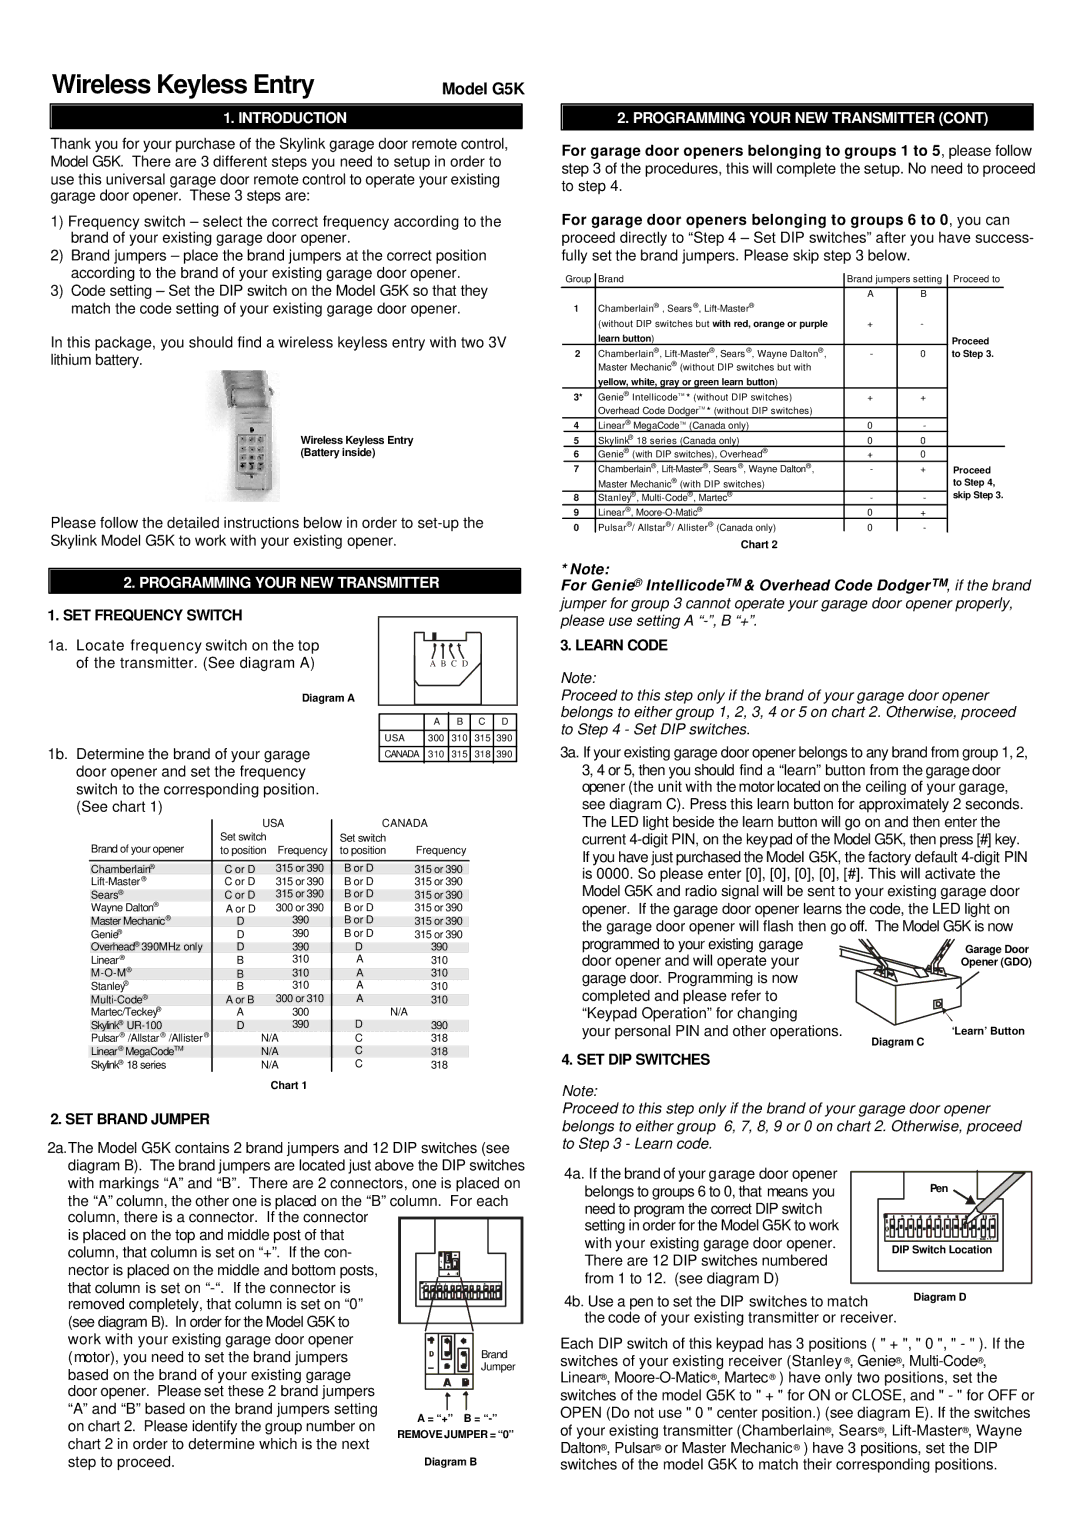
In this package, you should find a wireless keyless entry with two 3V lithium battery.
Wireless Keyless Entry (Battery inside)
Please follow the detailed instructions below in order to
2. PROGRAMMING YOUR NEW TRANSMITTER | |
1. SET FREQUENCY SWITCH |
|
1a. Locate frequency switch on the top |
|
of the transmitter. (See diagram A) | A B C D |
Diagram A |
|
|
|
|
|
|
|
| A | B | C | D |
|
|
|
|
|
|
|
|
|
|
|
|
|
|
|
| USA |
| 300 | 310 | 315 | 390 |
1b. Determine the brand of your garage |
|
|
|
|
|
| ||||
| CANADA | 310 | 315 | 318 | 390 | |||||
door opener and set the frequency |
|
|
|
|
|
|
| |||
switch to the corresponding position. |
|
|
|
|
|
|
| |||
(See chart 1) |
|
|
|
|
|
|
|
|
| |
|
| USA |
| CANADA |
|
|
| |||
|
|
|
|
|
| |||||
| Brand of your opener | Set switch |
| Set switch |
|
|
|
|
| |
| to position | Frequency | to position | Frequency |
|
| ||||
|
|
|
|
|
|
|
| |||
| Chamberlain® | C or D | 315 or 390 | B or D | 315 or 390 |
|
| |||
| C or D | 315 or 390 | B or D | 315 or 390 |
|
| ||||
| Sears® | C or D | 315 or 390 | B or D | 315 or 390 |
|
| |||
| Wayne Dalton® | A or D | 300 or 390 | B or D | 315 or 390 |
|
| |||
| Master Mechanic® | D | 390 | B or D | 315 or 390 |
|
| |||
| Genie® | D | 390 | B or D | 315 or 390 |
|
| |||
| Overhead® 390MHz only | D | 390 | D | 390 |
|
|
| ||
| Linear® | B | 310 | A | 310 |
|
|
| ||
| B | 310 | A | 310 |
|
|
| |||
| Stanley® | B | 310 | A | 310 |
|
|
| ||
| A or B | 300 or 310 | A | 310 |
|
|
| |||
| Martec/Teckey® | A | 300 |
| N/A |
|
|
|
|
|
| Skylink® | D | 390 | D | 390 |
|
|
| ||
| Pulsar® /Allstar ® /Allister ® | N/A | C | 318 |
|
|
| |||
| Linear® MegaCodeTM | N/A | C | 318 |
|
|
| |||
| Skylink® 18 series | N/A | C | 318 |
|
|
| |||
Chart 1
2. SET BRAND JUMPER
2a.The Model G5K contains 2 brand jumpers and 12 DIP switches (see diagram B). The brand jumpers are located just above the DIP switches with markings “A” and “B”. There are 2 connectors, one is placed on the “A” column, the other one is placed on the “B” column. For each column, there is a connector. If the connector ![]() is placed on the top and middle post of that
is placed on the top and middle post of that
column, that column is set on “+”. If the con- nector is placed on the middle and bottom posts,
that column is set on
door opener. Please set these 2 brand jumpers “A” and “B” based on the brand jumpers setting
on chart 2. Please identify the group number on chart 2 in order to determine which is the next step to proceed.
2. PROGRAMMING YOUR NEW TRANSMITTER (CONT)
For garage door openers belonging to groups 1 to 5, please follow step 3 of the procedures, this will complete the setup. No need to proceed to step 4.
For garage door openers belonging to groups 6 to 0, you can proceed directly to “Step 4 – Set DIP switches” after you have success- fully set the brand jumpers. Please skip step 3 below.
Group Brand | Brand jumpers setting Proceed to | |
| A | B |
1Chamberlain® , Sears ®,
| (without DIP switches but with red, orange or purple | + | - |
|
|
| learn button) |
|
|
| Proceed |
2 | Chamberlain®, | - | 0 |
| to Step 3. |
| Master Mechanic® (without DIP switches but with |
|
|
|
|
| yellow, white, gray or green learn button) |
|
|
|
|
3* | Genie® IntellicodeT M * (without DIP switches) | + | + |
|
|
| Overhead Code DodgerT M * (without DIP switches) |
|
|
|
|
4 | Linear® MegaCodeT M (Canada only) | 0 | - |
|
|
5 | Skylink® 18 series (Canada only) | 0 | 0 |
|
|
6 | Genie® (with DIP switches), Overhead® | + | 0 |
|
|
7 | Chamberlain®, | - | + |
| Proceed |
| Master Mechanic® (with DIP switches) |
|
|
| to Step 4, |
8 | Stanley®, | - | - |
| skip Step 3. |
9 | Linear®, | 0 | + |
|
|
0 | Pulsar®/ Allstar®/ Allister® (Canada only) | 0 | - |
|
|
Chart 2
* Note:
For Genie® IntellicodeTM & Overhead Code Dodger TM, if the brand jumper for group 3 cannot operate your garage door opener properly, please use setting A
3. LEARN CODE
Note:
Proceed to this step only if the brand of your garage door opener belongs to either group 1, 2, 3, 4 or 5 on chart 2. Otherwise, proceed to Step 4 - Set DIP switches.
3a. If your existing garage door opener belongs to any brand from group 1, 2, 3, 4 or 5, then you should find a “learn” button from the garage door opener (the unit with the motor located on the ceiling of your garage, see diagram C). Press this learn button for approximately 2 seconds. The LED light beside the learn button will go on and then enter the current ![]()
![]()
![]()
![]()
door opener and will operate your garage door. Programming is now completed and please refer to
“Keypad Operation” for changing your personal PIN and other operations.
Diagram C
4. SET DIP SWITCHES
Note:
Proceed to this step only if the brand of your garage door opener belongs to either group 6, 7, 8, 9 or 0 on chart 2. Otherwise, proceed to Step 3 - Learn code.
4a. If the brand of your garage door opener |
| |
belongs to groups 6 to 0, that means you | Pen | |
need to program the correct DIP switch |
| |
setting in order for the Model G5K to work |
| |
with your existing garage door opener. | DIP Switch Location | |
There are 12 DIP switches numbered | ||
| ||
from 1 to 12. (see diagram D) |
|
4b. Use a pen to set the DIP switches to match | Diagram D |
the code of your existing transmitter or receiver. |
|
Each DIP switch of this keypad has 3 positions ( " + ", " 0 ", " - " ). If the switches of your existing receiver (Stanley ®, Genie®,