
R204513E specifications
The Snapper R204513E is a versatile and efficient lawn mower designed to provide homeowners with an exceptional mowing experience. Equipped with advanced features and innovative technology, this mower is perfect for maintaining a well-manicured lawn with minimal effort.At the heart of the Snapper R204513E is its powerful engine. The mower is powered by a reliable 4-cycle engine, which offers excellent performance and efficiency. This engine provides ample torque to handle various grass types and terrains, ensuring a clean and consistent cut with every pass. Additionally, the mower's self-propelled drive system allows for easy maneuverability, reducing the strain on the user while navigating challenging landscapes.
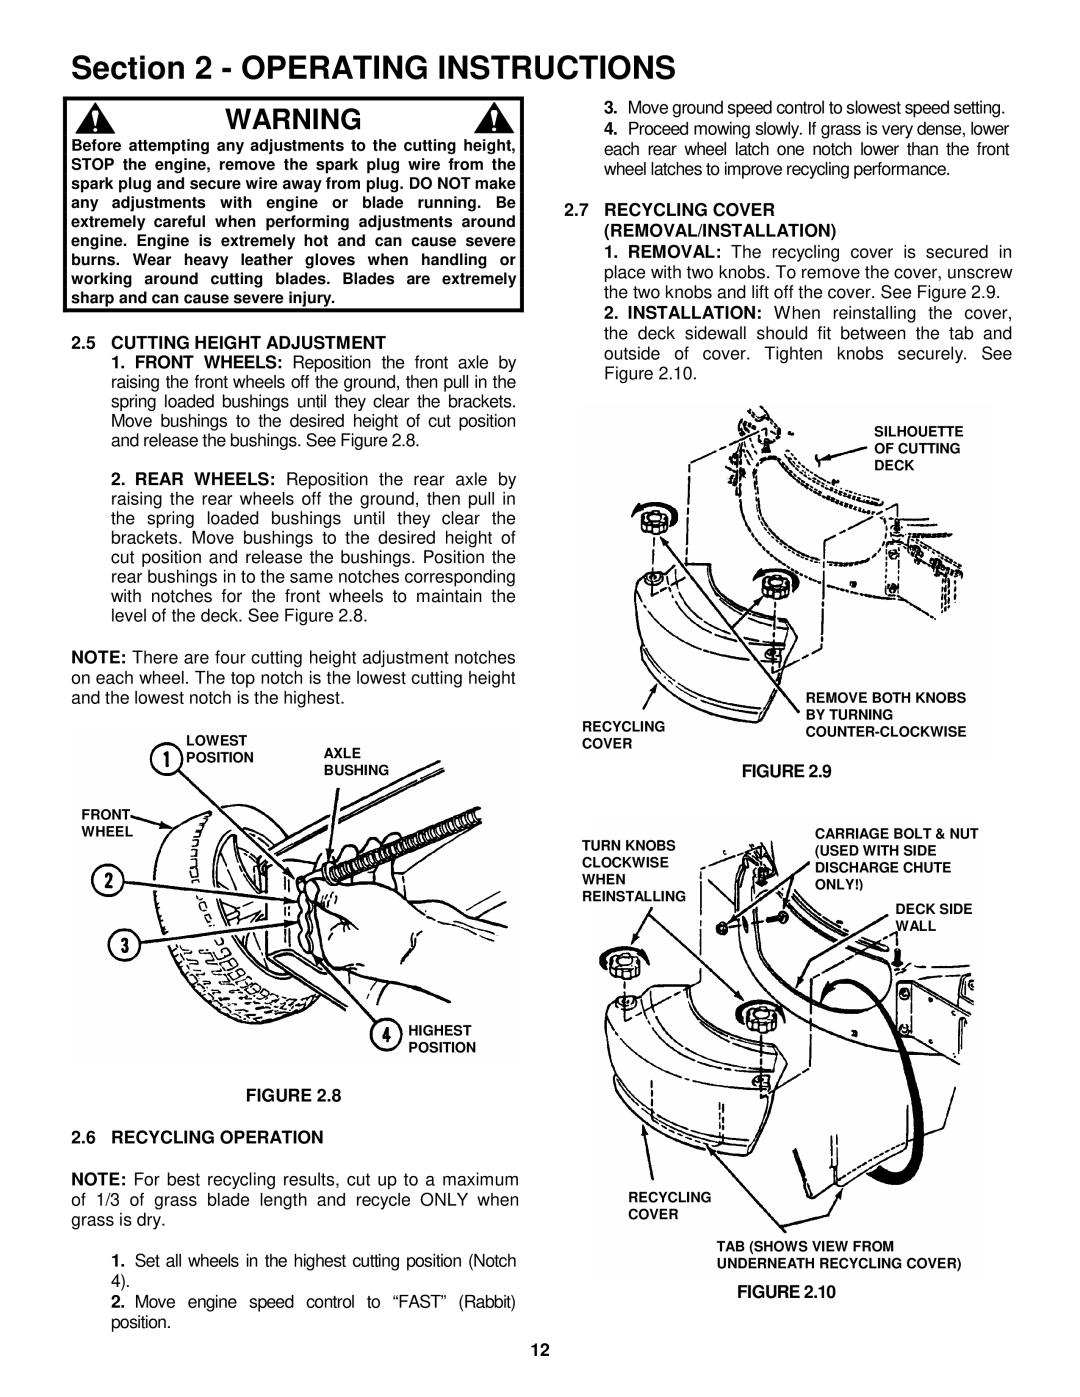
One of the standout features of the Snapper R204513E is its 21-inch cutting deck. This size strikes the perfect balance between compactness and coverage, making it suitable for both smaller yards and larger lawns. The cutting deck is adjustable, allowing users to choose from multiple cutting heights, ranging from 1 to 4 inches. This customization ensures that homeowners can achieve their desired lawn appearance, whether they prefer a closely trimmed look or a taller, more natural finish.
The mower also boasts a 3-in-1 cutting system. This innovative design allows users to choose between bagging, mulching, or side discharge options. The mulching feature is particularly beneficial for those looking to recycle grass clippings, as it finely chops grass and distributes it back into the lawn as natural fertilizer. The bagging option efficiently collects grass clippings, resulting in a neat and tidy yard.
In terms of user comfort and convenience, the Snapper R204513E includes adjustable ergonomic handles that can be set to various heights to suit the operator’s preference. This ensures a comfortable mowing position and less fatigue during use. Additionally, the mower is equipped with easy-to-access controls, making it simple to operate even for novice users.
Durability is a key characteristic of the Snapper R204513E. It is built with high-quality materials, including a robust steel deck that can withstand the rigors of regular mowing. The design also incorporates reliable components that require minimal maintenance, allowing users to focus more on lawn care and less on upkeep.
Overall, the Snapper R204513E combines power, versatility, and user-friendly features, making it a top choice for homeowners looking to enhance their lawn care routine. With its advanced technologies and thoughtful design, this mower is designed to deliver outstanding performance and reliability for years to come.