Step 4 — Setting the Clock
1 2 3
4 5 6
7 8 9
ON TIMER |
|
|
| PROGR | ||||
|
|
|
|
|
|
|
|
|
SLEEP
QUICK
TIMER
COUNTER
REC RESET
REW PLAY FF
STOP PAUSE
TIMER REC
TIMER
ON SCREEN ON/OFF CLEAR
MENU
OK
If you have made a mistake
Press ?to go back to the previous position.
If power is interrupted or you disconnect the mains lead for more than one day
You have to
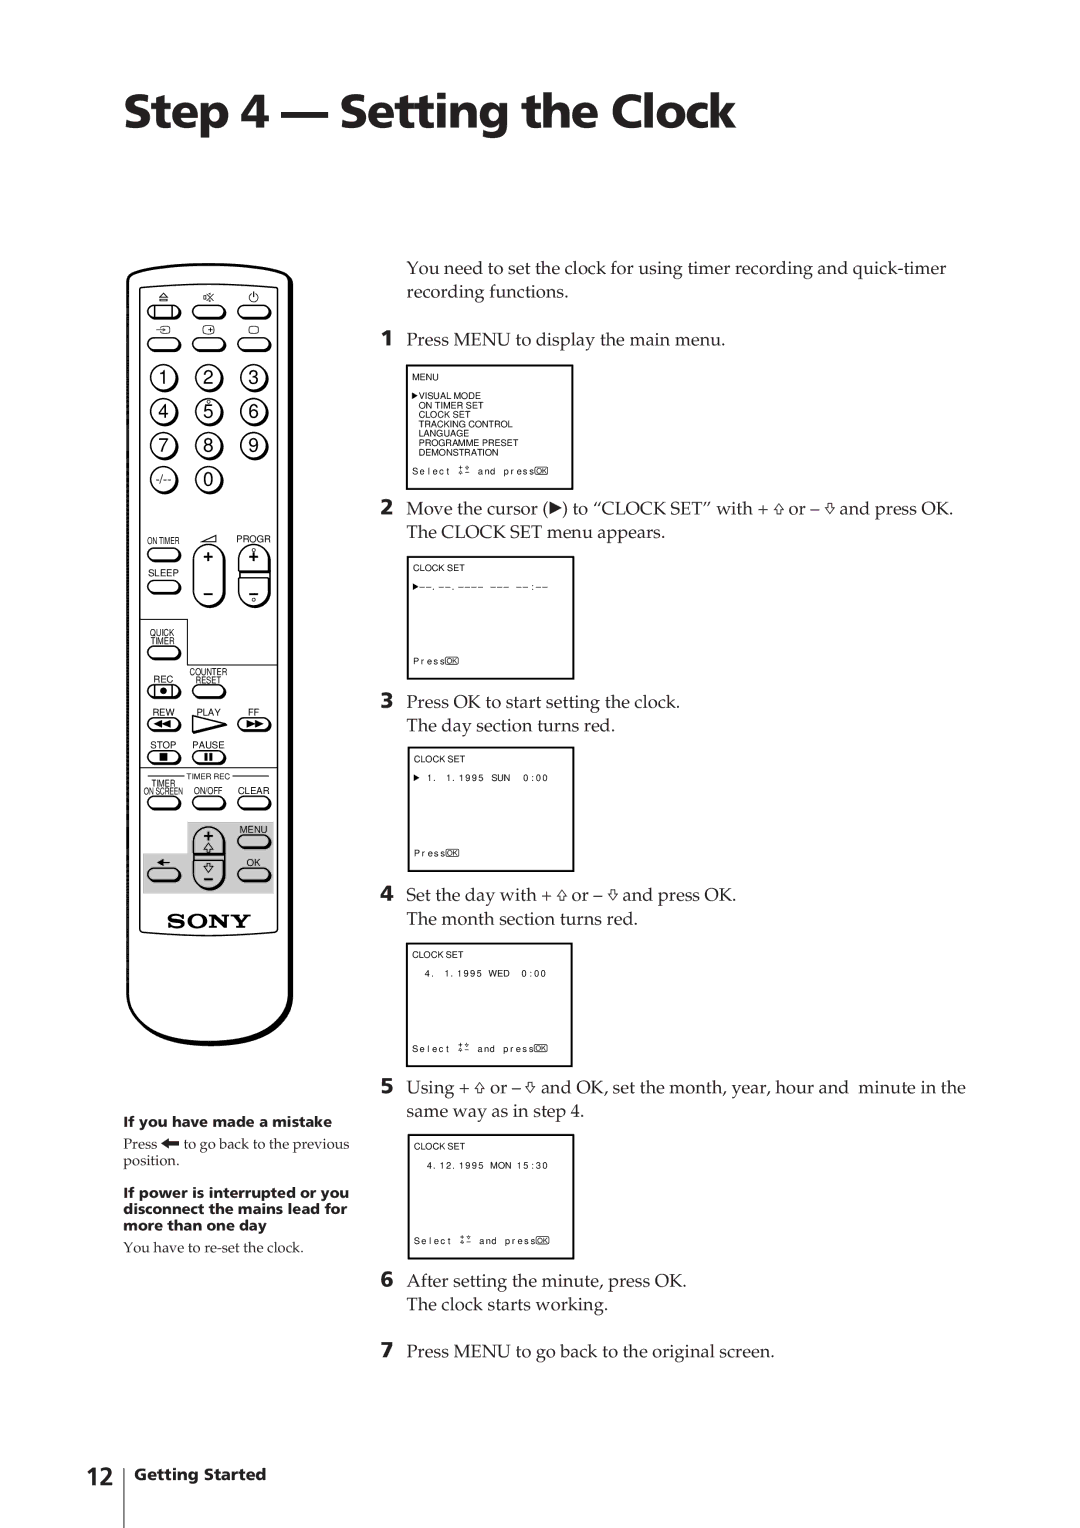
You need to set the clock for using timer recording and
1Press MENU to display the main menu.
MENU
![]() VISUAL MODE
VISUAL MODE
ON TIMER SET
CLOCK SET
TRACKING CONTROL
LANGUAGE
PROGRAMME PRESET
DEMONSTRATION
S e l e c t | a nd p r e s s OK |
2Move the cursor (z) to “CLOCK SET” with + ×or – Ãand press OK. The CLOCK SET menu appears.
CLOCK SET
![]() –
–
P r e s s OK
3Press OK to start setting the clock. The day section turns red.
CLOCK SET
1 . 1 . 1 9 9 5 SUN 0 : 0 0
P r e s s OK
4Set the day with + ×or – Ãand press OK. The month section turns red.
CLOCK SET
4 . 1 . 1 9 9 5 WED 0 : 0 0
S e l e c t | a nd p r e s s OK |
5Using + ×or – Ãand OK, set the month, year, hour and minute in the same way as in step 4.
CLOCK SET
4 . 1 2 . 1 9 9 5 MON 1 5 : 3 0
S e l e c t | a nd p r e s s OK |
6After setting the minute, press OK. The clock starts working.
7Press MENU to go back to the original screen.
12
Getting Started