
Home Theater System specifications
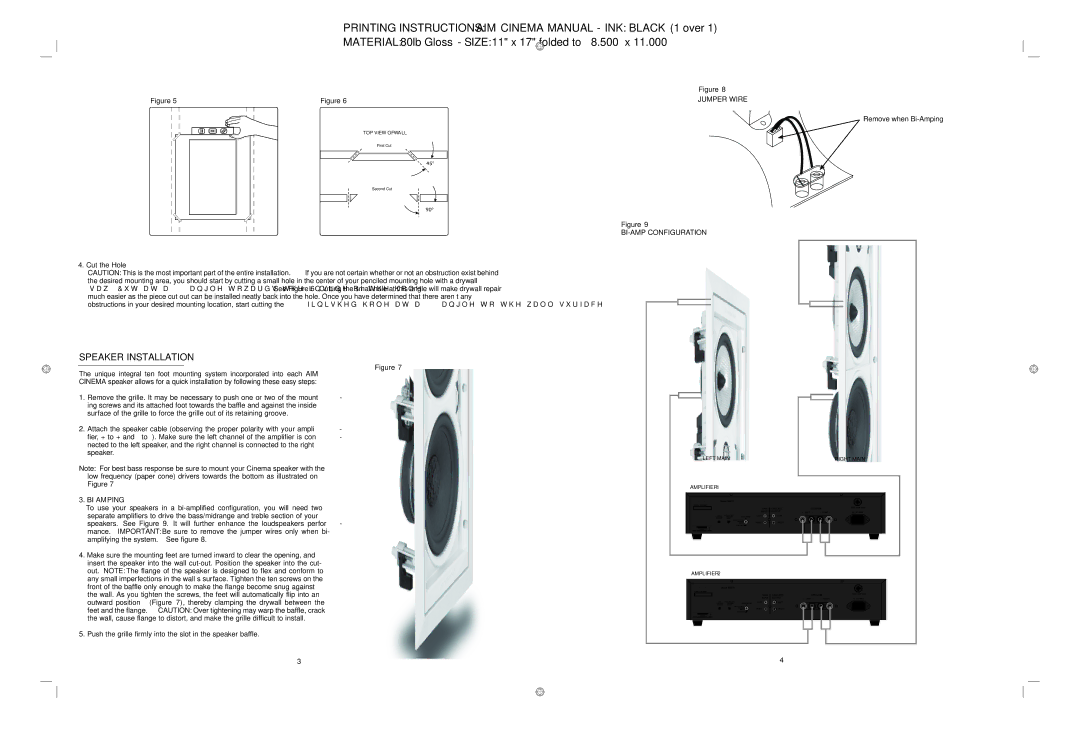
The SpeakerCraft Home Theater System is a cutting-edge audio solution designed to deliver an immersive cinematic experience right in the comfort of your home. Known for its commitment to quality and innovation, SpeakerCraft combines state-of-the-art technology with elegant design to bring superior sound and versatility to any space.One of the main features of the SpeakerCraft system is its modular design, allowing homeowners the flexibility to customize their setup based on individual preferences and room dimensions. This adaptability means users can select from various speaker configurations, whether they need in-wall, on-wall, or freestanding options. SpeakerCraft’s in-wall speakers are particularly noteworthy as they blend seamlessly with your home decor while offering high-fidelity sound that fills the room.
The system also incorporates advanced sound technologies to enhance audio performance. SpeakerCraft uses high-quality materials and engineering to produce speakers that feature optimized drivers and innovative crossover designs. These technologies ensure that audio playback is balanced and accurate, providing rich bass, clear mids, and crisp highs for a fully rounded listening experience.
Another key characteristic of the SpeakerCraft Home Theater System is its compatibility with various audio formats and technologies. The system supports Dolby Atmos and DTS:X, bringing an added dimension to sound by allowing audio to move in a three-dimensional space. This results in a more engaging experience, especially for action films and immersive gaming.
Moreover, the SpeakerCraft system integrates easily with home automation systems, providing users with convenient control options. Whether you prefer using a smartphone app, remote control, or voice commands via popular smart assistants, you can adjust settings and switch between sources with ease.
Durability and aesthetics are also at the forefront of SpeakerCraft’s design philosophy. The speakers are crafted to not only perform exceptionally but also to withstand the test of time, ensuring that your investment pays off for years to come. With options for customizable grilles and finishes, the system can match any interior design theme, making it a stylish addition to your home theater setup.
In summary, the SpeakerCraft Home Theater System combines flexibility, advanced audio technology, compatibility with the latest formats, and stylish design, making it a leading choice for anyone looking to elevate their home audio experience.