INSTALLATION CONSIDERATIONS
Prior to the actual installation of the speakers, it will be necessary to run wiring to the speaker location. See your Authorized SpeakerCraft dealer for more information on wiring installation. After the wire has been installed, you are ready to mount the speakers.
Preparation for and mounting of the speakers can happen at two different stages. If you are building a new ceiling, follow the section titled INSTALLATION PREPARATION - NEW CONSTRUCTION. If you are placing the speakers into an existing ceiling, follow INSTALLATION PREPARATION - FINISHED CEILING. There are different considerations for each application. Please care- fully follow the recommendations for your application.
INSTALLATION PREPARATION - NEW CONSTRUCTION
When planning the installation of speakers into a ceiling being built, please follow these instructions carefully:
1. Determine Placement
Determine where in the ceiling the speakers will be placed using the recommendations under SPEAKER PLACEMENT. Pay careful attention to the section on avoiding obstructions.
2. Mount InstaLLock Bracket
Before drywall is installed, mount the SpeakerCraft InstaLLock New Construction Brackets for the AccuFit Ultra Slim Series (Part No. BKT90611) following the instructions included with the bracket.
3. The Location is Ready for Drywall
The bracket provides a stable opening around which the drywall installer can cut out an opening, providing a perfect location for installation of the AccuFit Ultra Slim Series speaker.
INSTALLATION PREPARATION - FINISHED CEILING
When the speakers will be installed into a finished ceiling, please follow these instructions carefully:
1. Trace Template
Place the
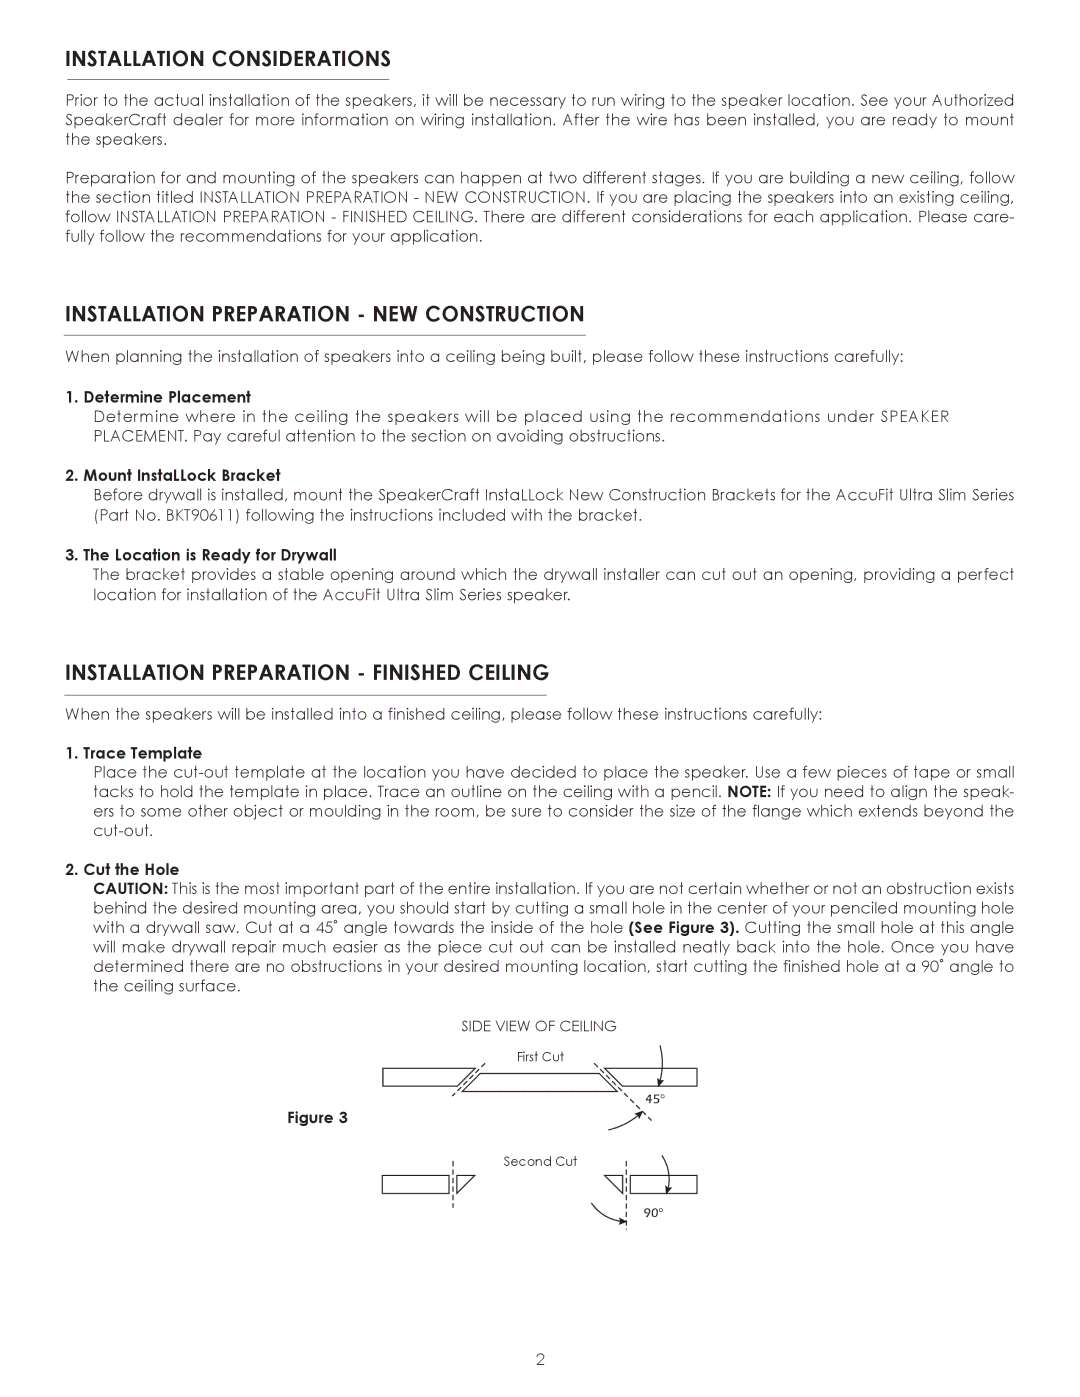
2. Cut the Hole
CAUTION: This is the most important part of the entire installation. If you are not certain whether or not an obstruction exists behind the desired mounting area, you should start by cutting a small hole in the center of your penciled mounting hole with a drywall saw. Cut at a 45˚ angle towards the inside of the hole (See Figure 3). Cutting the small hole at this angle will make drywall repair much easier as the piece cut out can be installed neatly back into the hole. Once you have determined there are no obstructions in your desired mounting location, start cutting the finished hole at a 90˚ angle to the ceiling surface.
SIDE VIEW OF CEILING
First Cut
Figure 3
Second Cut
2