Installing the Remote Unit
1.Connect the Remote Unit to the Cat5 cable connection from the Local Unit, to the “CAT5 IN” port.
2.Connect the VGA cable from the remote display(s) to the opposite side of the Remote Unit, marked “Monitor”. You may choose to have either one or two displays at the remote location connected to the Remote Unit. Both outputs display the same image.
3.Connect the Power Adapter (provided) into an appropriate power source and plug the opposite end into the power connector on the Remote Unit. The POWER LED will light up.
CAUTION: The Category 5 Ethernet cables that connect the Local and Remote Units carry electrical current and should not be plugged in to other devices, as they may cause damage. We strongly recommend marking the Ethernet cables you are using with this product at both locations for easy identification.
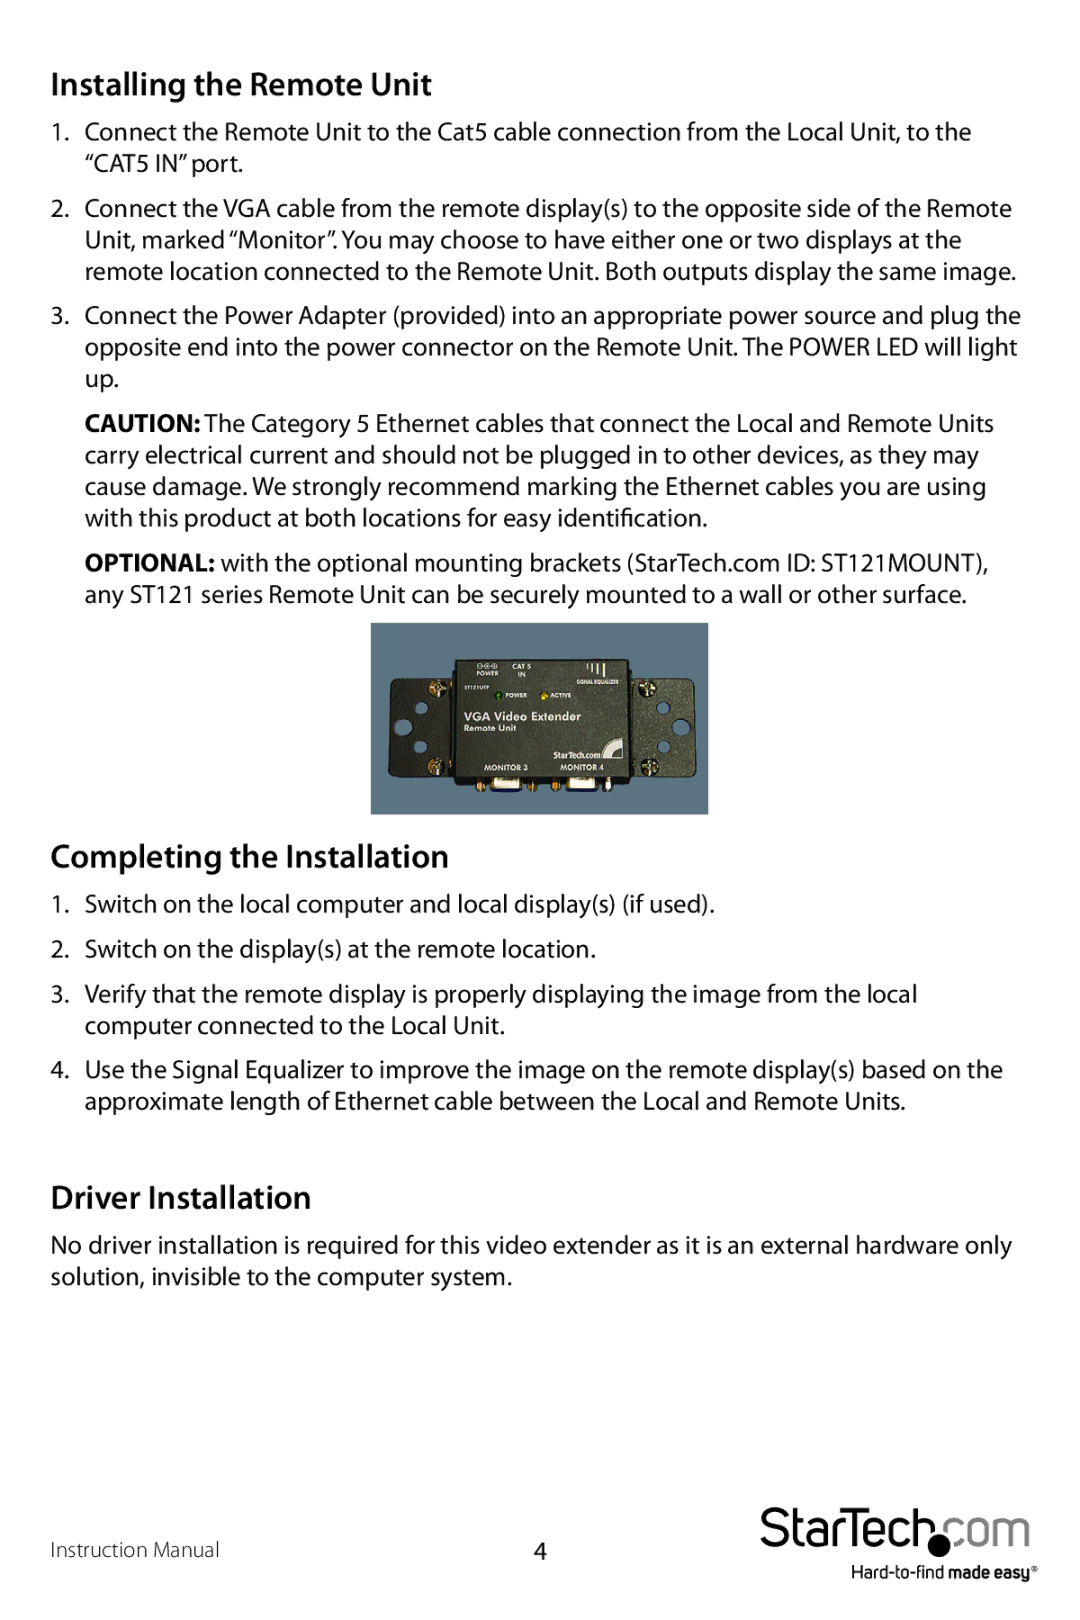
OPTIONAL: with the optional mounting brackets (StarTech.com ID: ST121MOUNT), any ST121 series Remote Unit can be securely mounted to a wall or other surface.
Completing the Installation
1.Switch on the local computer and local display(s) (if used).
2.Switch on the display(s) at the remote location.
3.Verify that the remote display is properly displaying the image from the local computer connected to the Local Unit.
4.Use the Signal Equalizer to improve the image on the remote display(s) based on the approximate length of Ethernet cable between the Local and Remote Units.
Driver Installation
No driver installation is required for this video extender as it is an external hardware only solution, invisible to the computer system.
Instruction Manual | 4 |