HSB220SAT25B specifications
The StarTech.com HSB220SAT25B is an advanced external hard drive enclosure that caters to the growing storage needs of modern users. Designed with versatility and performance in mind, this enclosure supports both 2.5-inch SATA SSDs and HDDs, making it an ideal solution for anyone looking to expand their data storage options without compromising on speed or accessibility.One of the standout features of the HSB220SAT25B is its USB 3.0 interface, which provides exceptional transfer speeds of up to 5 Gbps. This means users can move large files and backups quickly, significantly reducing wait times during data transfers. The backward compatibility with USB 2.0 ensures that it can be used with a wide range of devices, making it a flexible choice for varying setups.
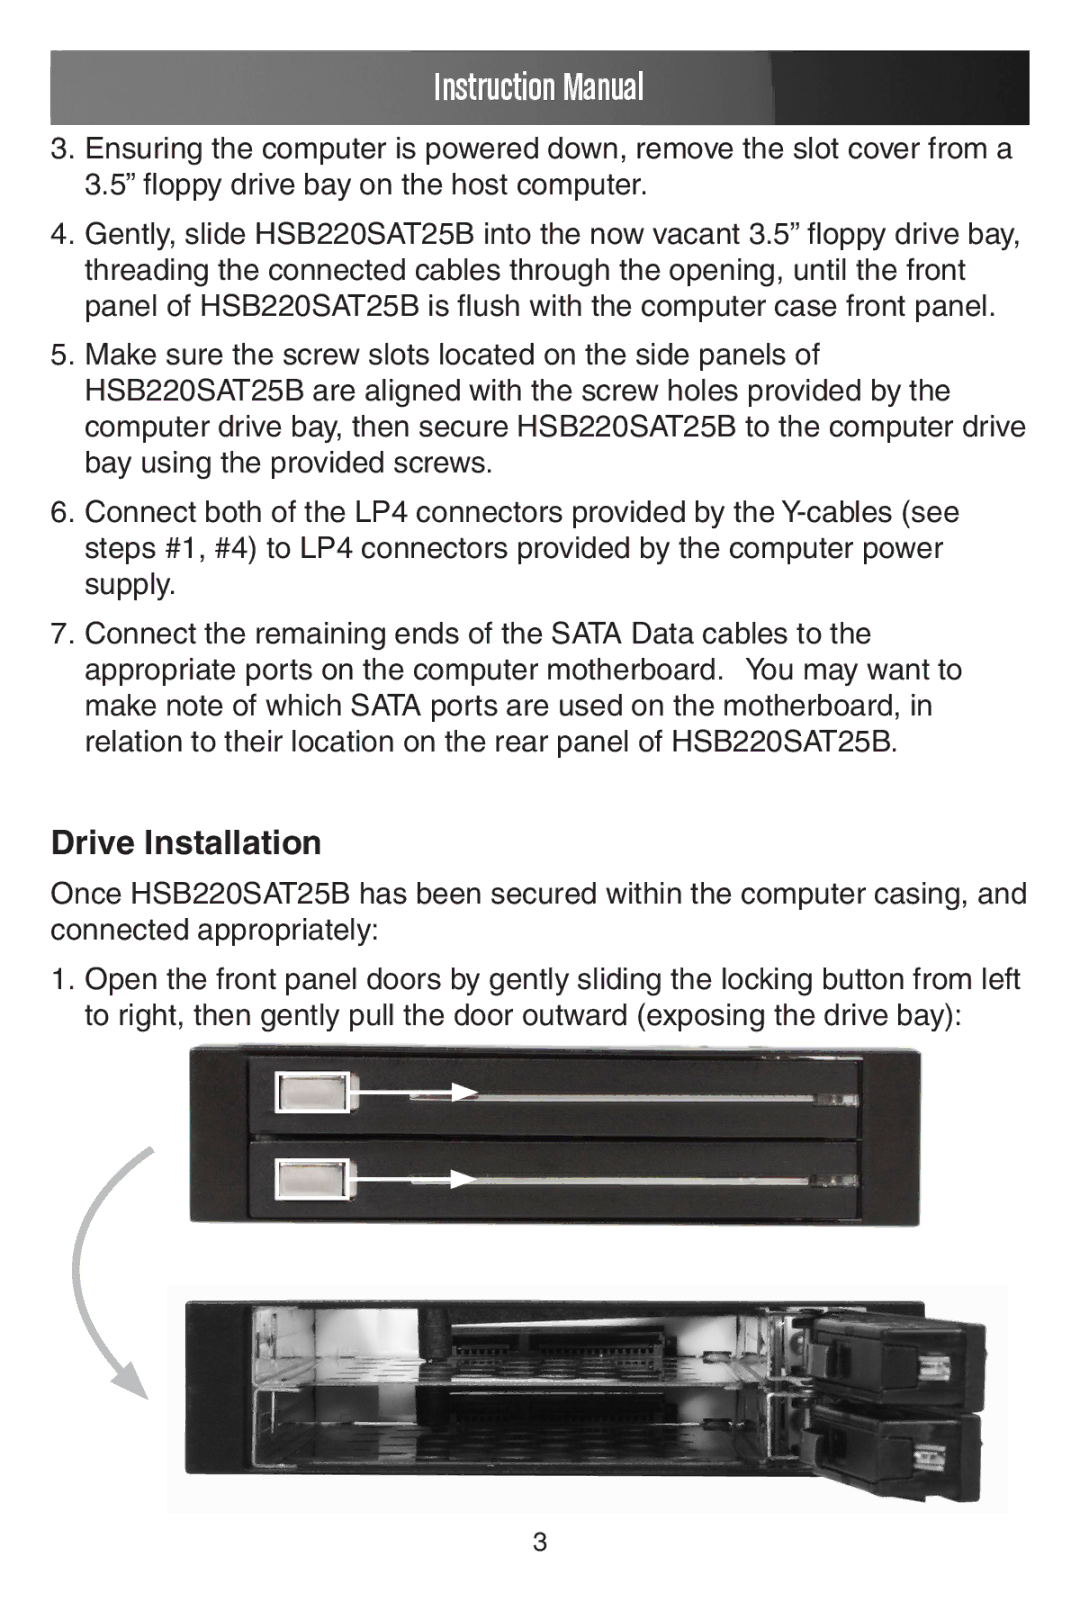
The HSB220SAT25B is equipped with a tool-free design that simplifies the installation process. With no screws required, users can easily slide their SATA drives in and out of the enclosure, allowing for quick upgrades and replacements. This feature is particularly beneficial for tech enthusiasts and professionals who frequently change drives for various projects.
Durability is another key aspect of this enclosure. Its robust construction not only protects the mounted drives but also aids in heat dissipation, helping to extend the lifespan of the storage media. The built-in LED indicator provides visibility into the power and data transfer status, keeping users informed during operation.
The enclosure supports UASP (USB Attached SCSI Protocol), which enhances performance by allowing for faster data transfers and improved efficiency during concurrent data transfers. This technology is invaluable for users who need to handle multiple data transactions simultaneously.
In terms of portability, the sleek and compact design of the HSB220SAT25B makes it easy to carry, whether for professional use, travel, or daily backups. Ideal for both individual users and businesses, this external enclosure serves as a reliable solution for expanding storage capacity and safeguarding important data.
Overall, the StarTech.com HSB220SAT25B combines performance, convenience, and durability, making it an exceptional choice for those seeking a robust external storage solution. With its innovative features and user-friendly design, it is well-equipped to meet the demands of both casual users and professionals alike.

