Instruction Manual
Installation
Please note: IDE1810U2Z includes two enclosure frames that can be used to house the hard drive, depending on the physical size of the drive. Prior to installation, please note which frame is suitable to accomodate the hard drive you will be using, allowing enough room within the enclosure to safely contain the hard drive and the necessary CE ATA connector.
WARNING: Hard drives require careful handling, especially when being transported. If you are not careful with your hard disk, lost data may result. Always handle your hard drive and storage device with caution.
Optional: Configuring the Drive Enclosure Frame
If you find that the frame used in the
To replace the enclosure frame (according to the size requirements of the hard drive):
1.Remove the screw located at the top of the enclosure frame.
2.Using the clear plastic tab, gently pull the front panel off of the enclosure frame.
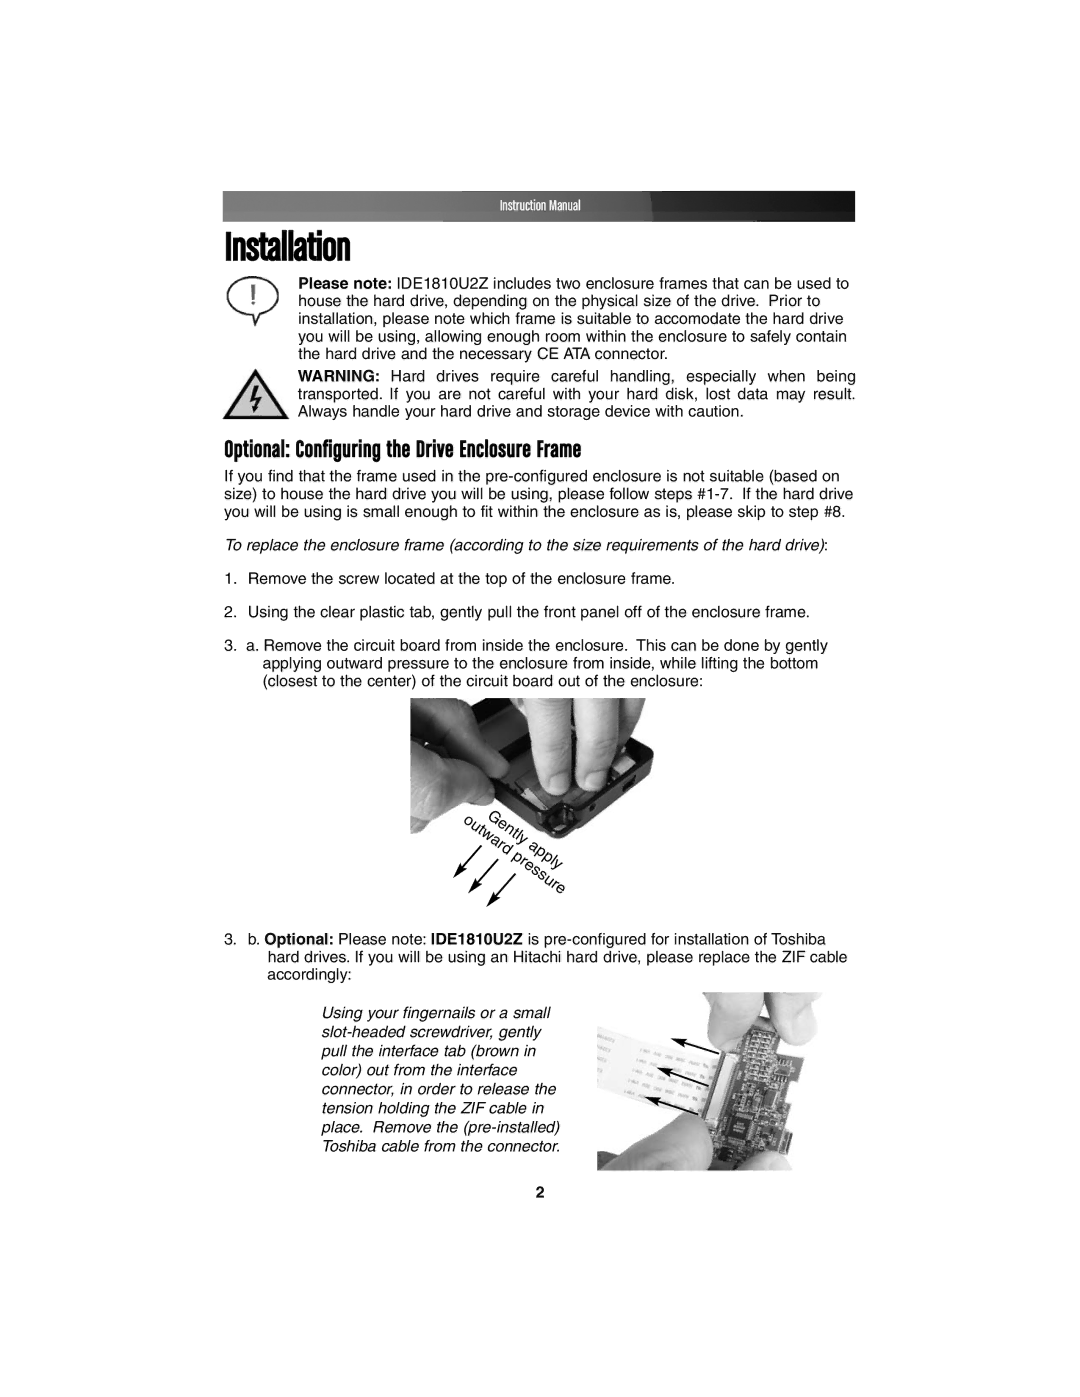
3.a. Remove the circuit board from inside the enclosure. This can be done by gently applying outward pressure to the enclosure from inside, while lifting the bottom (closest to the center) of the circuit board out of the enclosure:
Gently |
| |
outward |
| apply |
| pressure | |
3.b. Optional: Please note: IDE1810U2Z is
Using your fingernails or a small
2