GBENGLISH

SYMBOLS

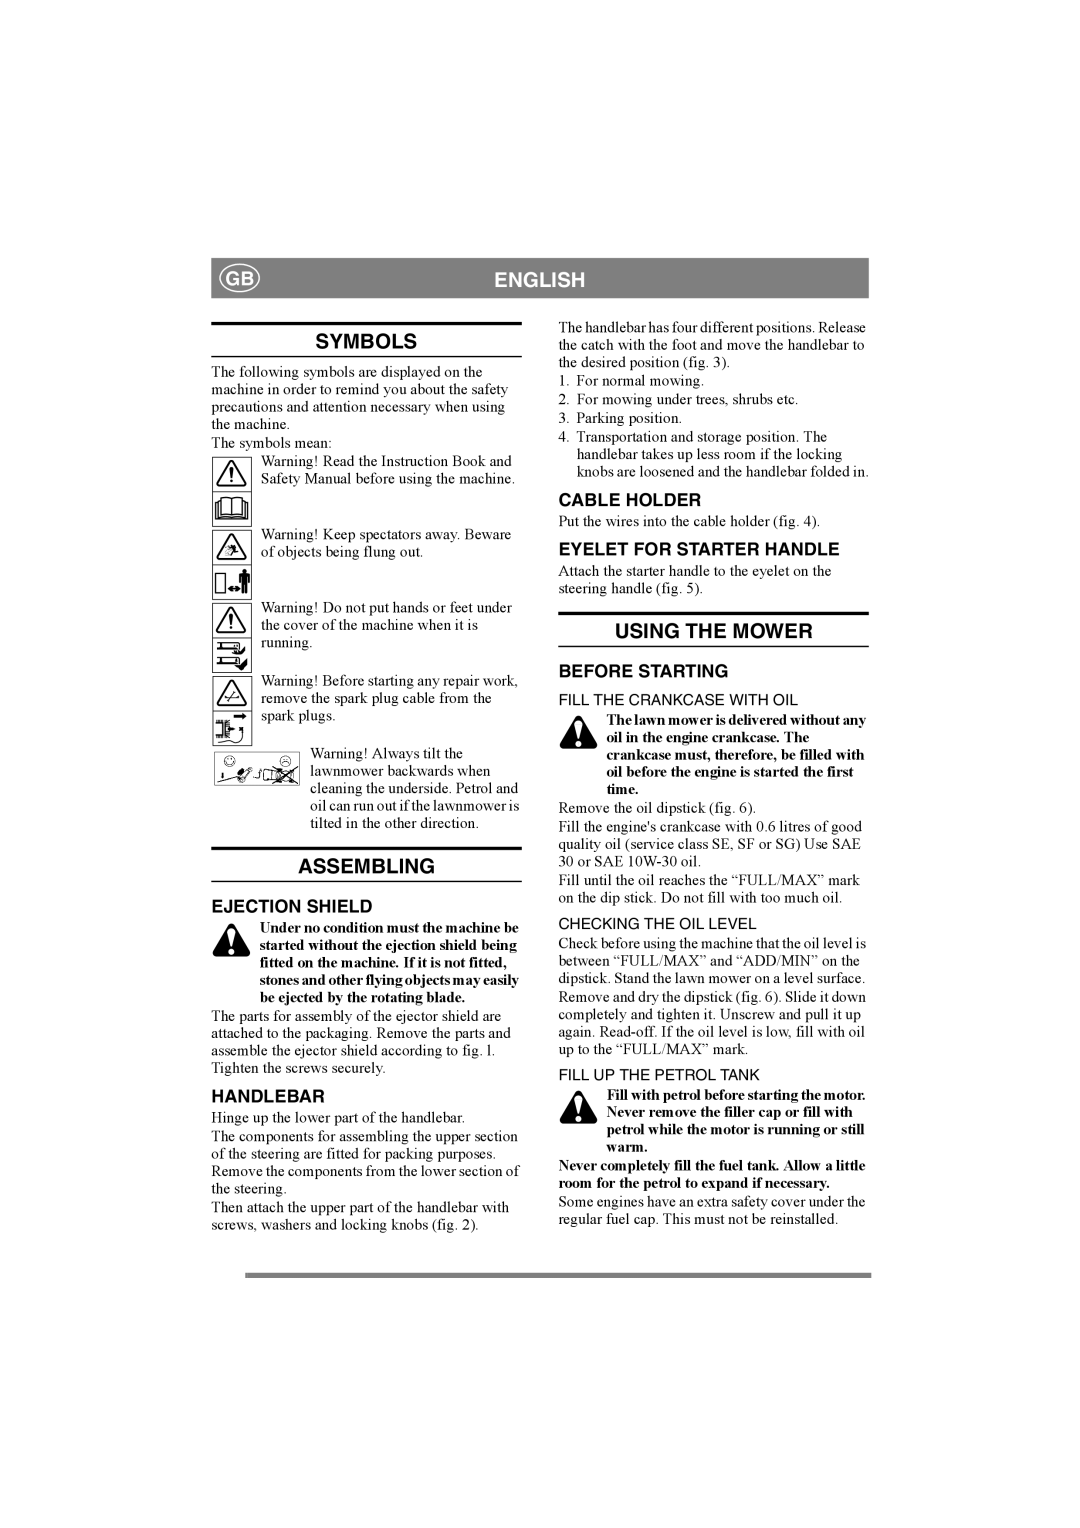
The following symbols are displayed on the machine in order to remind you about the safety precautions and attention necessary when using the machine.

The symbols mean:

Warning! Read the Instruction Book and Safety Manual before using the machine.

The handlebar has four different positions. Release the catch with the foot and move the handlebar to the desired position (fig. 3).

1.For normal mowing.

2.For mowing under trees, shrubs etc.

3.Parking position.

4.Transportation and storage position. The handlebar takes up less room if the locking knobs are loosened and the handlebar folded in.

Warning! Keep spectators away. Beware of objects being flung out.

Warning! Do not put hands or feet under the cover of the machine when it is running.

Warning! Before starting any repair work, remove the spark plug cable from the spark plugs.

Warning! Always tilt the lawnmower backwards when cleaning the underside. Petrol and oil can run out if the lawnmower is tilted in the other direction.

ASSEMBLING

EJECTION SHIELD

Under no condition must the machine be started without the ejection shield being fitted on the machine. If it is not fitted, stones and other flying objects may easily be ejected by the rotating blade.

The parts for assembly of the ejector shield are attached to the packaging. Remove the parts and assemble the ejector shield according to fig. l. Tighten the screws securely.

HANDLEBAR

Hinge up the lower part of the handlebar.

The components for assembling the upper section of the steering are fitted for packing purposes. Remove the components from the lower section of the steering.

Then attach the upper part of the handlebar with screws, washers and locking knobs (fig. 2).

CABLE HOLDER

Put the wires into the cable holder (fig. 4).

EYELET FOR STARTER HANDLE

Attach the starter handle to the eyelet on the steering handle (fig. 5).

USING THE MOWER

BEFORE STARTING

FILL THE CRANKCASE WITH OIL

The lawn mower is delivered without any oil in the engine crankcase. The crankcase must, therefore, be filled with oil before the engine is started the first time.

Remove the oil dipstick (fig. 6).

Fill the engine's crankcase with 0.6 litres of good quality oil (service class SE, SF or SG) Use SAE 30 or SAE 10W-30 oil.

Fill until the oil reaches the “FULL/MAX” mark on the dip stick. Do not fill with too much oil.

CHECKING THE OIL LEVEL

Check before using the machine that the oil level is between “FULL/MAX” and “ADD/MIN” on the dipstick. Stand the lawn mower on a level surface. Remove and dry the dipstick (fig. 6). Slide it down completely and tighten it. Unscrew and pull it up again. Read-off. If the oil level is low, fill with oil up to the “FULL/MAX” mark.

FILL UP THE PETROL TANK

Fill with petrol before starting the motor.

Never remove the filler cap or fill with petrol while the motor is running or still warm.

Never completely fill the fuel tank. Allow a little room for the petrol to expand if necessary.

Some engines have an extra safety cover under the regular fuel cap. This must not be reinstalled.

Page 4
Image 4
Stiga DINO 45 EURO manual Symbols, Assembling, Using the Mower

DINO 45 EURO specifications

The Stiga DINO 45 EURO is a remarkable lawn mower that blends efficiency with user-friendly features, making it an ideal choice for homeowners seeking reliable outdoor maintenance. Designed to tackle the demands of small to medium-sized lawns, this mower stands out for its excellent performance, innovative technologies, and versatility.

One of the main features of the Stiga DINO 45 EURO is its robust 140cc four-stroke petrol engine. This powerful engine ensures a steady and efficient performance, allowing the mower to navigate various grass types with ease. The reliable starting system coupled with minimal maintenance requirements provides users with a worry-free mowing experience.

The DINO 45 EURO is equipped with a 45 cm cutting width, allowing for swift mowing sessions while ensuring a neat and tidy lawn finish. It boasts a 5-position cutting height adjustment feature, ranging from 25 mm to 75 mm, enabling users to customize the grass length according to their lawn's needs. This flexibility facilitates optimal results, whether you're mowing a luxurious garden or a more rugged area.

In terms of build quality, the Stiga DINO 45 EURO boasts a sturdy steel chassis, ensuring durability and longevity. The inclusion of durable, composite wheels enhances maneuverability across various terrains, preventing wear and tear. Additionally, the mower’s lightweight design ensures easy handling, making it less strenuous for users to maneuver around obstacles in the garden.

Another key aspect of the DINO 45 EURO is its collection capabilities. The mower features a 50-liter grass collector, allowing for efficient grass collection. The collector's design ensures easy removal and emptying, which saves time and effort during the mowing process. Furthermore, the rear discharge option provides added versatility for users who prefer mulching or leaving clippings on the lawn.

User comfort is prioritized in the design of the DINO 45 EURO, with adjustable, ergonomic handles that reduce strain during extended use. Safety features, including a blade brake and a safety switch, are integrated into the mower to ensure peace of mind while operating.

Overall, the Stiga DINO 45 EURO is a well-engineered, reliable lawn mower that combines performance, convenience, and durability. Whether for regular lawn maintenance or sporadic use, it remains an excellent investment for anyone looking to maintain a pristine outdoor space. Its thoughtful features ensure that mowing is not just a task, but a smooth and enjoyable experience.