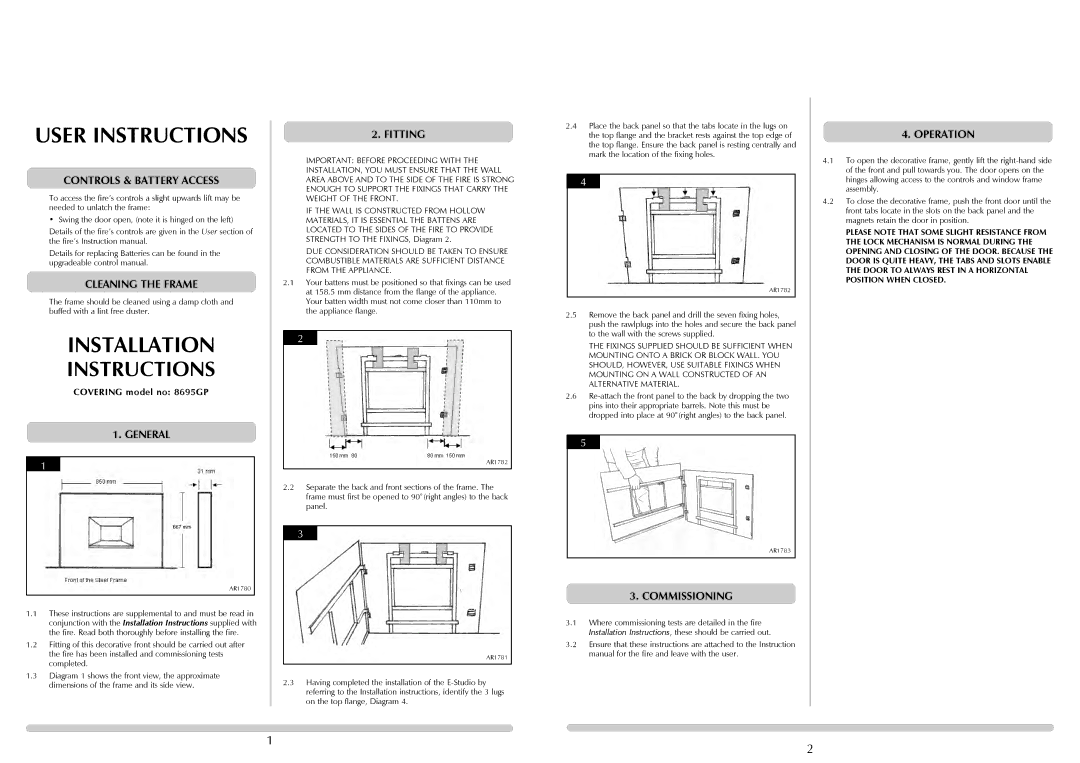
Steel Frame specifications
The Stovax Steel Frame is a modern marvel in the world of contemporary heating solutions, adeptly combining aesthetic appeal with unrivaled functionality. This innovative product stands out in the market for its sleek design and versatile performance, making it a centerpiece in any living space while providing effective heating.One of the key features of the Stovax Steel Frame is its robust construction. Made from high-quality steel, it ensures durability and longevity, accommodating the daily demands of modern life. The frame's minimalist design complements various interior styles, ranging from industrial to minimalist, allowing homeowners to effortlessly integrate the heating unit into their living environment.
The Stovax Steel Frame is engineered to support a wide range of stoves, making it a versatile choice for consumers. It enhances the overall aesthetic of the stove while increasing its heating efficiency. The frame is designed to provide optimal air circulation, which aids in maximizing the performance of the stove, ensuring that heat is distributed evenly throughout the space.
In terms of technology, the Stovax Steel Frame is equipped with advanced heat management systems. These technologies optimize burning efficiency and minimize emissions, adhering to the latest environmental standards. By using combustion control technology, users can easily adjust the airflow, providing them with greater control over the heating output and thus enhancing fuel efficiency.
Moreover, the Stovax Steel Frame is unparalleled in adaptability. Its modular design allows it to accommodate different stove models and sizes, ensuring that customers have the flexibility they need to create their perfect heating solution. Whether for a small flat or a spacious home, the Steel Frame can be tailored to meet specific heating needs.
Another significant characteristic of the Stovax Steel Frame is its commitment to safety. Equipped with features such as heat-resistant materials and secure mounting options, it provides peace of mind for users. The frame's durable fabrications ensure that it can withstand high temperatures, preventing any potential hazards.
In conclusion, the Stovax Steel Frame encapsulates the perfect blend of style, innovation, and safety in heating solutions. With its robust structure, advanced technologies, and adaptable design, it remains a popular choice among homeowners looking for effective and aesthetically pleasing heating alternatives. As energy efficiency becomes increasingly important, the Steel Frame positions itself as a forward-thinking choice for sustainable living.

