CONTROLES DE FUNCIONAMIENTO Y FUNCIONES
Panel frontal
1.Compartimiento del videocasete
2.Botón de parada/expulsión
3.Botón de rebobinado
4.Botón de reproducción
5.Botón de avance rápido
6.Botón de pausa/imagen fija
7.Botón de menús
8.Botón de grabación con un toque
9.Botones de selección de canales
10.Botón de la velocidad de cinta
11.Indicadores
12.Sensor de control remoto
13.Botón de videograbadora/televisor
14.Botón de la alimentación
15.Terminal de entrada de audio
16.Terminal de entrada de vídeo
Indicadores
17.Indicador de alimentación
18.Indicador de videograbadora/televisor
19.Indicador de videocasete introducido
20.Indicador del temporizador
21.Indicador de grabación
Panel trasero
22.Cable de alimentación
23.Terminal de salida de audio
24.Terminal de entrada de audio
25.Terminal de entrada de antena
26.Terminal de salida de vídeo
27.Terminal de entrada de vídeo
28.Conmutador selector de canales CH3/CH4
29.Terminal de salida de antena
Mando a distancia
1.Botón de la alimentación (POWER)
2.Botones de número (NUMBER)
3.Botón de menús (MENU)
4.Botón de visualizador (DISPLAY)
5.Botón de cámara lenta (SLOW)
6.Botón de rebobinado (REW)
7.Botón de parada (STOP)
8.Botón de grabación (RECORD)
9.Botón de pausa/imagen fija (PAUSE/STILL)
10.Botón de avance rápido (F.FWD)
11.Botón de reproducción (PLAY)
12.Botón de memoria del contador (COUNTER/MEMORY)
13.Botón de salida/reposición (EXIT/RESET)
14.Botón del modo de búsqueda (SEARCH MODE)
15.Botones de selección de canales (CHANNEL)
16.Botón de videograbadora/televisor (VCR/TV)
17.Botón de expulsión (EJECT)
PREPARACIÓN DE CANALES
(La antena o la caja de televisión por cable
deberá estar conectada)
NOTA: Cuando utilice su nueva videograbadora por primera vez, o en el caso de ser necesario después de producirse un fallo en la alimentación, la videograbadora se pondrá inicialmente en el modo de preajuste cuando se pulse [POWER].
1.Encienda el televisor y ponga el televisor en el canal 3 ó 4. Ahora ponga el conmutador de la parte trasera de la videograbadora para que concuerde con el canal seleccionado en el televisor.
2.Pulse [POWER] para encender la videograbadora.
3.Seleccione "ENGLISH" o "ESPAÑOL" (Spanish) pulsando [PLAY] o [STOP]. Y luego pulse [F.FWD].
4. Pulse una vez [F.FWD].
El sintonizador explora y memoriza todos los canales activos de su zona. Tras la exploración, el sintonizador se detiene en el canal memorizado más bajo.
PREPARACIÓN DEL RELOJ
1.Pulse [MENU] hasta que aparezca el menú principal. (Si el reloj no está puesto en hora y se pulsa [MENU], el menú AJUSTE DE RELOJ aparece en primer lugar. En este caso, siga el paso 3.)
2.Pulse [PLAY] o [STOP] para indicar a "AJUSTE DE RELOJ". Luego, pulse [F.FWD].
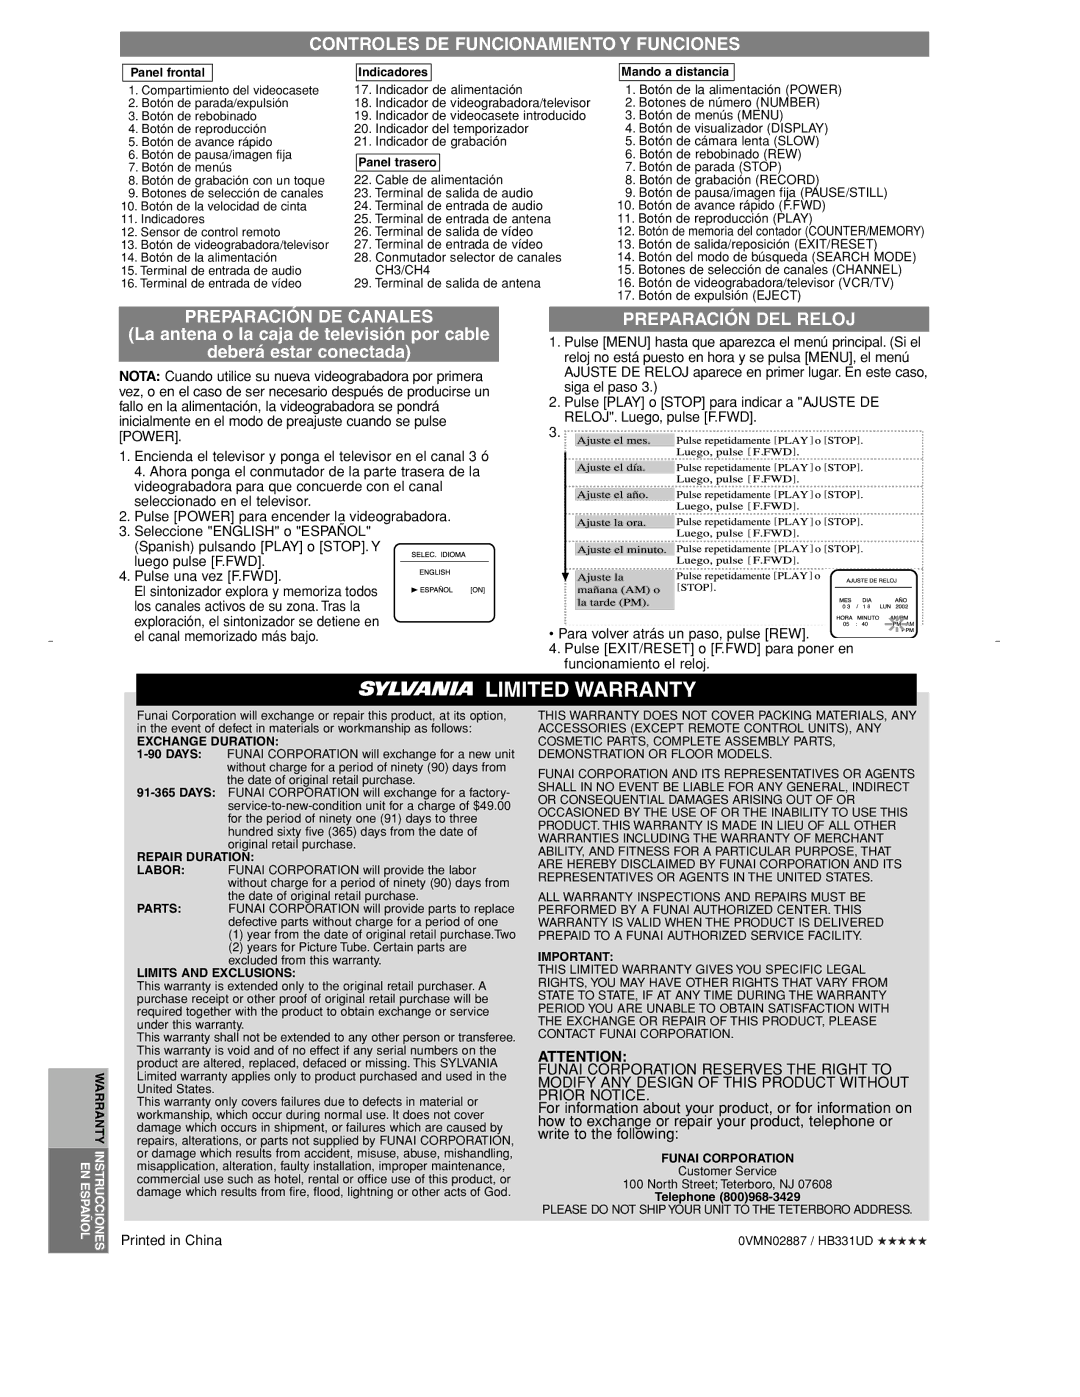
3.
![]()
![]()
![]()
![]()
![]()
![]()
![]()
![]()
![]()
![]()
![]()
![]()
![]()
![]()
![]()
![]()
![]()
![]()
![]() [
[![]()
![]()
![]()
![]() ]
] ![]() [
[![]()
![]()
![]()
![]() ]
]
[ ![]()
![]()
![]()
![]() ]
]
![]()
![]()
![]()
![]()
![]()
![]()
![]()
![]()
![]()
![]()
![]()
![]()
![]()
![]()
![]()
![]()
![]()
![]()
![]() [
[![]()
![]()
![]()
![]() ]
] ![]() [
[![]()
![]()
![]()
![]() ]
]
[ ![]()
![]()
![]()
![]() ]
]
![]()
![]()
![]()
![]()
![]()
![]()
![]()
![]()
![]()
![]()
![]()
![]()
![]()
![]()
![]()
![]()
![]()
![]()
![]() [
[![]()
![]()
![]()
![]() ]
] ![]() [
[![]()
![]()
![]()
![]() ]
]
[ ![]()
![]()
![]()
![]() ]
]
![]()
![]()
![]()
![]()
![]()
![]()
![]()
![]()
![]()
![]()
![]()
![]()
![]()
![]()
![]()
![]()
![]()
![]()
![]() [
[![]()
![]()
![]()
![]() ]
] ![]() [
[![]()
![]()
![]()
![]() ]
]
[ ![]()
![]()
![]()
![]() ]
]
![]()
![]()
![]()
![]()
![]()
![]()
![]()
![]()
![]()
![]()
![]()
![]()
![]()
![]()
![]()
![]()
![]()
![]()
![]() [
[![]()
![]()
![]()
![]() ]
] ![]() [
[![]()
![]()
![]()
![]() ]
]
[ ![]()
![]()
![]()
![]() ]
]
![]()
![]()
![]()
![]()
![]()
![]()
![]()
![]()
![]()
![]()
![]()
![]()
![]()
![]()
![]()
![]()
![]()
![]() [
[![]()
![]()
![]()
![]() ]
] ![]()
[![]()
![]()
![]()
![]() ]
]
• Para volver atrás un paso, pulse [REW].
4.Pulse [EXIT/RESET] o [F.FWD] para poner en funcionamiento el reloj.
LIMITED WARRANTY
WARRANTY INSTRUCCIONES EN ESPAÑOL
Funai Corporation will exchange or repair this product, at its option, in the event of defect in materials or workmanship as follows:
EXCHANGE DURATION:
REPAIR DURATION:
LABOR: FUNAI CORPORATION will provide the labor without charge for a period of ninety (90) days from the date of original retail purchase.
PARTS: FUNAI CORPORATION will provide parts to replace defective parts without charge for a period of one
(1)year from the date of original retail purchase.Two
(2)years for Picture Tube. Certain parts are excluded from this warranty.
LIMITS AND EXCLUSIONS:
This warranty is extended only to the original retail purchaser. A purchase receipt or other proof of original retail purchase will be required together with the product to obtain exchange or service under this warranty.
This warranty shall not be extended to any other person or transferee. This warranty is void and of no effect if any serial numbers on the product are altered, replaced, defaced or missing. This SYLVANIA Limited warranty applies only to product purchased and used in the United States.
This warranty only covers failures due to defects in material or workmanship, which occur during normal use. It does not cover damage which occurs in shipment, or failures which are caused by repairs, alterations, or parts not supplied by FUNAI CORPORATION, or damage which results from accident, misuse, abuse, mishandling, misapplication, alteration, faulty installation, improper maintenance, commercial use such as hotel, rental or office use of this product, or damage which results from fire, flood, lightning or other acts of God.
THIS WARRANTY DOES NOT COVER PACKING MATERIALS, ANY ACCESSORIES (EXCEPT REMOTE CONTROL UNITS), ANY COSMETIC PARTS, COMPLETE ASSEMBLY PARTS, DEMONSTRATION OR FLOOR MODELS.
FUNAI CORPORATION AND ITS REPRESENTATIVES OR AGENTS SHALL IN NO EVENT BE LIABLE FOR ANY GENERAL, INDIRECT OR CONSEQUENTIAL DAMAGES ARISING OUT OF OR OCCASIONED BY THE USE OF OR THE INABILITY TO USE THIS PRODUCT. THIS WARRANTY IS MADE IN LIEU OF ALL OTHER WARRANTIES INCLUDING THE WARRANTY OF MERCHANT ABILITY, AND FITNESS FOR A PARTICULAR PURPOSE, THAT ARE HEREBY DISCLAIMED BY FUNAI CORPORATION AND ITS REPRESENTATIVES OR AGENTS IN THE UNITED STATES.
ALL WARRANTY INSPECTIONS AND REPAIRS MUST BE PERFORMED BY A FUNAI AUTHORIZED CENTER. THIS WARRANTY IS VALID WHEN THE PRODUCT IS DELIVERED PREPAID TO A FUNAI AUTHORIZED SERVICE FACILITY.
IMPORTANT:
THIS LIMITED WARRANTY GIVES YOU SPECIFIC LEGAL RIGHTS, YOU MAY HAVE OTHER RIGHTS THAT VARY FROM STATE TO STATE, IF AT ANY TIME DURING THE WARRANTY PERIOD YOU ARE UNABLE TO OBTAIN SATISFACTION WITH THE EXCHANGE OR REPAIR OF THIS PRODUCT, PLEASE CONTACT FUNAI CORPORATION.
ATTENTION:
FUNAI CORPORATION RESERVES THE RIGHT TO MODIFY ANY DESIGN OF THIS PRODUCT WITHOUT PRIOR NOTICE.
For information about your product, or for information on how to exchange or repair your product, telephone or write to the following:
FUNAI CORPORATION
Customer Service
100 North Street; Teterboro, NJ 07608
Telephone
PLEASE DO NOT SHIP YOUR UNIT TO THE TETERBORO ADDRESS.
Printed in China | 0VMN02887 / HB331UD ★★★★★ |