
LC190SL1 specifications
The Sylvania LC190SL1 is a compact and versatile television designed to fit a variety of viewing environments while delivering impressive performance. This model, with its 19-inch screen, is ideally suited for smaller rooms such as bedrooms, kitchens, or dormitories, where space is at a premium but quality viewing is still desired.One of the standout features of the Sylvania LC190SL1 is its LED backlit technology, which enhances picture quality by providing brighter images with improved contrast and color accuracy. This technology allows for a wider range of colors and deeper blacks, resulting in a more immersive viewing experience. The 720p HD resolution ensures that both standard and high-definition content is displayed clearly, making it suitable for watching movies, sports, and television shows.
The LC190SL1 is equipped with multiple input options, including HDMI and VGA ports, which provide flexibility for connecting a variety of devices such as gaming consoles, Blu-ray players, and even laptops. The inclusion of a USB port also allows users to easily view photos or play music directly from a flash drive, enhancing the television's functionality as a multimedia hub.
In terms of audio, the Sylvania LC190SL1 is fitted with built-in speakers that provide clear and adequate sound quality for casual viewing. However, for those looking for a more dynamic audio experience, external speakers can be connected through the audio output options.
Another notable characteristic of this television is its energy-efficient design, which reduces power consumption while maintaining performance. This environmental consideration is particularly appealing for users who want to lower their energy bills without sacrificing their viewing experience.
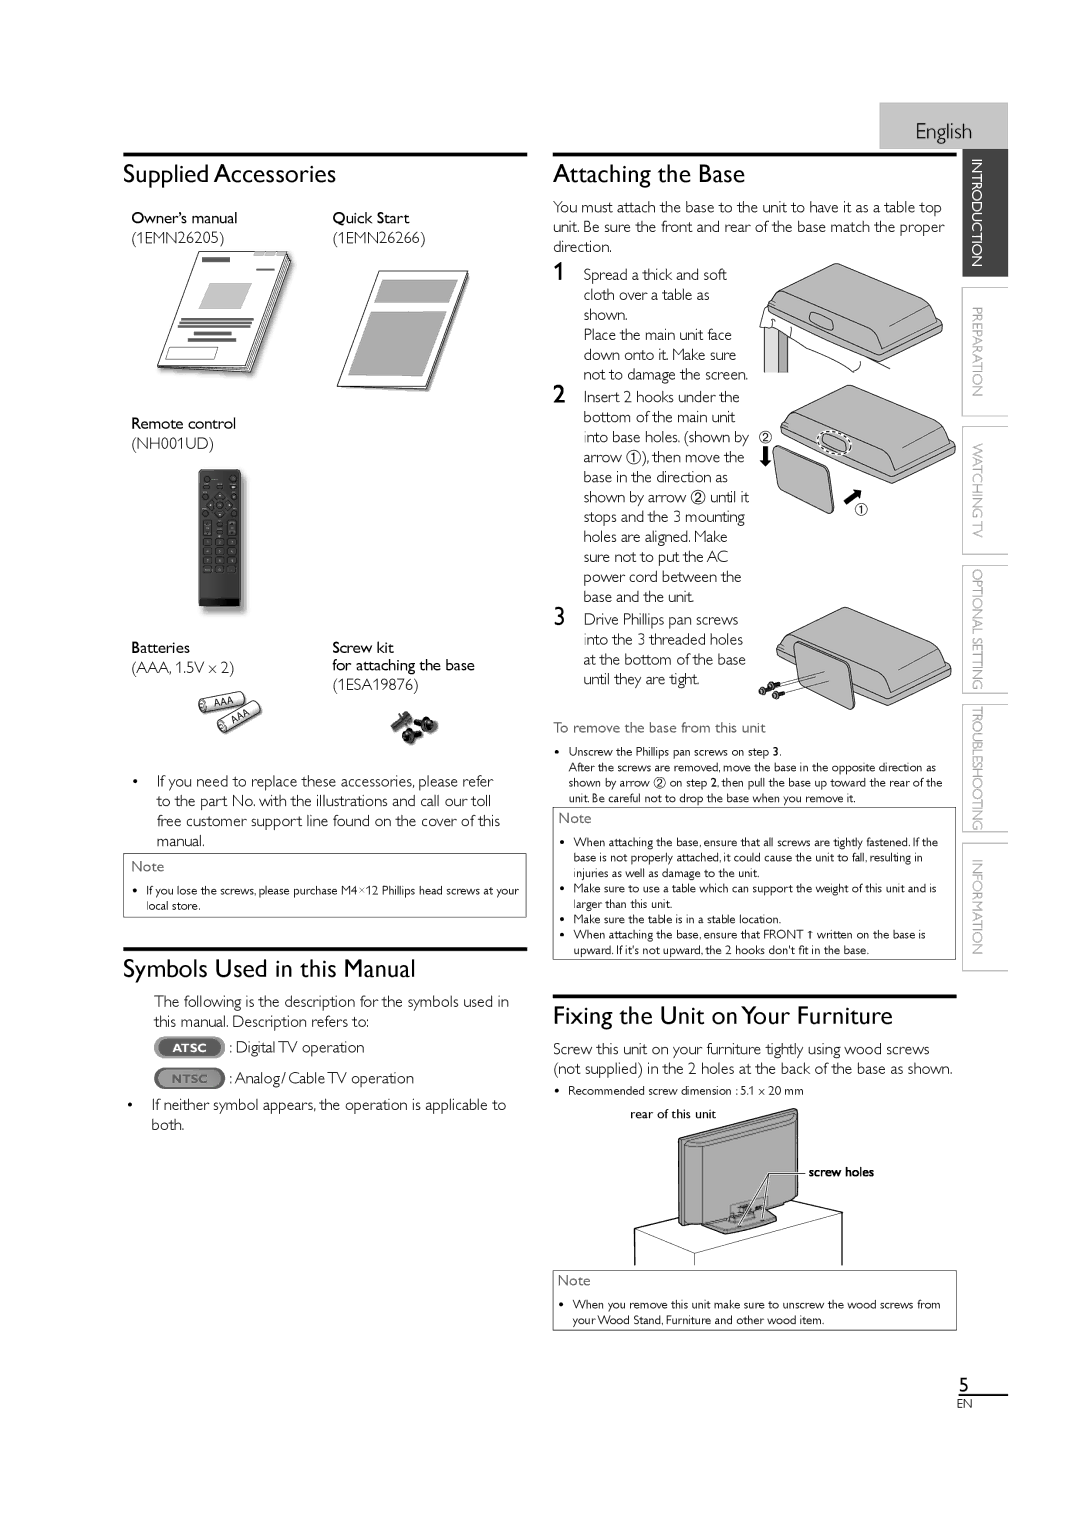
Furthermore, the LC190SL1 comes with an easy-to-navigate remote control, allowing users to access various functions with ease. The straightforward interface is designed for user convenience, ensuring that viewers of all ages can enjoy their favorite shows without frustration.
Overall, the Sylvania LC190SL1 represents a combination of practicality and performance, making it an excellent choice for anyone in need of a reliable small-screen television. Its impressive features, energy efficiency, and modern connectivity options make it a versatile addition to any home entertainment setup. Whether used for casual viewing or as part of a more extensive system, the Sylvania LC190SL1 is a solid option that does not compromise on quality.