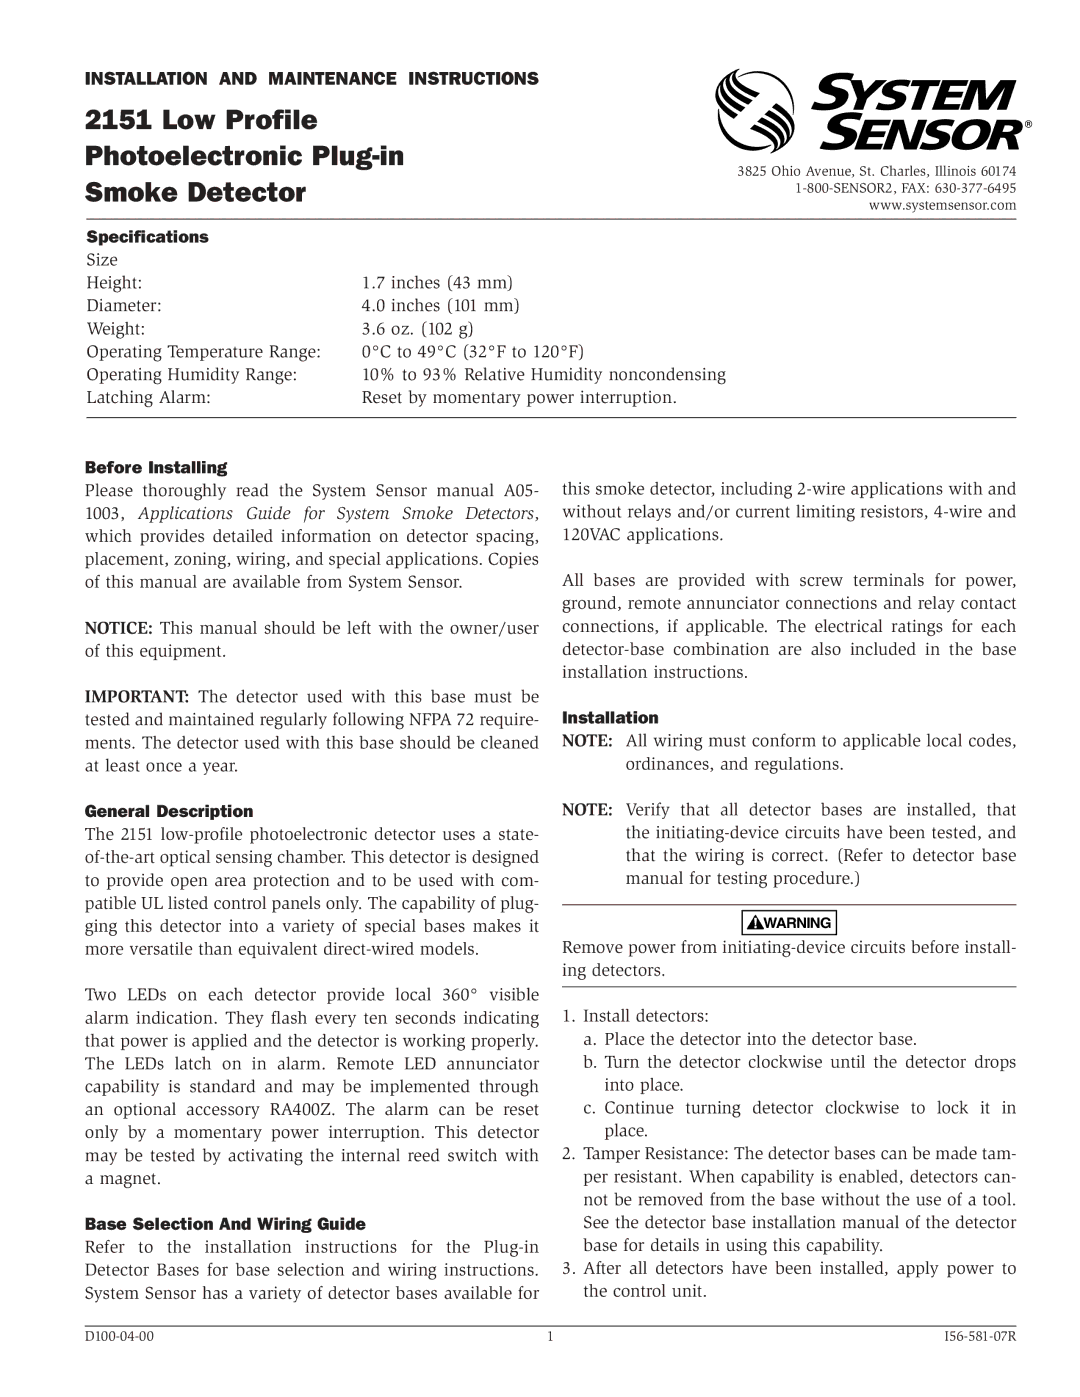
2151 specifications
The System Sensor 2151 is a sophisticated photoelectric smoke detector that combines advanced technology with user-friendly features, making it a popular choice for both residential and commercial applications. This device is engineered to provide reliable smoke detection while minimizing false alarms, ensuring safety and peace of mind for users.One of the standout features of the System Sensor 2151 is its intelligent sensing technology. The detector employs a photoelectric sensing chamber that uses a light source and a photosensitive sensor to detect smoke particles. This design is particularly effective for detecting slow-smoldering fires, a common cause of residential fire incidents. The photoelectric technology significantly reduces the likelihood of false alarms caused by non-threatening sources like cooking smoke or steam.
The 2151 also includes advanced signal processing capabilities. This technology enhances its sensitivity and responsiveness by employing sophisticated algorithms that differentiate between smoke types. As a result, the detector quickly adapts to its environment and responds appropriately to varying fire conditions while minimizing nuisance alarms.
Another important characteristic of the System Sensor 2151 is its ease of installation and maintenance. The device features a simple twist-lock bracket that facilitates quick mounting on ceilings or walls. Additionally, it includes a robust battery backup system, ensuring that the detector remains functional in the event of a power outage. Regular maintenance is made easy through the included test and reset feature, allowing users to verify the functionality of the device without needing to remove it from its mounting.
The System Sensor 2151 is designed to comply with stringent safety codes and standards, making it a reliable choice for both residential and commercial settings. Its sleek, modern design allows it to blend seamlessly with various interior styles, making it not only functional but also aesthetically pleasing.
In summary, the System Sensor 2151 is a top-tier photoelectric smoke detector that leverages advanced sensing technology to provide reliable and efficient smoke detection. Its innovative features, ease of installation, and compliance with safety standards position it as an ideal choice for those looking to enhance fire safety in their environment. This product stands out as a testament to System Sensor's commitment to protecting lives and property through cutting-edge technology.

