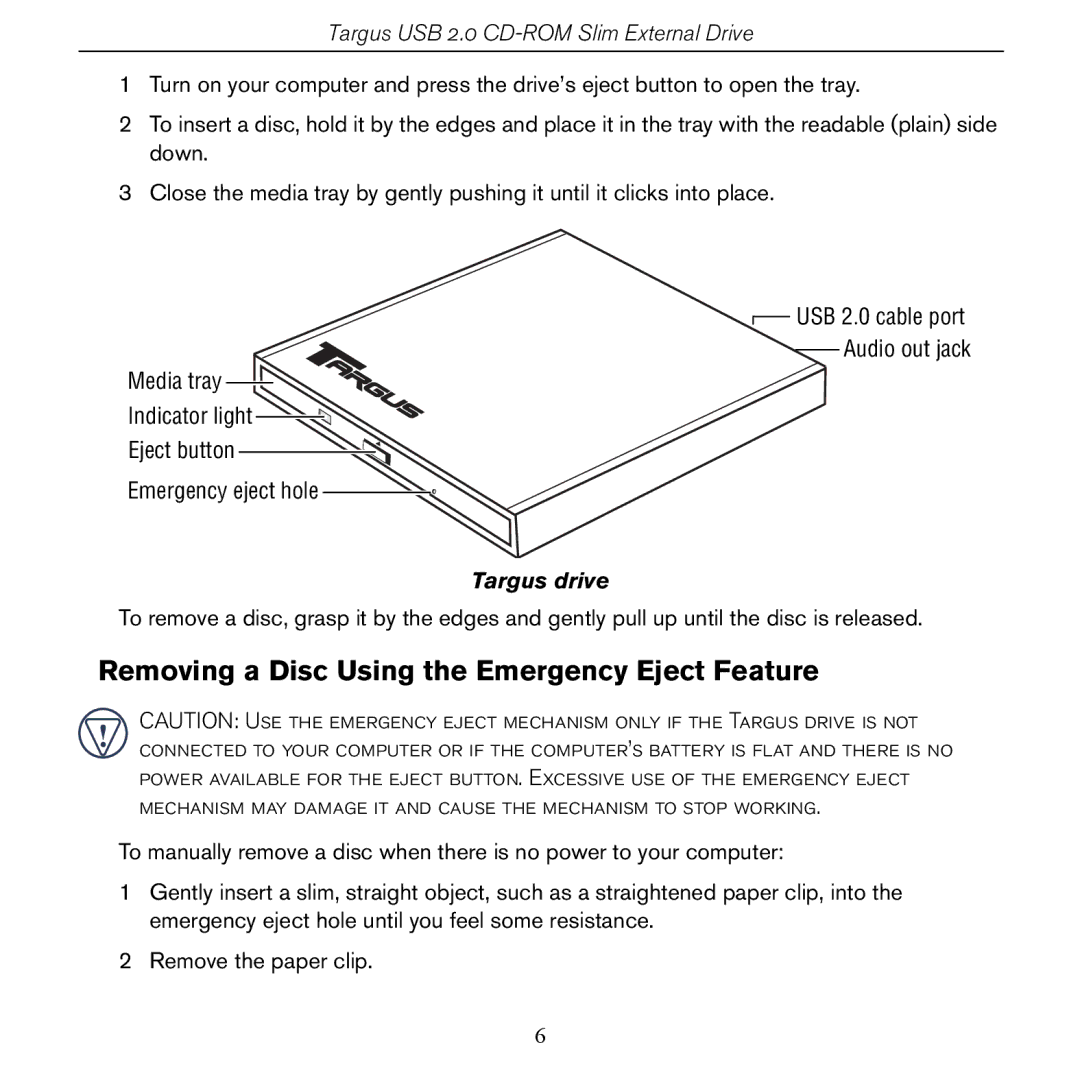
PACD010/400-0137-001B specifications
The Targus PACD010/400-0137-001B is a multifunctional and innovative device designed specifically for the needs of modern users. This product's unique blend of features, technologies, and design makes it an ideal choice for both professional and personal use.One of the standout features of the Targus PACD010 is its cutting-edge technology. It incorporates advanced thermal management, which helps regulate the device's temperature during intensive use. This is particularly important for users who engage in activities that demand prolonged performance from their devices, such as gaming or graphic-intensive applications. With this technology, users can rest assured that their devices will remain at optimal operating temperatures, reducing the risk of overheating and prolonging overall device lifespan.
Another significant characteristic of the Targus PACD010 is its compatibility with a wide range of devices. Designed to work seamlessly with various brands and models, this product supports universal connectivity options and includes multiple ports to accommodate different types of connections. This versatility makes it an essential accessory for users who own multiple devices or frequently switch between them.
The Targus PACD010 also boasts a user-friendly design. Its lightweight construction and compact dimensions enhance portability, allowing users to easily transport it. This aspect is particularly beneficial for those who are frequently on the move, whether commuting to work, traveling for business, or attending meetings. Additionally, its sleek aesthetic does not compromise functionality, making it an attractive accessory to any tech setup.
In terms of performance, the Targus PACD010 excels in delivering high-speed data transfer. With support for USB 3.0 technology, users can enjoy faster downloads and efficient file sharing, significantly enhancing productivity. This feature is indispensable for users who manage large files or engage in collaborative projects that require efficient data exchange.
Safety is another crucial consideration with the Targus PACD010. The device is equipped with advanced surge protection, safeguarding connected devices against power fluctuations and electrical surges. This ensures that the valuable electronics remain secure, providing peace of mind for users in various environments.
In conclusion, the Targus PACD010/400-0137-001B is a robust and versatile device packed with essential features designed to meet the demands of today's technology users. Its advanced thermal management, universal compatibility, portable design, fast data transfer capabilities, and safety features make it a reliable accessory for personal and professional use alike.

