CD-RW880 specifications
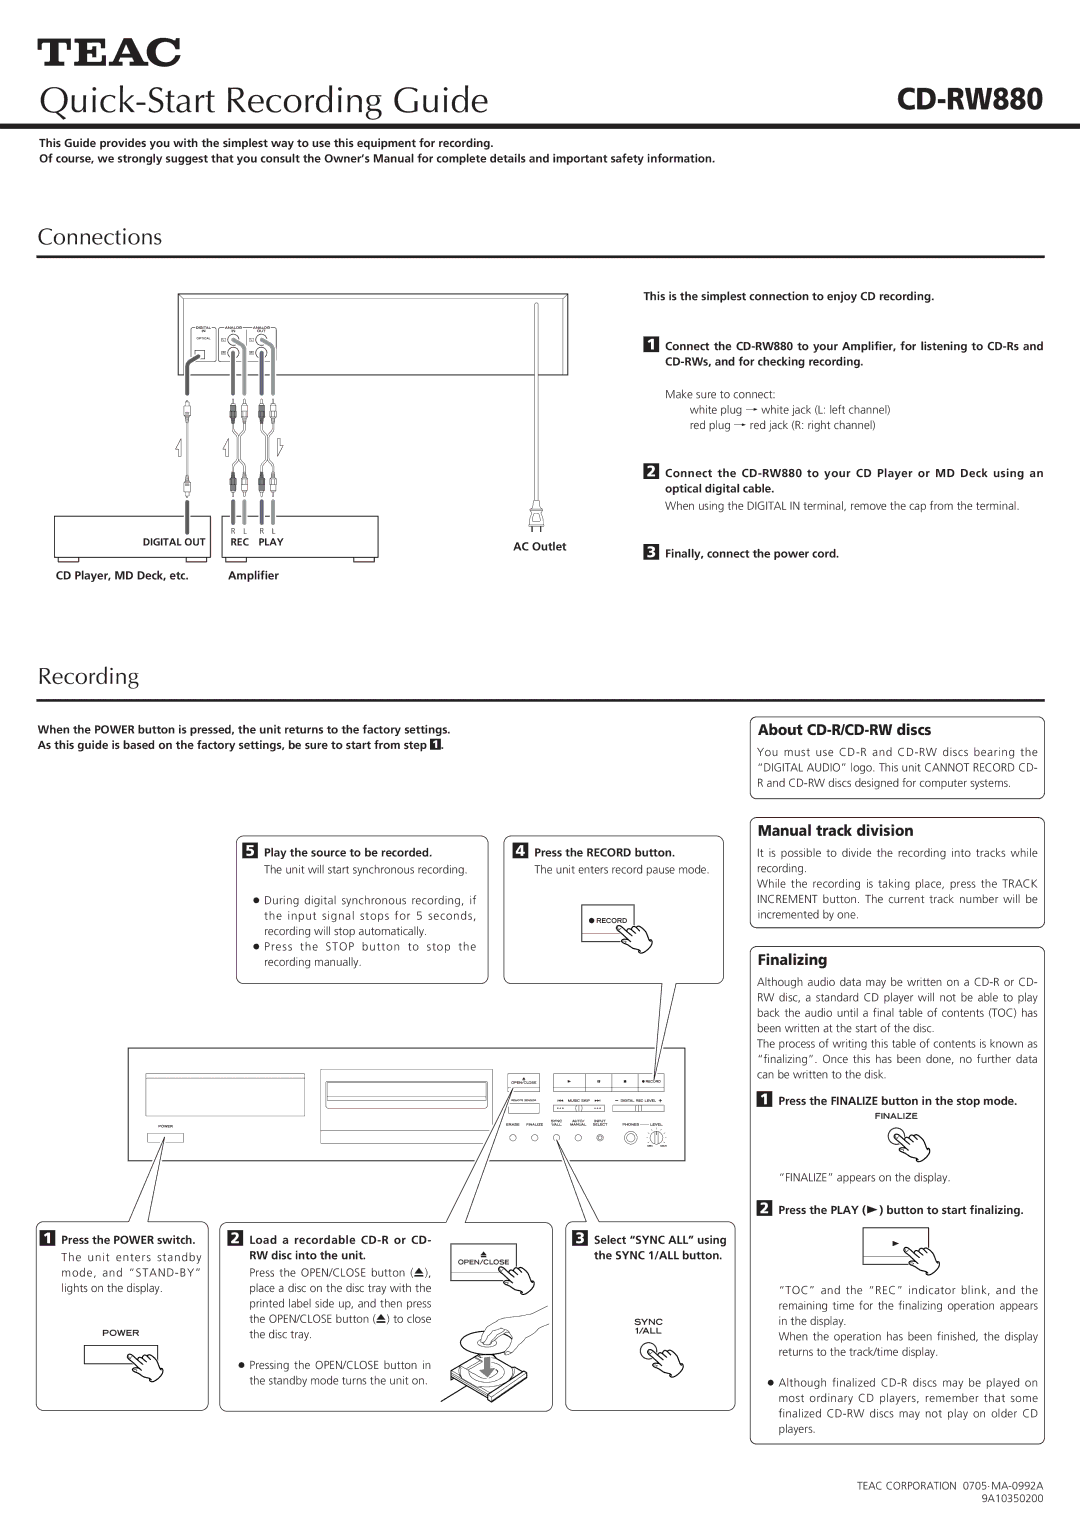
The Teac CD-RW880 is a versatile and reliable CD recorder that has earned a solid reputation for its quality and performance in the realm of digital audio. Designed for both personal and professional applications, the CD-RW880 combines advanced technology with user-friendly features, making it a favorite among audio enthusiasts and home studio operators.One of the main features of the Teac CD-RW880 is its dual functionality, allowing users to both record and play CDs. The device supports a wide range of formats, including CD-R and CD-RW media, giving users the flexibility to create audio CDs that can be played on any standard CD player. This versatility is particularly beneficial for musicians and producers looking to archive their work or distribute demo reels.
The CD-RW880 incorporates high-quality digital-to-analog conversion technology, ensuring that audio playback is faithful to the original source. With a sampling rate of 44.1 kHz and 16-bit resolution, the recorder delivers excellent sound quality, capturing the nuances of the audio with clarity. This is crucial for those who want to maintain the integrity of their recordings.
Another notable characteristic of the Teac CD-RW880 is its ease of use. The front panel features a clear LCD display that provides vital information such as track numbers, remaining recording time, and system status. Additionally, user-friendly buttons make it simple to navigate through functions such as recording, finalizing, and editing tracks. This intuitive design allows users of all skill levels to operate the device with confidence.
The CD-RW880 also incorporates advanced recording technologies, such as digital audio input and output, enabling seamless integration with external devices like mixing consoles and audio interfaces. The built-in S/PDIF input allows for high-quality digital recording directly from other digital audio sources, minimizing the risk of signal degradation.
Furthermore, the CD-RW880 features a pitch control function, enabling users to adjust the playback speed of audio tracks. This feature is particularly useful for musicians who want to practice along with recordings at varying tempos.
In summary, the Teac CD-RW880 stands out as an exceptional CD recorder due to its robust features, superior sound quality, and user-friendly design. Whether for professional use or home recording, it serves as a reliable tool for anyone looking to create high-quality audio CDs.