Texas Instruments Weather Radio manual Software Installation, OneSix Server

Models: Weather Radio

1 6
Download 6 pages 62.05 Kb
Page 4
Image 4

1-Wire Weather Station

The solar/leafwettness sensor must be pointed South and must be free of shadows created by the other sensors (near the top of the mast is normally the best). Take care that the sensor is perfectly level. Run the solar sensor cable to the junction box and plug it in to RJ11 connector.

The rain collector is normally mounted on the mast. It should be mounted as low as possible to reduce windage and to limit movement of the mast, which can cause false readings. The collector should be mounted in a manner that allows rain to enter the collector unencumbered by surrounding obstacles. Use a bubble level to make sure that the collector is perfectly level with the ground. Failure to level the collector will cause inaccurate rainfall readings. The rain collector has one cable that must be connected to the junction box.

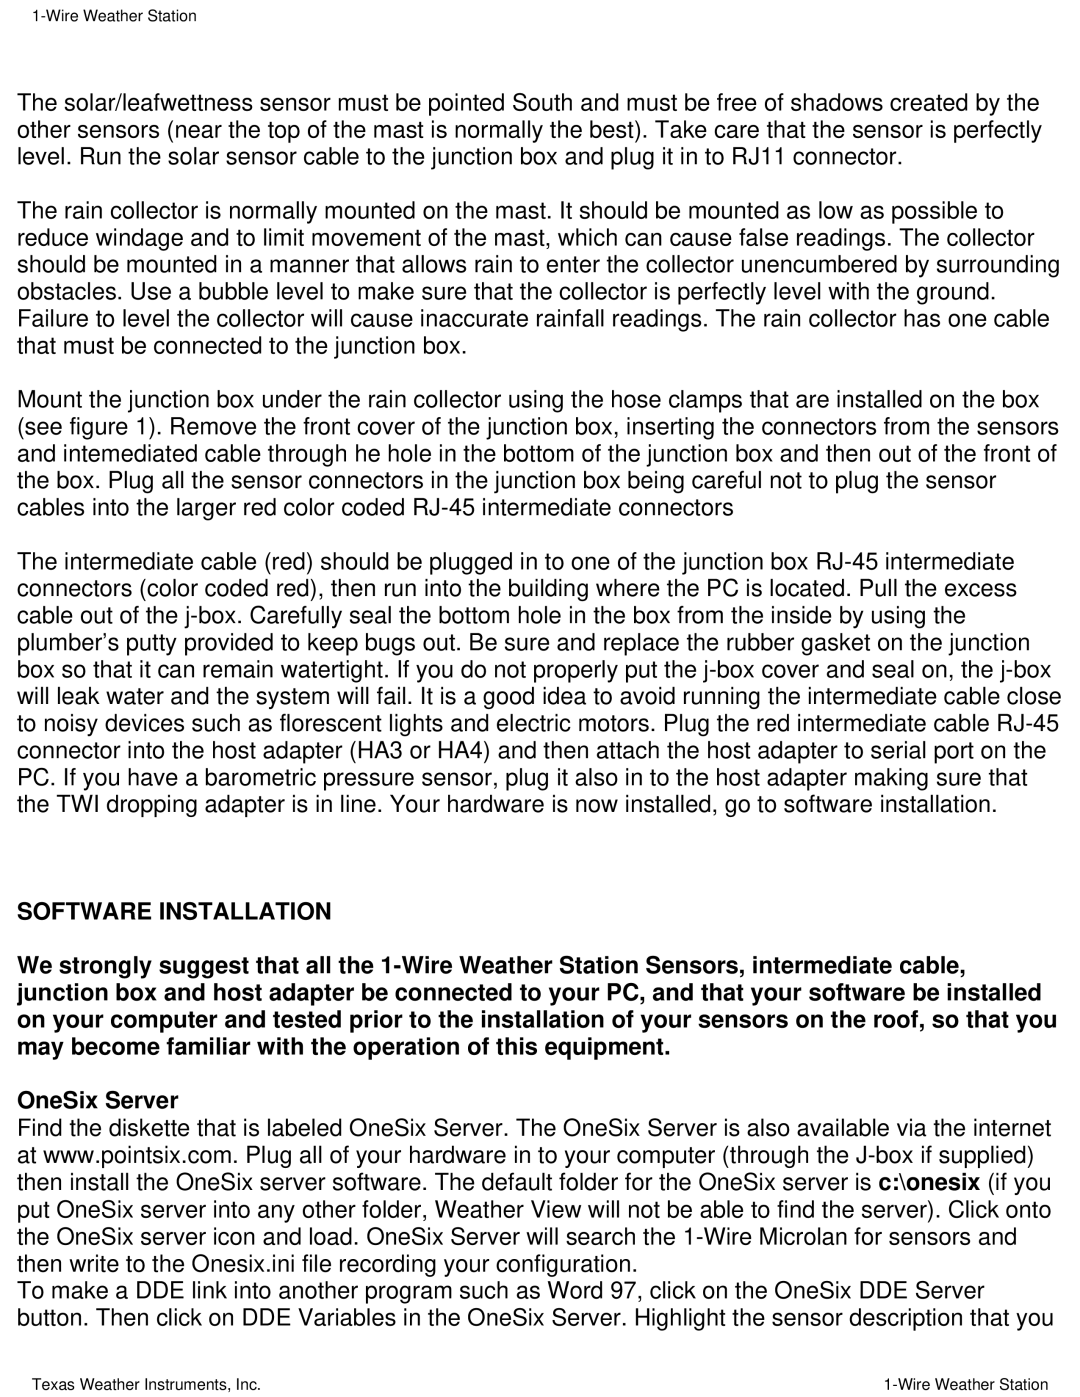
Mount the junction box under the rain collector using the hose clamps that are installed on the box (see figure 1). Remove the front cover of the junction box, inserting the connectors from the sensors and intemediated cable through he hole in the bottom of the junction box and then out of the front of the box. Plug all the sensor connectors in the junction box being careful not to plug the sensor cables into the larger red color coded RJ-45 intermediate connectors

The intermediate cable (red) should be plugged in to one of the junction box RJ-45 intermediate connectors (color coded red), then run into the building where the PC is located. Pull the excess cable out of the j-box. Carefully seal the bottom hole in the box from the inside by using the plumber’s putty provided to keep bugs out. Be sure and replace the rubber gasket on the junction box so that it can remain watertight. If you do not properly put the j-box cover and seal on, the j-box will leak water and the system will fail. It is a good idea to avoid running the intermediate cable close to noisy devices such as florescent lights and electric motors. Plug the red intermediate cable RJ-45 connector into the host adapter (HA3 or HA4) and then attach the host adapter to serial port on the PC. If you have a barometric pressure sensor, plug it also in to the host adapter making sure that the TWI dropping adapter is in line. Your hardware is now installed, go to software installation.

SOFTWARE INSTALLATION

We strongly suggest that all the 1-Wire Weather Station Sensors, intermediate cable, junction box and host adapter be connected to your PC, and that your software be installed on your computer and tested prior to the installation of your sensors on the roof, so that you may become familiar with the operation of this equipment.

OneSix Server

Find the diskette that is labeled OneSix Server. The OneSix Server is also available via the internet at www.pointsix.com. Plug all of your hardware in to your computer (through the J-box if supplied) then install the OneSix server software. The default folder for the OneSix server is c:\onesix (if you put OneSix server into any other folder, Weather View will not be able to find the server). Click onto the OneSix server icon and load. OneSix Server will search the 1-Wire Microlan for sensors and then write to the Onesix.ini file recording your configuration.

To make a DDE link into another program such as Word 97, click on the OneSix DDE Server button. Then click on DDE Variables in the OneSix Server. Highlight the sensor description that you

Texas Weather Instruments, Inc.

1-Wire Weather Station

Page 4
Image 4
Texas Instruments Weather Radio manual Software Installation, OneSix Server