Rx Free-Standing Dehumidification specifications
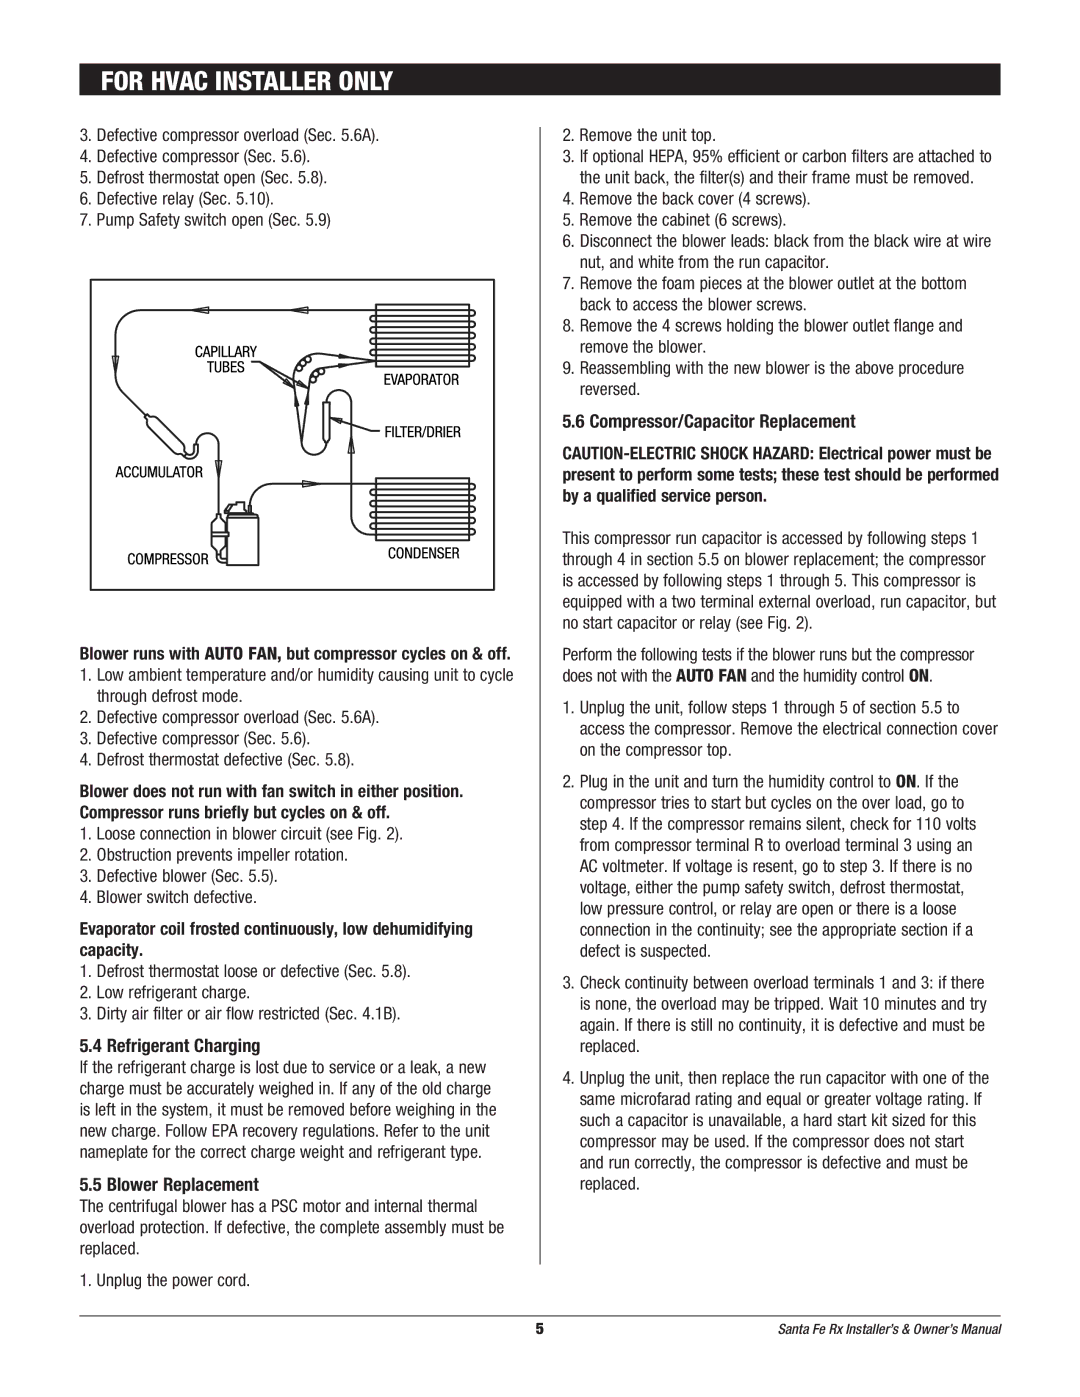
Therma-Stor Products Group has emerged as a leader in providing innovative solutions for moisture control, and one of their standout offerings is the Rx Free-Standing Dehumidification unit. This product is engineered to meet the needs of various environments, including residential and commercial spaces that require efficient humidity management.A primary feature of the Rx Free-Standing Dehumidifier is its impressive moisture removal capacity. With an ability to extract up to 70 pints of moisture per day, it is well-suited for areas prone to high humidity levels, such as basements, laundry rooms, and bathrooms. This high capacity ensures that spaces remain dry, preventing the growth of mold and mildew, which can cause health issues and property damage.
Incorporating advanced technologies, the Rx model is equipped with a state-of-the-art digital humidistat. This feature allows users to set their desired humidity levels, ensuring the unit operates only when necessary. The digital display offers real-time humidity readings, making it easy to monitor environmental conditions and adjust settings accordingly. Additionally, the automatic restart function is a valuable benefit during power interruptions. The unit can resume operation under the previous settings, protecting your space from potential moisture buildup after outages.
The Rx Free-Standing Dehumidifier also emphasizes user-friendliness. It features a continuous drainage option, which eliminates the need for frequent manual emptying of the water tank. This continuous drainage can be connected to a standard hose, making it ideal for long-term, unattended use. The unit is designed for portability, with robust casters that allow for easy movement between rooms, accommodating the dynamic needs of homeowners and businesses alike.
Furthermore, the quiet operation of the Rx model ensures that it can perform effectively without disrupting daily activities. Its energy-efficient design means lower energy costs while still delivering optimal performance. The unit is also built with durable materials that ensure longevity, making it a reliable investment for long-term humidity control.
In summary, Therma-Stor's Rx Free-Standing Dehumidification unit combines high performance with user-friendly features, advanced technology, and energy efficiency. This makes it an excellent choice for anyone seeking to maintain a healthy and comfortable living or working environment.

