BASIC OPERATION OF YOUR WATCH
The six buttons (labeled in clockwise order) on the watch perform different functions depending on the mode being used. In general, for most active modes, the button functions are:
S1 Peek at Chronograph, Recall Chronograph, or Alarm Select
S2 Peek at Memo, Stop/Store/Clear Chronograph, Arm/Disarm Chime
S3 Peek at or Change to Alternate Time Zone, Start Chronograph, Record Lap/Split Times, Start Timer, Arm/Disarm Alarm
S4 Enter and Exit Set Mode
S5 Change Modes
S6 INDIGLO
S1 Increase the digit being set (this digit will be flashing – holding this button down will cause the digits to increase rapidly)
S2 Decrease the digit being set (this digit will be flashing – holding this button down will cause the digits to decrease rapidly)
S3 Select the digit to be set in the forward direction (changes which digit is flashing)
S4 Exit the Set mode
S5 Select the digit to be set in the reverse direction S6 INDIGLO
CHANGING MODES
Pressing the S5 button allows you to change modes: from Time/Calendar, to Chronograph, to Timer, to Alarm and finally to Memo. The next press returns you to Time/Calendar mode.
NOTE: If you press any other button while in a mode, the next press of the S5 button will return you to Time/Calendar.
KEEPING TIME IN TWO TIME ZONES
As noted before, your watch maintains the time in any two time zones that you set. Usually you will select the time where you live as
You can “peek” at the time in
SECTION 5 – SETTING THE TIME AND DATE
With the Time/Calendar display showing, press S4. The display ![]() will show
will show ![]() S4 for two more seconds, you will enter the Set mode. The
S4 for two more seconds, you will enter the Set mode. The ![]() display will then show SET TIME, and either
display will then show SET TIME, and either ![]() depending on which time zone was showing when you pressed
depending on which time zone was showing when you pressed ![]() S4. Select which time zone you want to set by pressing S1 or S2.
S4. Select which time zone you want to set by pressing S1 or S2.
You will then be ready to set the time in the zone you selected. |
|
Press S3 and the SECONDS will be flashing on the display. |
|
Pressing S1 or S2 resets seconds to :00. NOTE: SECONDS can |
|
not be set in | =Flashing |
|
|
Press S3 to change the active (flashing) digits to SECONDS, ![]()
![]()
![]()
![]()
![]()
![]()
![]()
![]()
![]()
![]() HOURS, MINUTES, DAY and YEAR. Press S3 again and the
HOURS, MINUTES, DAY and YEAR. Press S3 again and the ![]() display will show 12/24 Hr SELECT. Either the 12 or the 24 will
display will show 12/24 Hr SELECT. Either the 12 or the 24 will ![]() be flashing indicating the active time format. Change it if you wish by pressing S1 or S2, and then S3 to select the format.
be flashing indicating the active time format. Change it if you wish by pressing S1 or S2, and then S3 to select the format.
The next press of S3 returns you to SET TIME
Press S4 to exit from the Set mode. You can do this at any time (you do not have to set every item). If no button is pushed for
SECTION 6 – USING THE CHRONOGRAPH
The chronograph (or stopwatch) is used to measure elapsed time from a beginning point; for instance, to time a race. It can be used to record segments of your training routine to evaluate your progress.
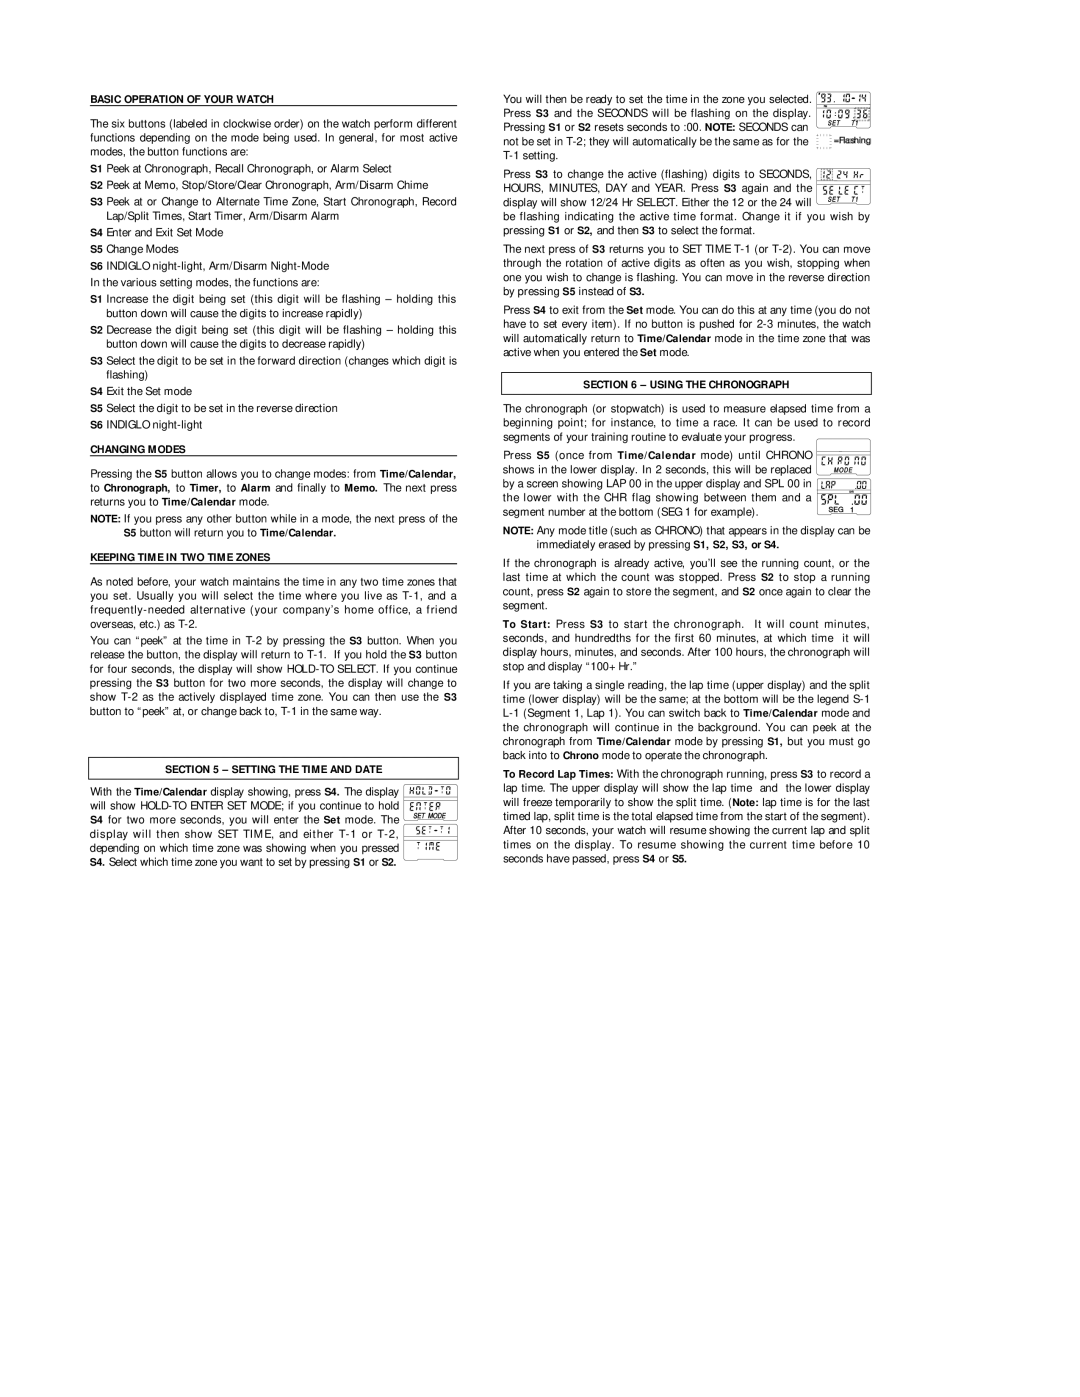
Press S5 (once from Time/Calendar mode) until CHRONO ![]() shows in the lower display. In 2 seconds, this will be replaced
shows in the lower display. In 2 seconds, this will be replaced ![]() by a screen showing LAP 00 in the upper display and SPL 00 in
by a screen showing LAP 00 in the upper display and SPL 00 in ![]()
![]() the lower with the CHR flag showing between them and a
the lower with the CHR flag showing between them and a ![]() segment number at the bottom (SEG 1 for example).
segment number at the bottom (SEG 1 for example).![]()
![]()
NOTE: Any mode title (such as CHRONO) that appears in the display can be immediately erased by pressing S1, S2, S3, or S4.
If the chronograph is already active, you’ll see the running count, or the last time at which the count was stopped. Press S2 to stop a running count, press S2 again to store the segment, and S2 once again to clear the segment.
To Start: Press S3 to start the chronograph. It will count minutes, seconds, and hundredths for the first 60 minutes, at which time it will display hours, minutes, and seconds. After 100 hours, the chronograph will stop and display “100+ Hr.”
If you are taking a single reading, the lap time (upper display) and the split time (lower display) will be the same; at the bottom will be the legend
To Record Lap Times: With the chronograph running, press S3 to record a lap time. The upper display will show the lap time and the lower display will freeze temporarily to show the split time. (Note: lap time is for the last timed lap, split time is the total elapsed time from the start of the segment). After 10 seconds, your watch will resume showing the current lap and split times on the display. To resume showing the current time before 10 seconds have passed, press S4 or S5.