
30HFX84 specifications
The Toshiba 30HFX84 is a notable addition to the world of consumer electronics, primarily recognized for its versatility and advanced features. This model meets a variety of audiovisual needs and is designed to be user-friendly and efficient.One of the key features of the Toshiba 30HFX84 is its screen size, which strikes a balance between immersive viewing and space efficiency. With a 30-inch diagonal, this television is suitable for a wide range of environments, from cozy living rooms to smaller bedrooms. Its compact size does not compromise on the quality of the display, which offers a vibrant and clear picture.
The Toshiba 30HFX84 employs cutting-edge display technology, ensuring enhanced picture quality. The television typically supports high-definition resolution, allowing viewers to enjoy crisp and vibrant images. This model may incorporate features such as contrast enhancement and color optimization, resulting in a more dynamic and visually pleasing experience.
In terms of audio, the Toshiba 30HFX84 does not fall short. Equipped with robust speakers, it delivers a rich sound experience, further immersing viewers in their favorite shows, movies, and music. Additionally, the model supports various audio formats, ensuring compatibility with a range of media.
Connectivity is another aspect where the Toshiba 30HFX84 excels. It is equipped with multiple HDMI ports, allowing users to connect various devices such as gaming consoles, Blu-ray players, or streaming devices seamlessly. Moreover, it may include USB ports for easy access to external storage, making it convenient for users to view their personal media collections.
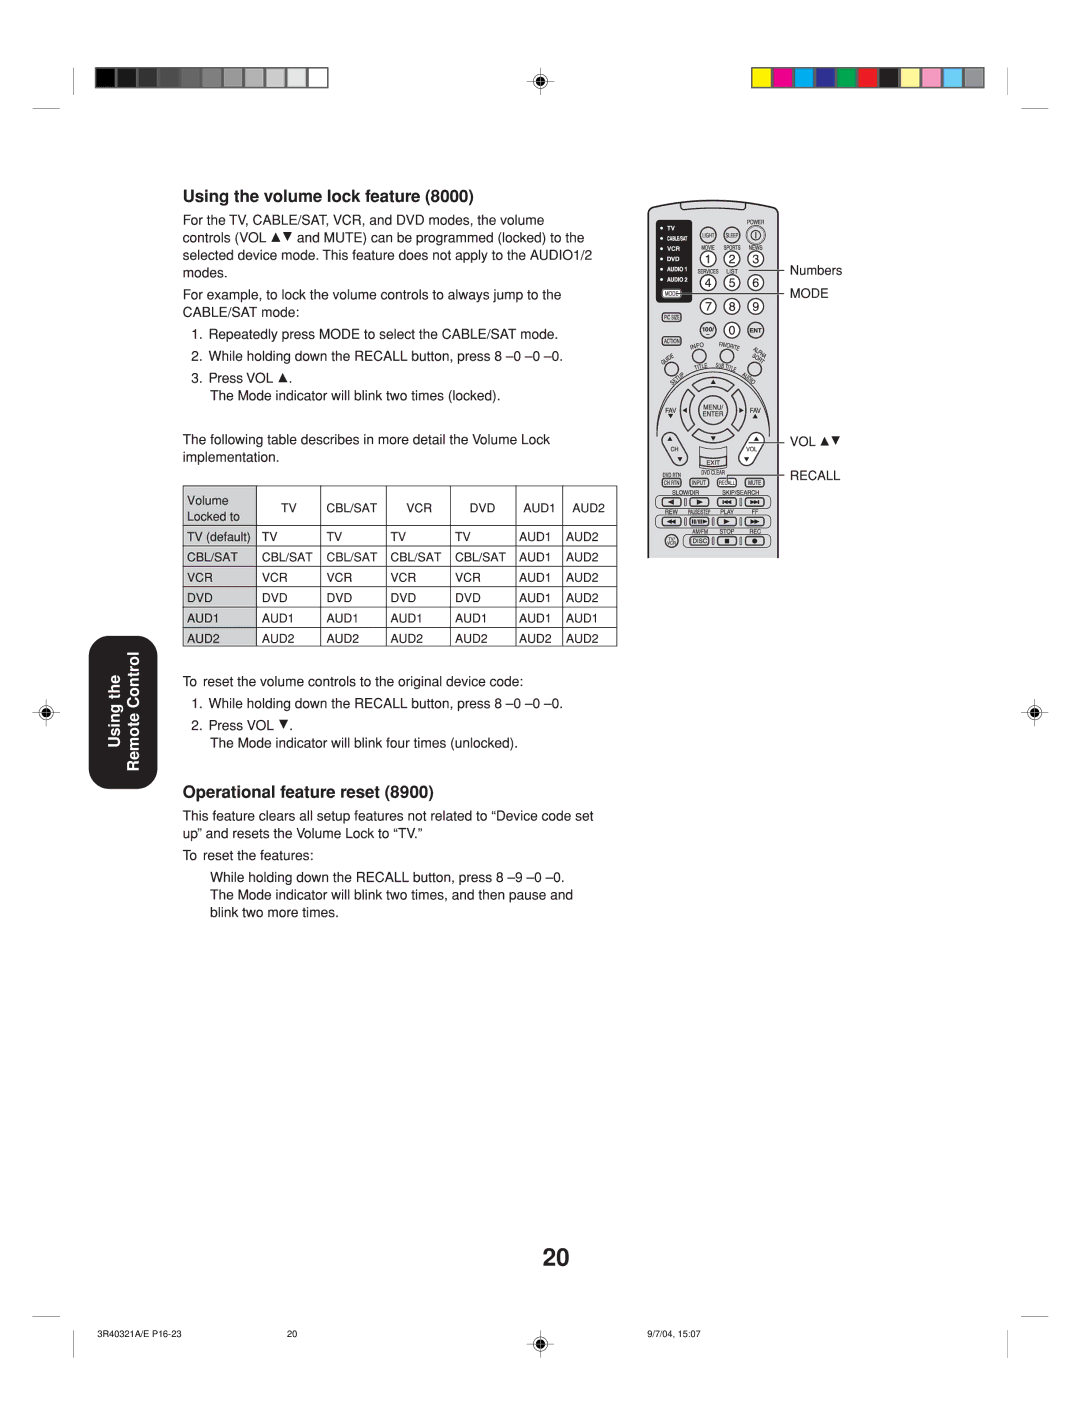
The remotes for Toshiba televisions, including the 30HFX84, are designed for convenience. Featuring intuitive controls and a user-friendly interface, navigating through channels and settings becomes a hassle-free experience. Some models include smart features, enabling direct access to popular streaming services, which cater to the growing demand for on-demand content.
Energy efficiency is increasingly important, and the Toshiba 30HFX84 is designed with this in mind. It adheres to industry standards for energy consumption, providing users with an eco-friendly entertainment option.
Overall, the Toshiba 30HFX84 stands out as a reliable and feature-rich television that caters to a variety of consumer needs while delivering quality performance in both picture and sound. Its combination of advanced technologies and practical features makes it a solid choice for anyone looking to enhance their multimedia experience.