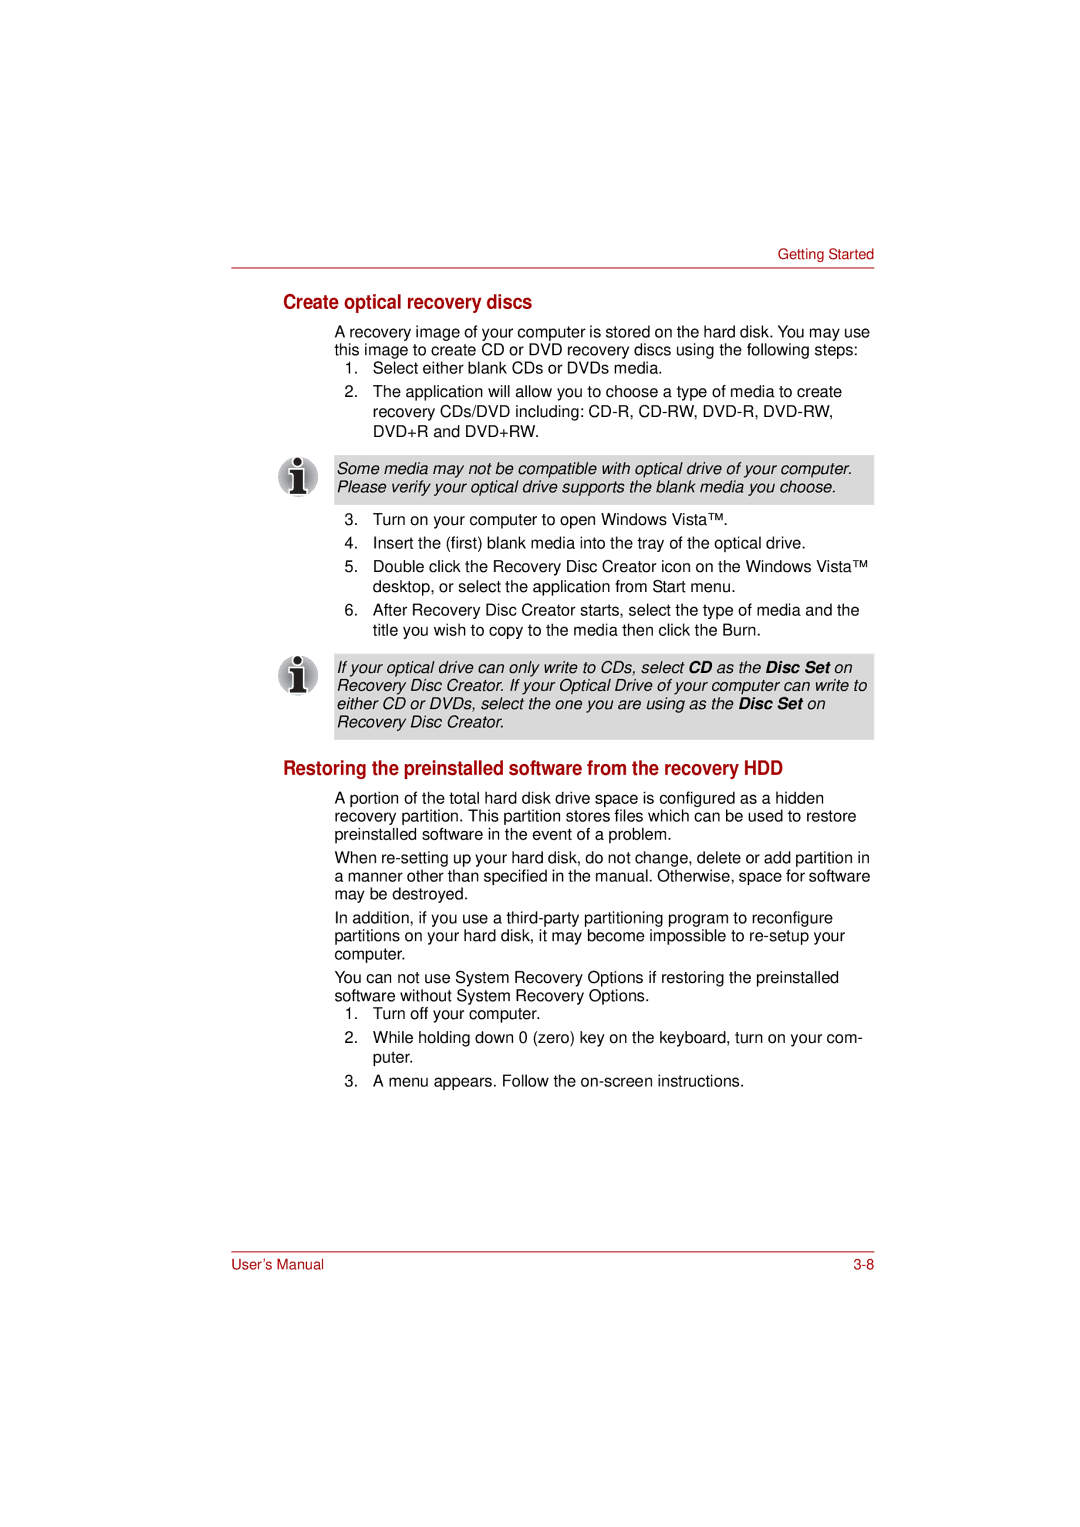
L350 specifications
The Toshiba L350 is a versatile laptop that caters primarily to the needs of everyday users, students, and professionals looking for a reliable computing solution. Renowned for its balance of performance, design, and affordability, the L350 is equipped with several notable features and technological advancements that enhance its usability across various applications.One of the main highlights of the Toshiba L350 is its processing power, typically featuring Intel's reliable processors that offer solid performance for multitasking and everyday tasks. The device is often configured with sufficient RAM, allowing users to run multiple applications simultaneously without significant slowdowns. This performance capability makes the L350 well-suited for tasks ranging from word processing to web browsing and media consumption.
In terms of storage, the L350 is equipped with a hard disk drive (HDD), which provides ample space for storing documents, multimedia files, and software applications. The larger storage capacity is particularly advantageous for users who need to store large files or extensive media libraries. Additionally, some models may offer a solid-state drive (SSD) option, which significantly enhances boot times and overall system responsiveness.
The display of the Toshiba L350 typically features a 15.4-inch screen, offering a balance between screen real estate and portability. The brightness and resolution are designed to deliver crisp images and vibrant colors, making it suitable for both casual video viewing and productivity tasks. The inclusion of integrated graphics allows users to enjoy standard multimedia experiences without the need for dedicated graphics hardware.
Connectivity options on the L350 are generous, with multiple USB ports, an HDMI output for external displays, and built-in Wi-Fi for internet access. This range of ports enables users to connect various peripherals, such as printers, external hard drives, and monitors, enhancing productivity. The presence of a DVD drive is also a plus for those who still utilize physical media for software, movies, or data transfer.
In terms of design, the Toshiba L350 is typically characterized by a sturdy build that emphasizes durability without sacrificing aesthetics. The keyboard is designed for comfortable typing, making it suitable for extended use, while the trackpad offers smooth navigation.
With a good balance of features, performance, and affordability, the Toshiba L350 remains an appealing choice for users in need of a reliable laptop for daily tasks and general computing. Its effective combination of technology and build quality ensures that it meets the demands of everyday use while remaining budget-friendly.