
RD-X2U specifications
The Toshiba RD-X2U is a versatile digital video recorder that combines functionality with innovative technology, making it a notable choice for users looking to enhance their television viewing experience. This device has gained popularity for its impressive features that cater to both casual viewers and dedicated media enthusiasts.One of the standout features of the RD-X2U is its ability to record television programs onto its built-in hard drive. With a generous storage capacity, it allows users to save a significant number of hours of content, providing the flexibility to watch shows at one’s convenience. The device supports high-quality recordings, ensuring that viewers don’t miss any detail in their favorite programs.
The Toshiba RD-X2U is equipped with advanced tuner technology that enables users to access both analog and digital broadcasts. This dual capability is particularly advantageous as it prepares users for the transition to digital television, ensuring that they can still enjoy their favorite shows without interruption. The inclusion of an electronic program guide (EPG) further enhances user experience, providing easy navigation through available programming and scheduling recordings with minimal effort.
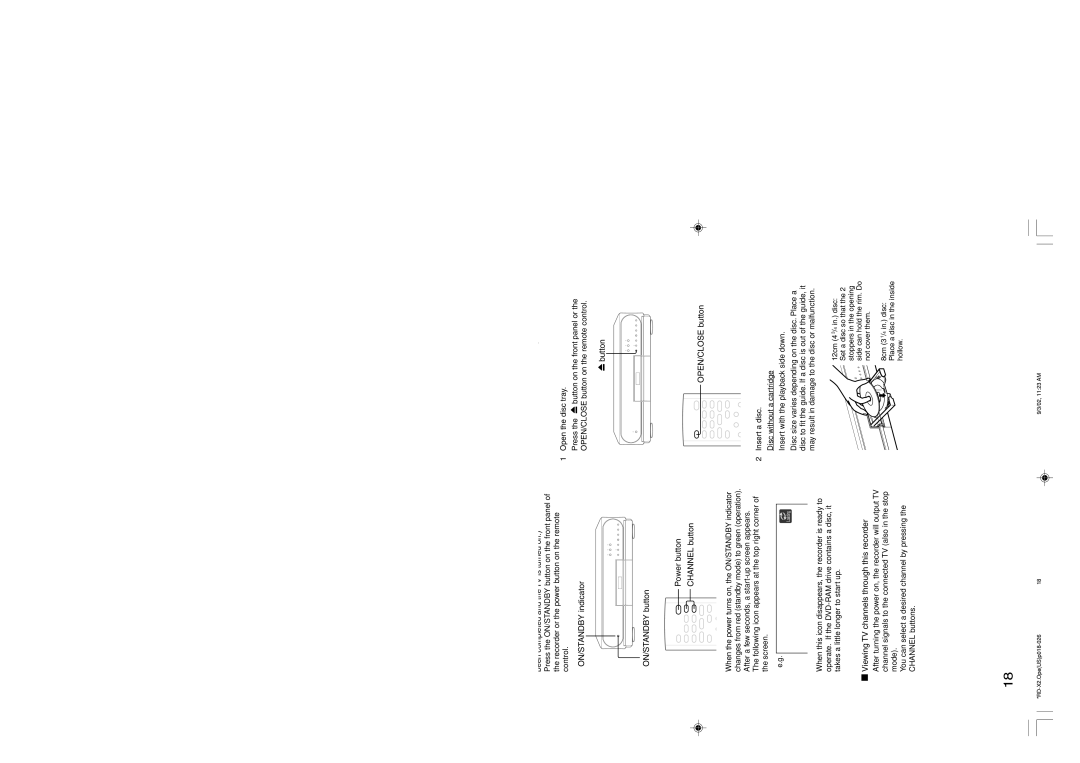
Another notable characteristic of the RD-X2U is its user-friendly interface. The device is designed to be intuitive, allowing users to easily navigate through menus and settings without confusion. This focus on ease of use extends to the remote control, which offers well-organized buttons for quick access to essential functions.
Toshiba has integrated a range of connectivity options into the RD-X2U. These include HDMI output for high-definition viewing, as well as multiple AV inputs, which facilitate easy integration with various devices such as DVD players and gaming consoles. This connectivity ensures that the RD-X2U can serve as a central hub for all digital media consumption.
In addition to its recording capabilities, the RD-X2U offers playback options that support various file formats, making it a versatile player for recorded and external media. Its compatibility with both standard and high-definition content caters to a broad audience.
Overall, the Toshiba RD-X2U is a robust digital video recorder that embodies a blend of advanced features, user-centric design, and adaptable connectivity. Whether you’re looking to record your favorite shows, enjoy a movie night, or organize your media library, the RD-X2U stands out as a reliable option in the realm of digital recording technology.