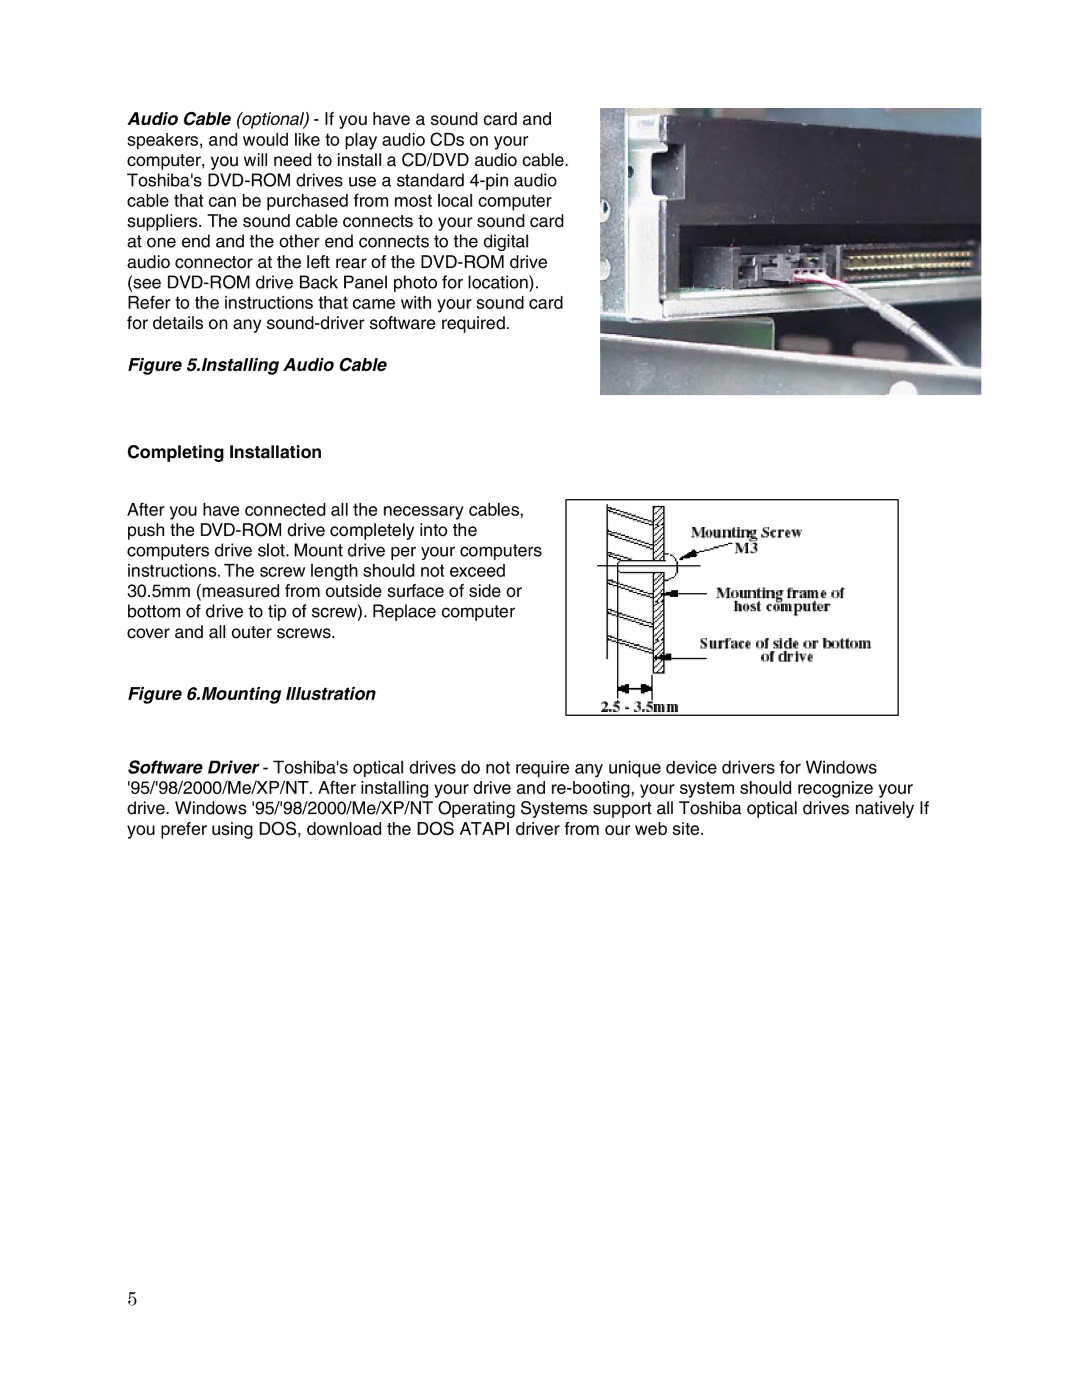
Audio Cable (optional) - If you have a sound card and speakers, and would like to play audio CDs on your computer, you will need to install a CD/DVD audio cable. Toshiba's DVD-ROM drives use a standard 4-pin audio cable that can be purchased from most local computer suppliers. The sound cable connects to your sound card at one end and the other end connects to the digital audio connector at the left rear of the DVD-ROM drive (see DVD-ROM drive Back Panel photo for location). Refer to the instructions that came with your sound card for details on any sound-driver software required.
Figure 5.Installing Audio Cable
Completing Installation
After you have connected all the necessary cables, push the DVD-ROM drive completely into the computers drive slot. Mount drive per your computers instructions. The screw length should not exceed 30.5mm (measured from outside surface of side or bottom of drive to tip of screw). Replace computer cover and all outer screws.
Figure 6.Mounting Illustration
Software Driver - Toshiba's optical drives do not require any unique device drivers for Windows '95/'98/2000/Me/XP/NT. After installing your drive and re-booting, your system should recognize your drive. Windows '95/'98/2000/Me/XP/NT Operating Systems support all Toshiba optical drives natively If you prefer using DOS, download the DOS ATAPI driver from our web site.
5