IK-WD12A, Toshiba Network Camera specifications
The Toshiba IK-WD12A is a high-performance network camera designed to meet the surveillance needs of a variety of environments, including commercial, industrial, and retail settings. This model stands out in the competitive market of IP cameras due to its robust set of features and advanced technologies, making it a reliable choice for users seeking security solutions.One of the primary features of the IK-WD12A is its high-definition video resolution. With the capability to deliver up to 720p (1280x720) video, this camera ensures clear and detailed images, allowing for effective monitoring and identification of subjects. The camera's 1/4-inch CMOS sensor is designed to perform well under different lighting conditions, making it suitable for both day and night surveillance.
Another key characteristic of the IK-WD12A is its wide dynamic range (WDR) technology. This feature enhances image quality in scenes with varying light levels, preventing overexposure and underexposure. As a result, users can expect consistent and clear video footage in challenging lighting conditions, such as during dawn or dusk when the contrast between shadows and bright light can be significant.
The Toshiba IK-WD12A is equipped with multiple streaming capabilities, allowing users to access video feeds simultaneously on different devices. This is particularly useful for security personnel who may need to monitor several locations at once. The camera supports H.264 compression, which reduces file sizes while maintaining video quality, ensuring efficient storage and bandwidth usage.
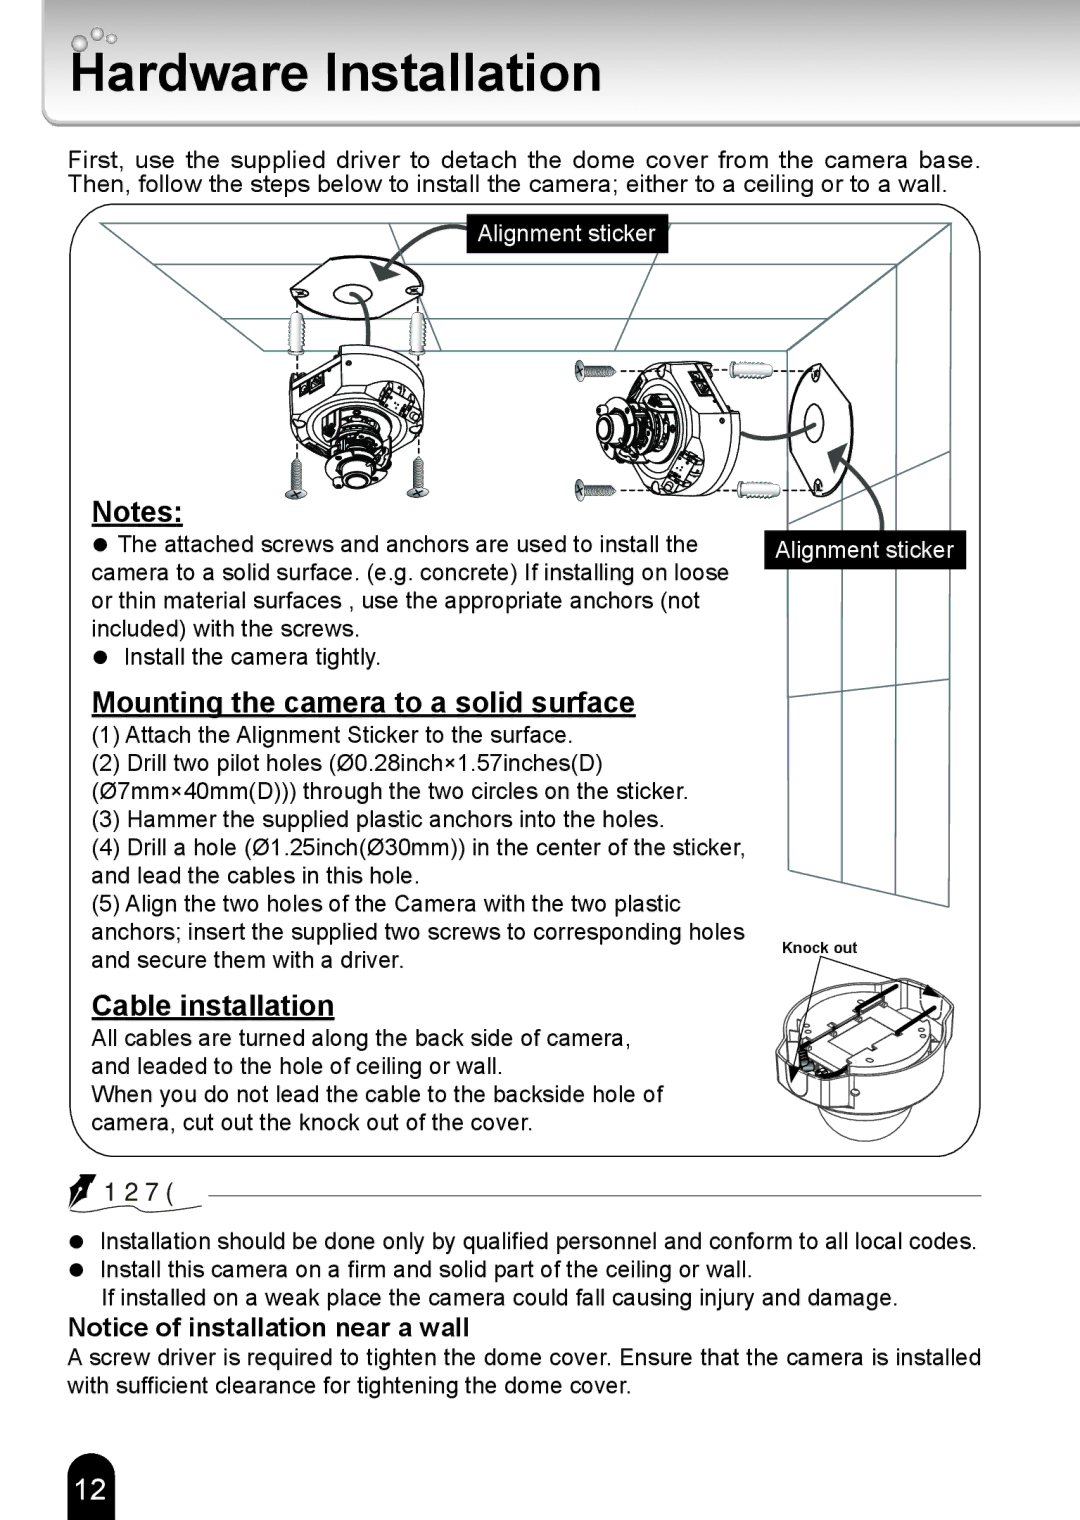
Another significant advantage of the IK-WD12A is its ease of installation and integration into existing security systems. The camera is compatible with various network protocols and can be easily connected to a range of software platforms, enabling users to customize their surveillance setup according to their needs.
In terms of design, the IK-WD12A is compact and versatile, making it suitable for both indoor and outdoor applications. Its sturdy construction is resistant to harsh environmental conditions, ensuring reliable operation even in challenging settings.
Overall, the Toshiba IK-WD12A network camera combines high-quality video performance, advanced imaging technologies, and user-friendly features, making it a solid choice for those looking to enhance their security infrastructure.

