Removing a Disc
To remove a disc from the
1.Open the Loading Tray by pressing the Eject Button.
2.Grasp disc by edges, and lift out of loading tray.
3.Press Eject Button again to close Loading Tray.
Usage Guidelines
•Keep the disc tray closed when not using the
•Do not press down on the disc tray when opening or closing it.
•Do not place objects on the disc tray.
•Never use a damaged, broken, or deformed disc.
•Do not press the Open/Close button while the computer is accessing a disc.
NOTE:
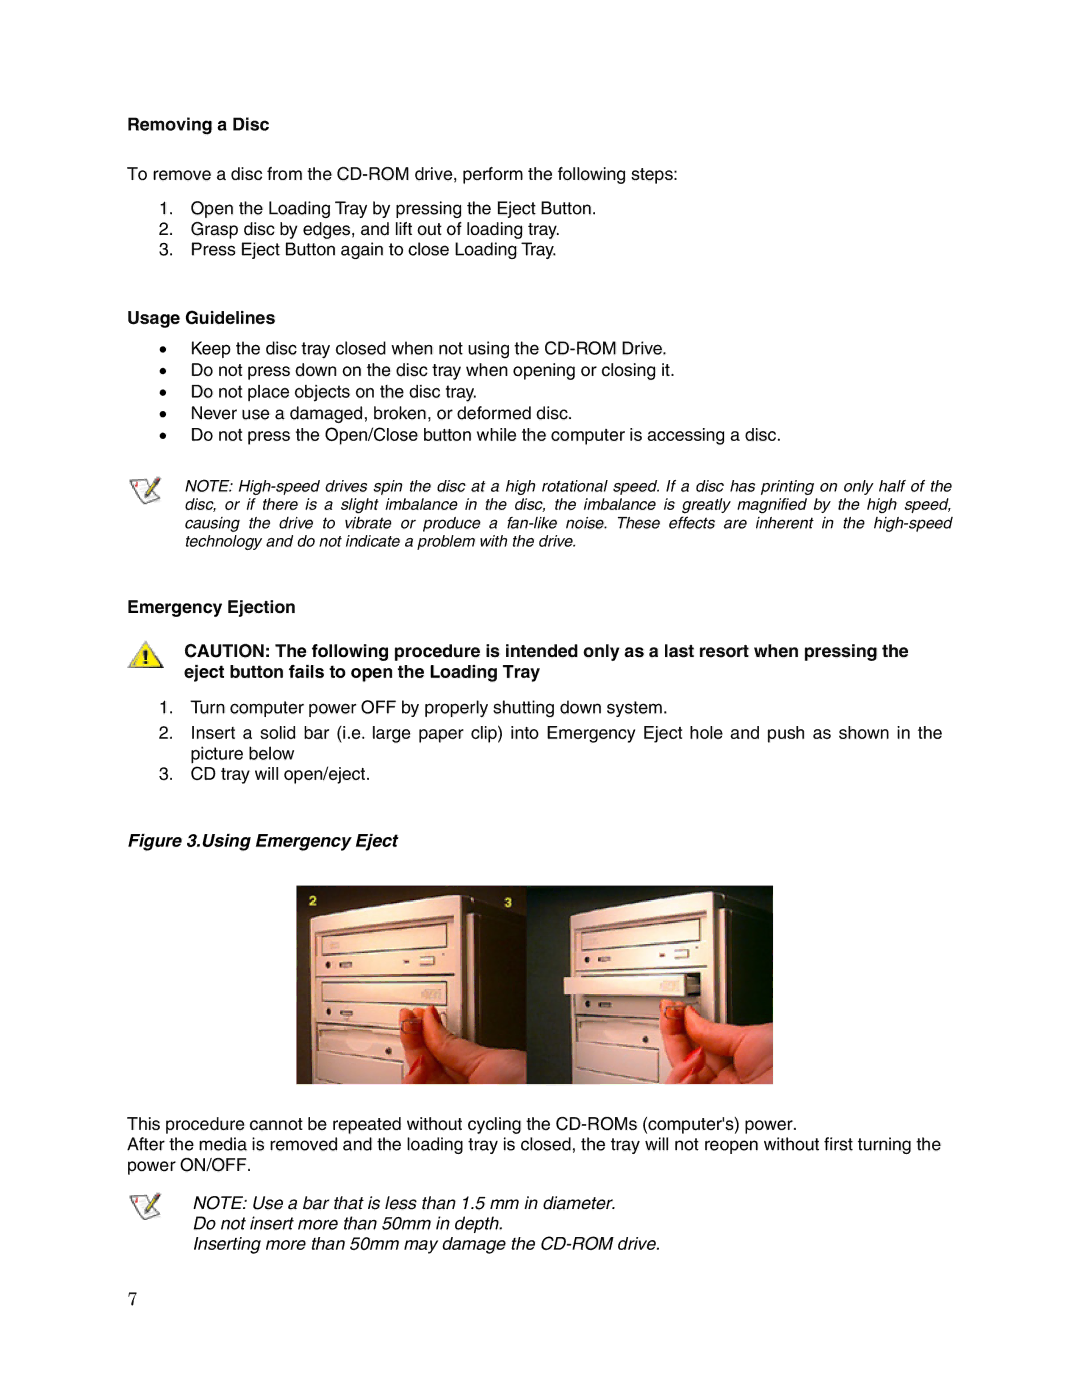
Emergency Ejection
CAUTION: The following procedure is intended only as a last resort when pressing the eject button fails to open the Loading Tray
1.Turn computer power OFF by properly shutting down system.
2.Insert a solid bar (i.e. large paper clip) into Emergency Eject hole and push as shown in the picture below
3.CD tray will open/eject.
Figure 3.Using Emergency Eject
This procedure cannot be repeated without cycling the
After the media is removed and the loading tray is closed, the tray will not reopen without first turning the power ON/OFF.
NOTE: Use a bar that is less than 1.5 mm in diameter.
Do not insert more than 50mm in depth.
Inserting more than 50mm may damage the
7