SECTION 2: ASSEMBLY

WARNING: To prevent personal injury or property damage, do not start the engine until all assembly steps are complete and you have read and understand the safety and operating instructions in this manual.

INTRODUCTION

Carefully follow these assembly steps to correctly prepare your tiller for use. It is recommended that you read this Section in its entirety before beginning assembly.

NOTE: Various tiller models are presented in this Manual. Use only the information appropriate for your tiller model. Engine styles vary by model. Your engine may appear differently than those illustrated in this manual.

INSPECT UNIT

Inspect the unit and carton for damage im- mediately after delivery. Contact the carrier (trucking company) if you find or suspect damage. Inform them of the damage and request instructions for filing a claim. To protect your rights, put your claim in writ- ing and mail a copy to the carrier within 15 days after the unit has been delivered. Contact Troy-Bilt LLC if you need assis- tance in this matter.

TOOLS / MATERIALS NEEDED

(2)1/2” open-end wrench*

(2)9/16" open-end wrench*

(1)3/8" open-end wrench*

(1)Large adjustable wrench (Models 643B & 645A only)

(1)Scissors (to trim plastic ties)

(1)Ruler (for belt tension check)

(1)Block of wood (to support tiller when removing wheels)

(1)Tire pressure gauge (for models with pneumatic tires)

(1) Clean oil funnel

(1)Motor oil. Refer to the Engine Owner’s Manual for oil specifications and quantity required.

* Adjustable wrenches may be used.

ASSEMBLY STEPS

STEP 1: UNPACKING INSTRUCTIONS

NOTE: While unpacking, do not severely bend any control cables.

1. The tiller weighs approximately 133 lbs. Do not attempt to remove it from the ship- ping platform until instructed to do so in these Assembly steps.

2.Remove any packaging material from the carton. Remove any staples from the bottom of the carton and remove the car- ton from the shipping platform.

3.Remove all unassembled parts and the separate hardware bag from the carton. Check that you have the items listed in the Loose Parts List (contact your local dealer or the factory items are missing or dam- aged).

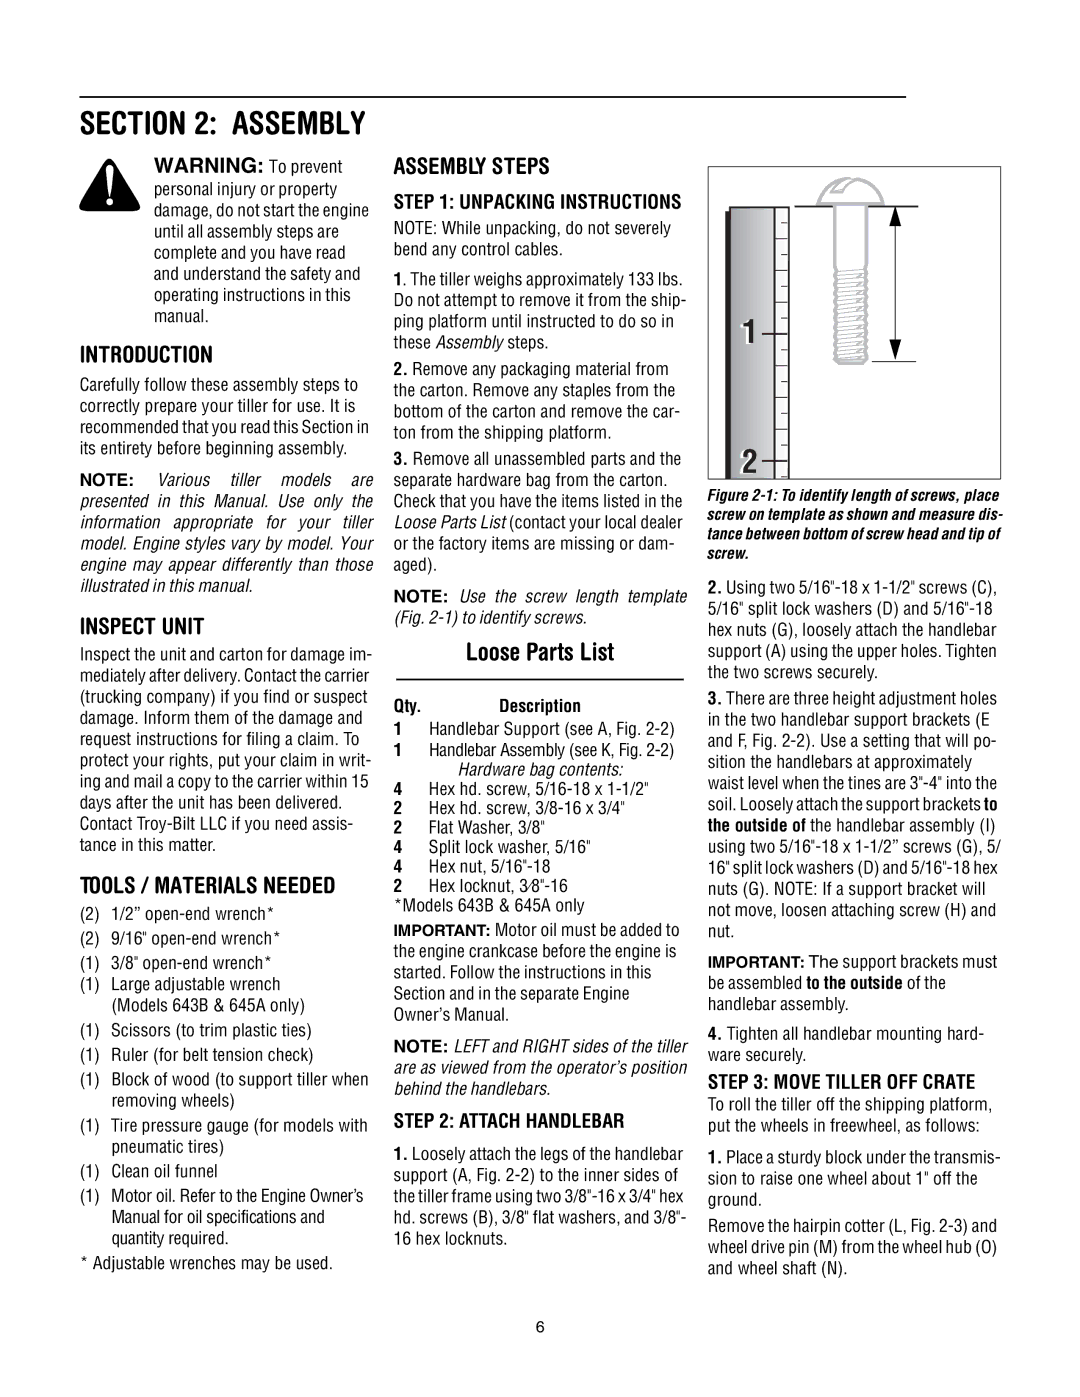
NOTE: Use the screw length template (Fig. 2-1) to identify screws.

Loose Parts List

Qty.

Description

1

Handlebar Support (see A, Fig. 2-2)

1

Handlebar Assembly (see K, Fig. 2-2)

4

Hardware bag contents:

Hex hd. screw, 5/16-18 x 1-1/2"

2

Hex hd. screw, 3/8-16 x 3/4"

2Flat Washer, 3/8"

4Split lock washer, 5/16"

4Hex nut, 5/16"-18

2Hex locknut, 38"-16 *Models 643B & 645A only

IMPORTANT: Motor oil must be added to the engine crankcase before the engine is started. Follow the instructions in this Section and in the separate Engine Owner’s Manual.

NOTE: LEFT and RIGHT sides of the tiller are as viewed from the operator’s position behind the handlebars.

STEP 2: ATTACH HANDLEBAR

1.Loosely attach the legs of the handlebar support (A, Fig. 2-2) to the inner sides of the tiller frame using two 3/8"-16 x 3/4" hex hd. screws (B), 3/8" flat washers, and 3/8"-

16hex locknuts.

1

2

Figure 2-1: To identify length of screws, place screw on template as shown and measure dis- tance between bottom of screw head and tip of screw.

2.Using two 5/16"-18 x 1-1/2" screws (C), 5/16" split lock washers (D) and 5/16"-18 hex nuts (G), loosely attach the handlebar support (A) using the upper holes. Tighten the two screws securely.

3.There are three height adjustment holes in the two handlebar support brackets (E and F, Fig. 2-2). Use a setting that will po- sition the handlebars at approximately waist level when the tines are 3"-4" into the soil. Loosely attach the support brackets to the outside of the handlebar assembly (I) using two 5/16"-18 x 1-1/2” screws (G), 5/ 16" split lock washers (D) and 5/16"-18 hex nuts (G). NOTE: If a support bracket will not move, loosen attaching screw (H) and nut.

IMPORTANT: The support brackets must be assembled to the outside of the handlebar assembly.

4.Tighten all handlebar mounting hard- ware securely.

STEP 3: MOVE TILLER OFF CRATE

To roll the tiller off the shipping platform, put the wheels in freewheel, as follows:

1.Place a sturdy block under the transmis- sion to raise one wheel about 1" off the ground.

Remove the hairpin cotter (L, Fig. 2-3) and wheel drive pin (M) from the wheel hub (O) and wheel shaft (N).

6

Page 6
Image 6
Troy-Bilt 643B Super Bronco manual Introduction, Inspect Unit, Assembly Steps, Unpacking Instructions

643B Super Bronco specifications

The Troy-Bilt 643B Super Bronco represents a robust and versatile addition to the world of outdoor power equipment, designed with the needs of gardeners and landscapers in mind. This rear-tine tiller is a notable choice for those looking to cultivate their gardens efficiently and effectively.

One of the standout features of the Troy-Bilt 643B is its powerful 306cc OHV engine, which provides ample torque and ensures that the tiller can tackle tough soil conditions with ease. This engine is specifically designed for superior performance and reliability, allowing users to till effectively in a variety of soil types, from sandy loam to clay.

The tiller boasts a 12-inch tilling width and a tilling depth of up to 8 inches, making it ideal for preparing garden beds and landscaping areas. The adjustable tilling depth allows gardeners to customize their cultivation process, enabling them to penetrate deeper for planting larger crops or more shallow for seedbed preparation.

Equipped with a rear-tine design, the Super Bronco brings several advantages. The rear-tine configuration provides better control and stability while working, making it easier to maneuver in tight spaces. Furthermore, the counter-rotating tines help to break up compact soil while reducing the chances of soil clumping, resulting in a finer tilled surface.

Another remarkable feature is the Troy-Bilt patented "Smart Till" technology, which allows users to select the most suitable tilling method for their specific soil conditions. This innovative technology enhances efficiency, saves time, and ensures that the tiller delivers optimal results with every pass.

For ease of use, the tiller is equipped with large, easy-grip controls and a comfortable handlebar design that reduces fatigue during extended use. Additionally, the rugged construction and all-terrain tires enable the Troy-Bilt 643B to navigate challenging landscapes without issue.

The maintenance of the Super Bronco is user-friendly, with features that facilitate easy access to essential components for tune-ups and repairs. Overall, the Troy-Bilt 643B Super Bronco combines power, technology, and practicality, making it an excellent choice for both novice and experienced gardeners seeking to enhance their outdoor projects.