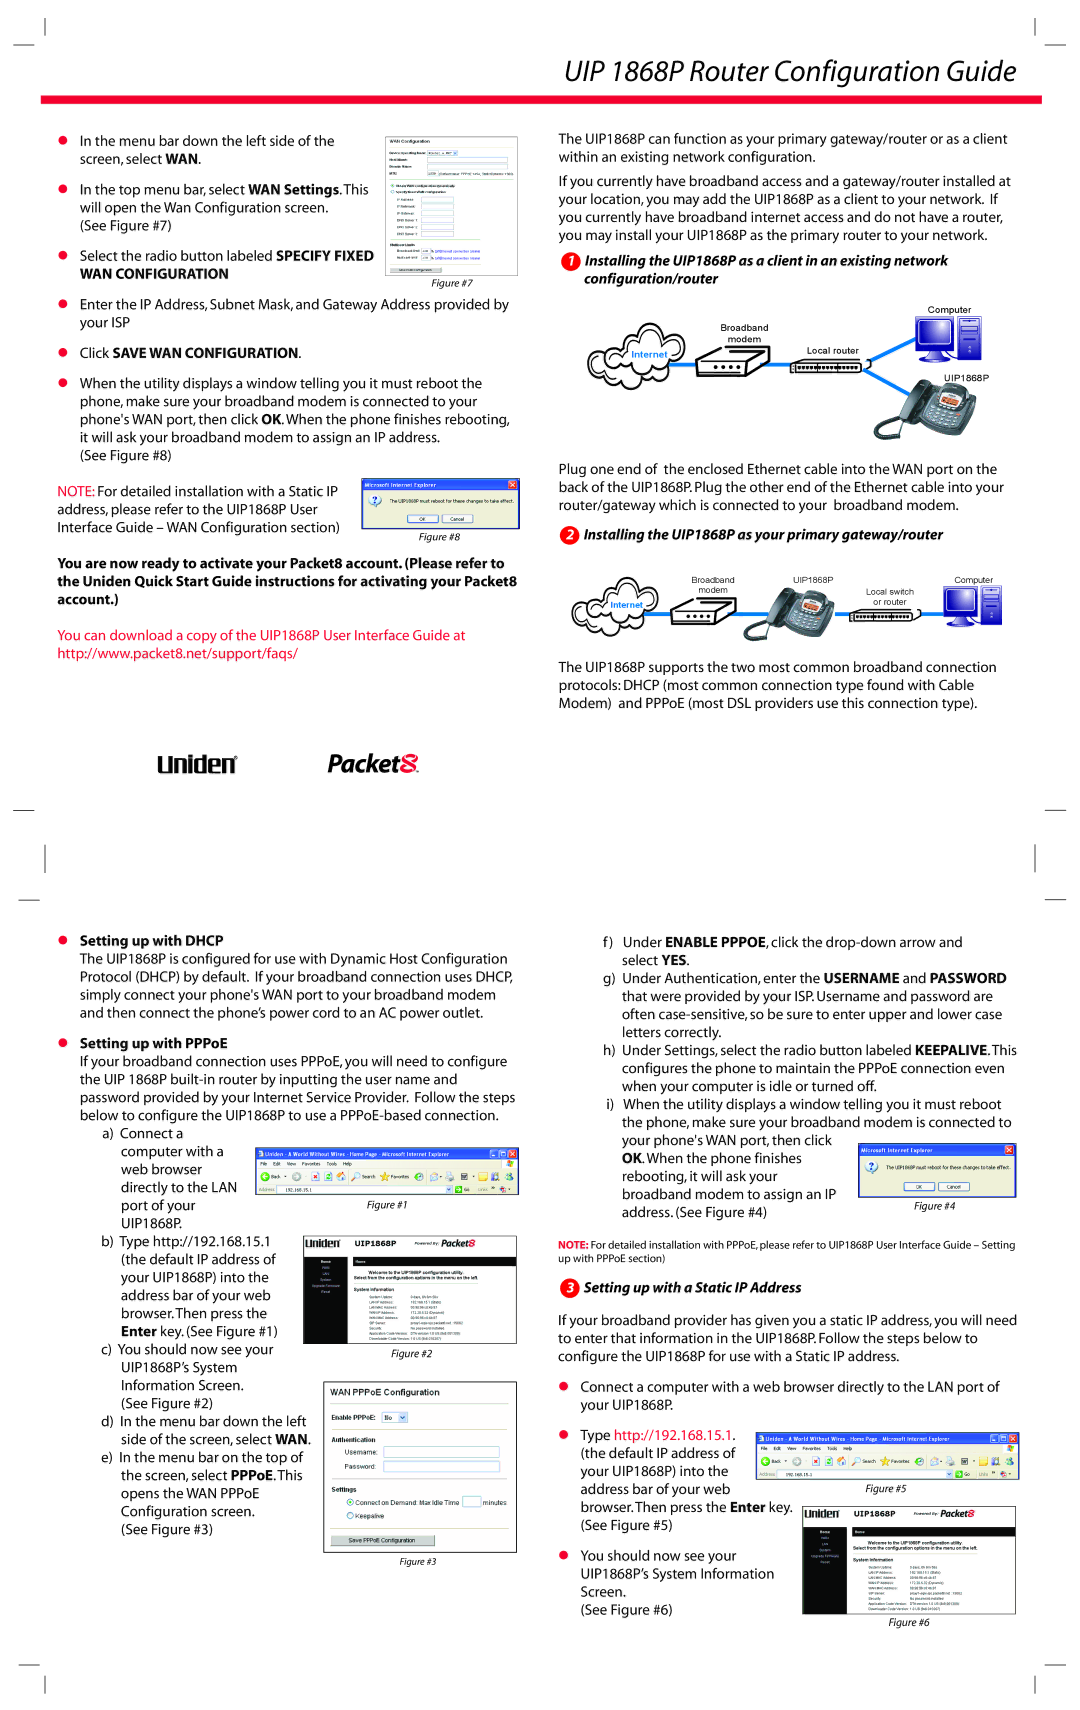
In the menu bar down the left side of the screen, select WAN.
In the top menu bar, select WAN Settings. This will open the Wan Configuration screen.
(See Figure #7)
Select the radio button labeled SPECIFY FIXED
WAN CONFIGURATION
Figure #7
Enter the IP Address, Subnet Mask, and Gateway Address provided by your ISP
Click SAVE WAN CONFIGURATION.
When the utility displays a window telling you it must reboot the phone, make sure your broadband modem is connected to your phone's WAN port, then click OK. When the phone finishes rebooting, it will ask your broadband modem to assign an IP address.
(See Figure #8)
NOTE: For detailed installation with a Static IP address, please refer to the UIP1868P User Interface Guide – WAN Configuration section)
Figure #8
You are now ready to activate your Packet8 account. (Please refer to the Uniden Quick Start Guide instructions for activating your Packet8 account.)
You can download a copy of the UIP1868P User Interface Guide at http://www.packet8.net/support/faqs/
Setting up with DHCP
The UIP1868P is configured for use with Dynamic Host Configuration Protocol (DHCP) by default. If your broadband connection uses DHCP, simply connect your phone's WAN port to your broadband modem and then connect the phone’s power cord to an AC power outlet.
Setting up with PPPoE
If your broadband connection uses PPPoE, you will need to configure the UIP 1868P
a)Connect a computer with a web browser
directly to the LAN port of your UIP1868P.
b)Type http://192.168.15.1 (the default IP address of your UIP1868P) into the address bar of your web browser. Then press the Enter key. (See Figure #1)
c) You should now see your UIP1868P’s System Information Screen. (See Figure #2)
d)In the menu bar down the left side of the screen, select WAN.
e)In the menu bar on the top of the screen, select PPPoE. This opens the WAN PPPoE Configuration screen.
(See Figure #3)
Figure #3
UIP 1868P Router Configuration Guide
The UIP1868P can function as your primary gateway/router or as a client within an existing network configuration.
If you currently have broadband access and a gateway/router installed at your location, you may add the UIP1868P as a client to your network. If you currently have broadband internet access and do not have a router, you may install your UIP1868P as the primary router to your network.
1Installing the UIP1868P as a client in an existing network configuration/router
Computer
Broadband
modem
Internet | Local router |
|
UIP1868P
Plug one end of the enclosed Ethernet cable into the WAN port on the back of the UIP1868P. Plug the other end of the Ethernet cable into your router/gateway which is connected to your broadband modem.
2Installing the UIP1868P as your primary gateway/router
Broadband | UIP1868P | Computer |
modem |
| Local switch |
Internet |
| or router |
|
|
The UIP1868P supports the two most common broadband connection protocols: DHCP (most common connection type found with Cable Modem) and PPPoE (most DSL providers use this connection type).
f)Under ENABLE PPPOE, click the
g)Under Authentication, enter the USERNAME and PASSWORD that were provided by your ISP. Username and password are often
h)Under Settings, select the radio button labeled KEEPALIVE. This configures the phone to maintain the PPPoE connection even when your computer is idle or turned off.
i)When the utility displays a window telling you it must reboot the phone, make sure your broadband modem is connected to your phone's WAN port, then click
OK. When the phone finishes
rebooting, it will ask your broadband modem to assign an IP address. (See Figure #4)
NOTE: For detailed installation with PPPoE, please refer to UIP1868P User Interface Guide – Setting up with PPPoE section)
3Setting up with a Static IP Address
If your broadband provider has given you a static IP address, you will need to enter that information in the UIP1868P. Follow the steps below to configure the UIP1868P for use with a Static IP address.
Connect a computer with a web browser directly to the LAN port of your UIP1868P.
Type http://192.168.15.1. (the default IP address of
your UIP1868P) into the
address bar of your webFigure #5 browser. Then press the Enter key.
(See Figure #5)
You should now see your UIP1868P’s System Information Screen.
(See Figure #6)
