No. | Name | Details |
11 | 12 Volt DC | Connects to DC power supply, page 5. |
| Power Cord |
|
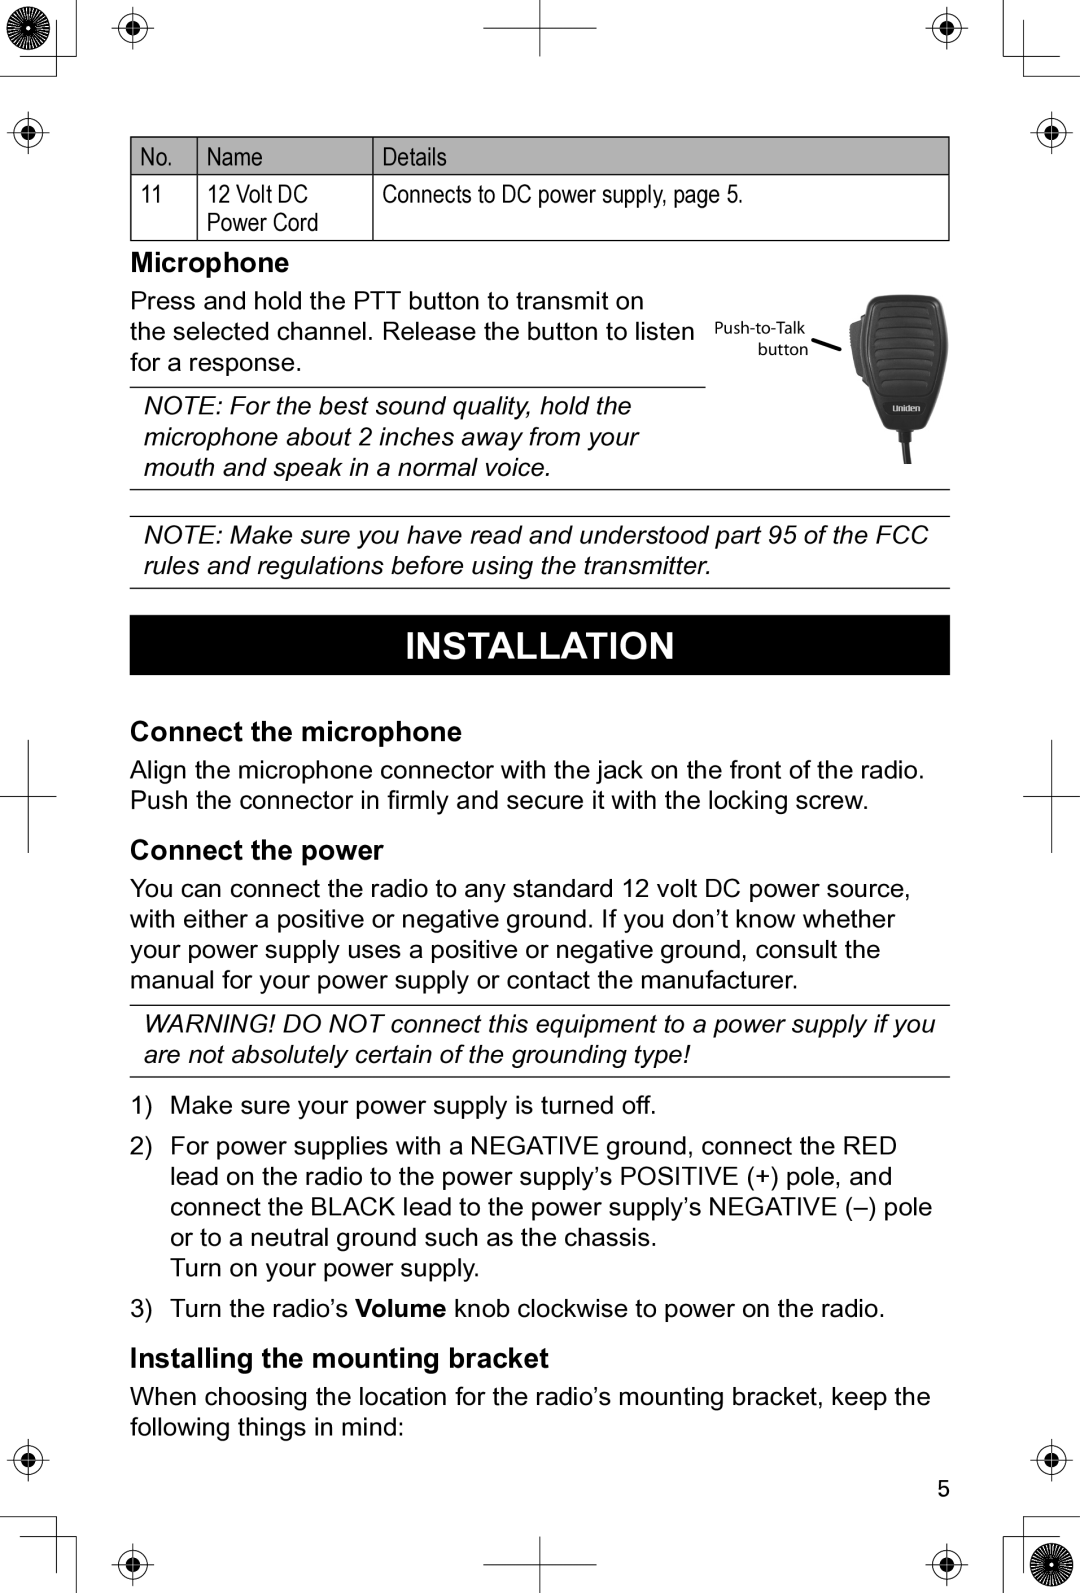
Microphone
Press and hold the PTT button to transmit on
the selected channel. Release the button to listen for a response.
NOTE: For the best sound quality, hold the microphone about 2 inches away from your mouth and speak in a normal voice.
![]()
NOTE: Make sure you have read and understood part 95 of the FCC rules and regulations before using the transmitter.
INSTALLATION
Connect the microphone
Align the microphone connector with the jack on the front of the radio. Push the connector in firmly and secure it with the locking screw.
Connect the power
You can connect the radio to any standard 12 volt DC power source, with either a positive or negative ground. If you don’t know whether your power supply uses a positive or negative ground, consult the manual for your power supply or contact the manufacturer.
WARNING! DO NOT connect this equipment to a power supply if you are not absolutely certain of the grounding type!
1)Make sure your power supply is turned off.
2)For power supplies with a NEGATIVE ground, connect the RED lead on the radio to the power supply’s POSITIVE (+) pole, and connect the BLACK lead to the power supply’s NEGATIVE
Turn on your power supply.
3)Turn the radio’s Volume knob clockwise to power on the radio.
Installing the mounting bracket
When choosing the location for the radio’s mounting bracket, keep the following things in mind:
5