VPW425 specifications
The ViewSonic VPW425 is a cutting-edge professional display solution designed to meet the demands of high-end presentations and collaborative environments. With an impressive 42-inch size, this display provides a large screen real estate that enhances visibility and engagement in both corporate and educational settings.One of the standout features of the VPW425 is its 4K Ultra HD resolution, boasting 3840 x 2160 pixels. This level of detail ensures that images, videos, and presentations deliver vibrant colors and sharp text, making it ideal for showcasing intricate designs or high-resolution content. The display also supports HDR technology, further enhancing the contrast and color accuracy, resulting in a more immersive viewing experience.
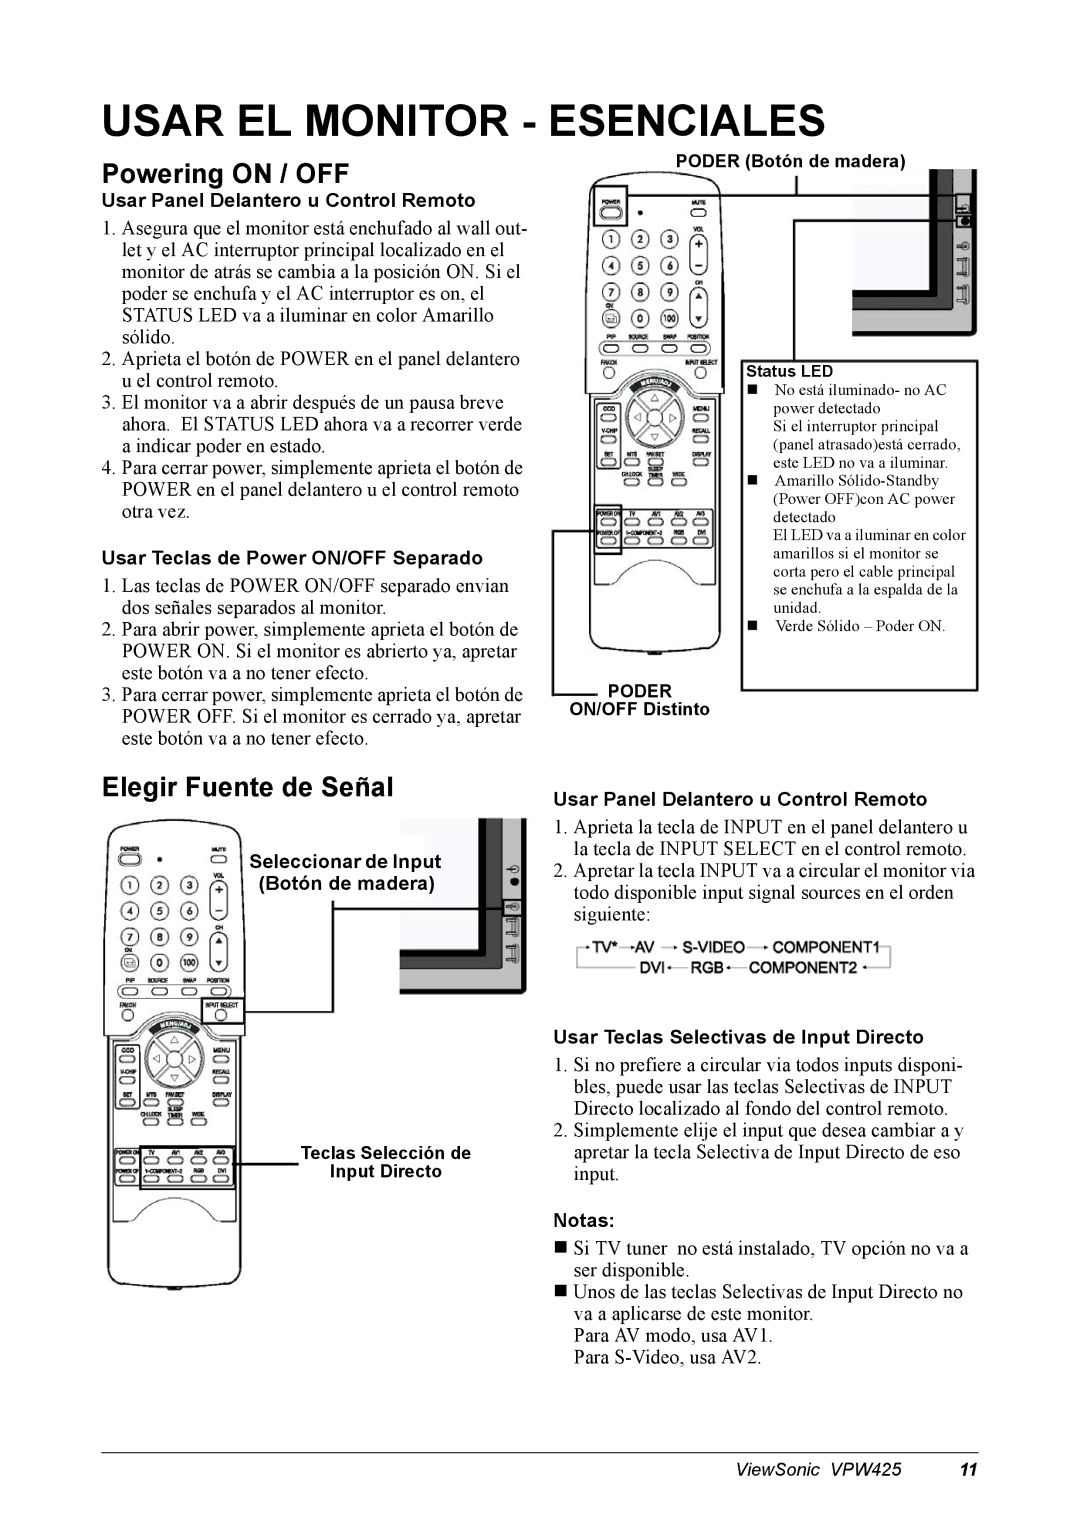
In terms of connectivity, the VPW425 comes equipped with a plethora of input options. It includes HDMI, DisplayPort, and USB-C ports, allowing seamless integration with a variety of devices such as laptops, tablets, and smartphones. This versatility is essential in today’s dynamic work environments where multiple devices are often utilized for presentations.
Moreover, the ViewSonic VPW425 emphasizes user convenience and interactivity. With support for touchscreen capabilities, users can engage directly with content for more interactive presentations. The multi-touch functionality allows multiple users to collaborate in real-time, making it suitable for brainstorming sessions or group activities.
Additional features include built-in speakers that deliver clear audio, ensuring that presentations are not only visually impressive but also audibly engaging. The display is designed with a sleek and professional aesthetic, making it suitable for boardrooms, classrooms, and other professional spaces.
The VPW425 also incorporates advanced color calibration technology, ensuring that color accuracy is maintained across various applications. This is particularly beneficial for graphic designers and multimedia professionals who rely on precise color matching.
Durability is another hallmark of the ViewSonic VPW425. Built with industrial-grade components, the display is designed for extended use, making it a reliable choice for businesses looking for a robust display solution.
In summary, the ViewSonic VPW425 combines high-resolution technology, seamless connectivity, interactive features, and durability to deliver an exceptional viewing experience tailored for professional settings. Whether for corporate presentations, educational use, or creative applications, the VPW425 stands as a versatile and powerful display option.

