VS11419 specifications
The ViewSonic VS11419 is a cutting-edge display solution that caters to various professional and educational environments, providing reliable performance and a range of advanced features. This digital display is designed with a robust focus on delivering stunning visuals, making it an ideal choice for presentations, signage, and teaching.One of the standout features of the VS11419 is its impressive display resolution, which ensures crisp and clear visuals. With a 1920x1080 Full HD resolution, users can enjoy vibrant colors and sharp text, making it suitable for displaying intricate graphics and detailed images. The large screen size, typically around 55 inches, enhances the viewing experience, allowing audiences to engage more effectively with the content.
The VS11419 utilizes advanced LED technology to offer superior brightness and contrast ratios. This ensures that the display maintains clarity even in well-lit environments, making it perfect for classrooms or conference rooms where lighting can be challenging. The energy-efficient design further contributes to its overall appeal, as it consumes less power compared to traditional LCD displays.
Connectivity options are abundant with the VS11419, supporting a variety of input sources. Users can connect via HDMI, USB, and VGA ports, making it easy to integrate with different devices, including laptops, PCs, and media players. This versatility fosters seamless collaboration in team settings, where quick access to various media is essential.
Another notable characteristic of the ViewSonic VS11419 is its user-friendly interface. The integrated touchscreen functionality allows for intuitive navigation, enabling users to control presentations efficiently. This feature is particularly beneficial in educational environments, where interactive lessons can enhance student engagement.
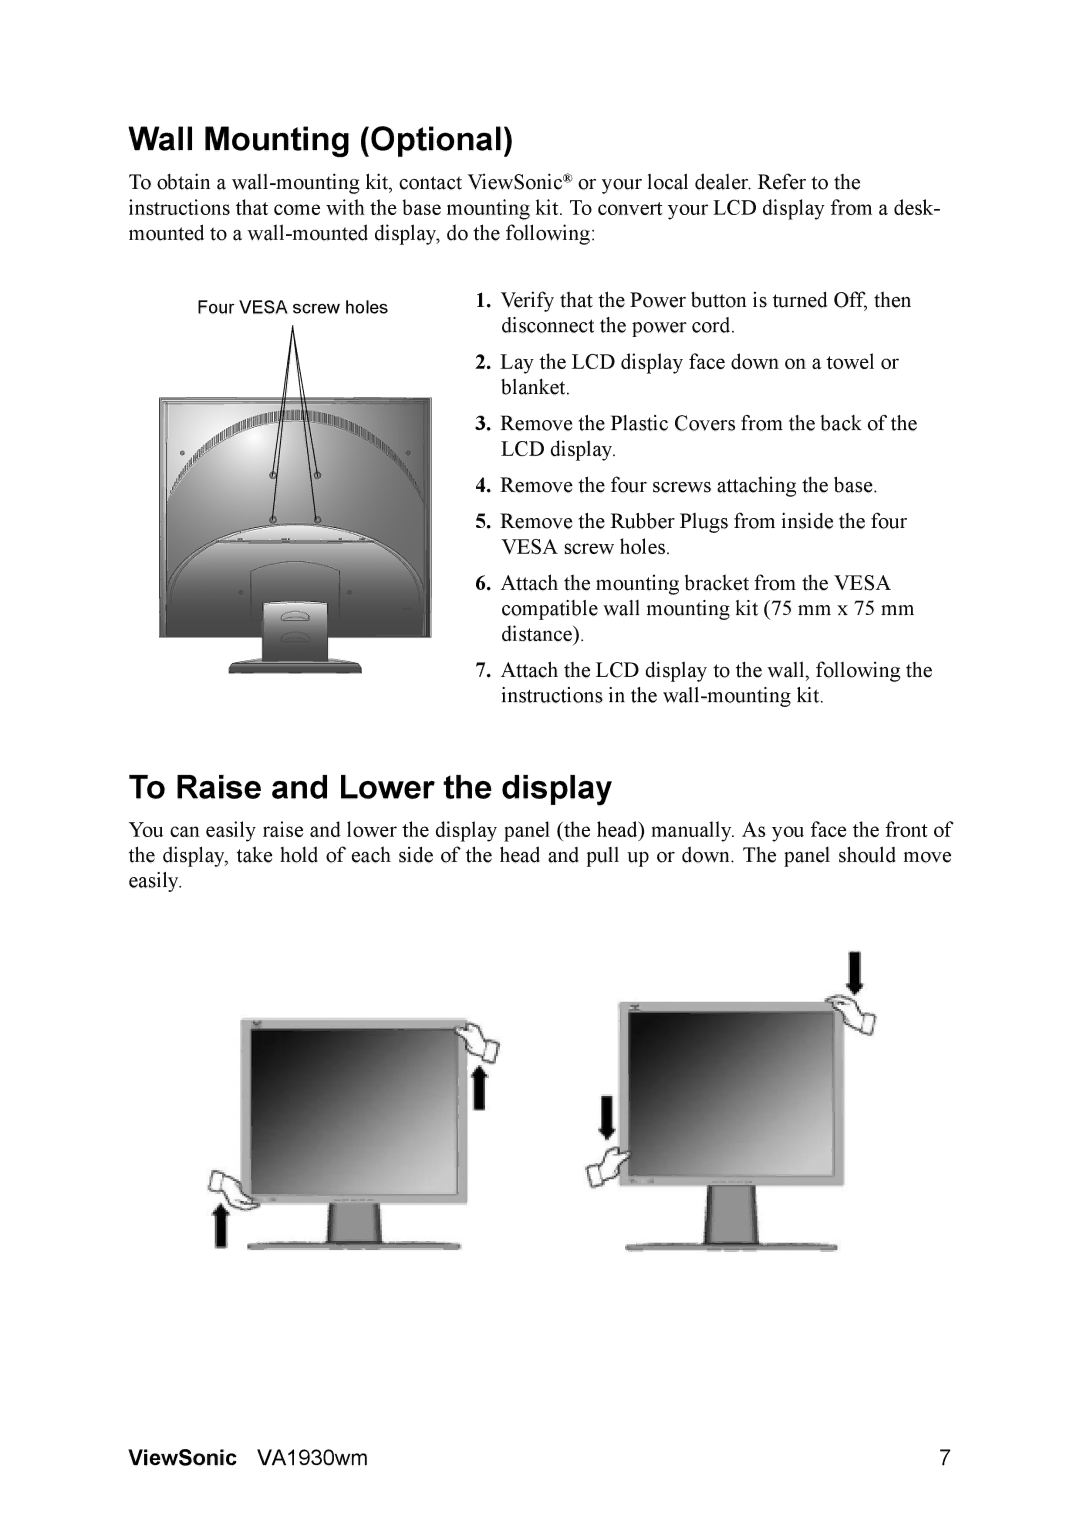
Durability is also a key consideration in the design of the VS11419. Built to withstand the rigors of daily use, the display boasts a sturdy construction and is easy to mount. Additionally, its low maintenance requirements make it a practical choice for institutions looking to maximize their investment in technology.
In summary, the ViewSonic VS11419 is a versatile, high-performance display that excels in delivering exceptional visual quality and ease of use. With its advanced technologies, robust design, and ample connectivity options, it is an ideal solution for professionals and educators seeking to enhance their visual communication and collaborative efforts.

