Menu FOTO

Menu FOTO

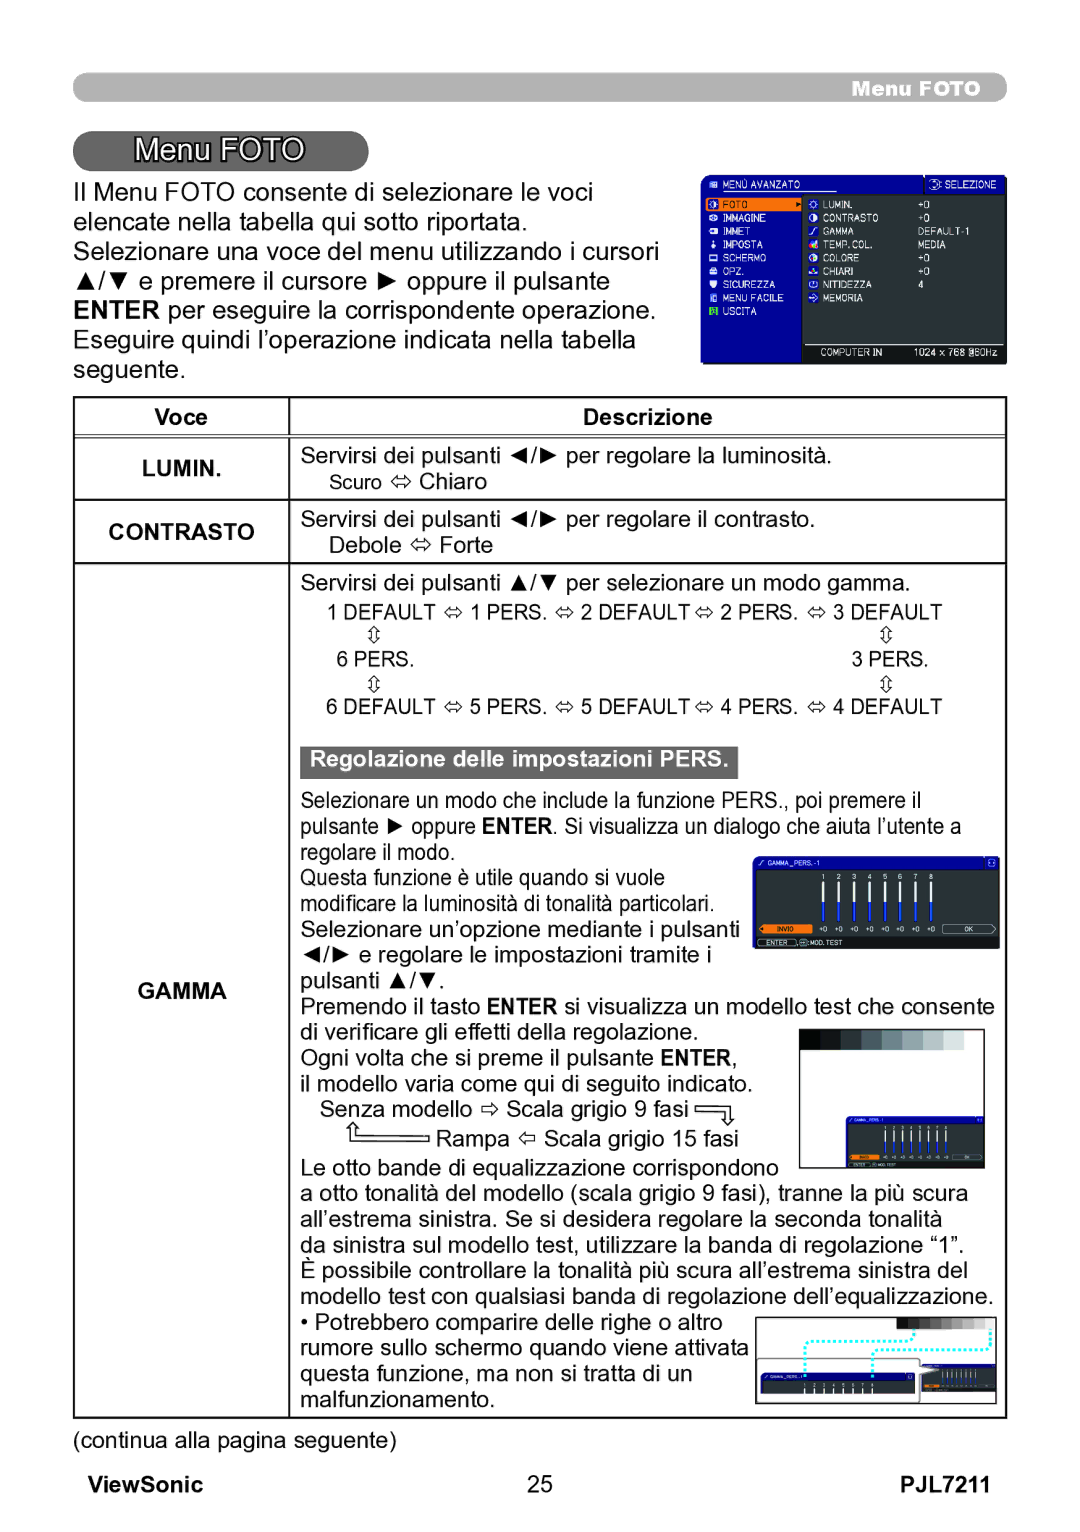
Il Menu FOTO consente di selezionare le voci elencate nella tabella qui sotto riportata. Selezionare una voce del menu utilizzando i cursori ▲/▼ e premere il cursore ► oppure il pulsante ENTER per eseguire la corrispondente operazione. Eseguire quindi l’operazione indicata nella tabella seguente.

Voce


Descrizione


LUMIN.


Servirsi dei pulsanti ◄/► per regolare la luminosità.


Scuro ó Chiaro


CONTRASTO


Servirsi dei pulsanti ◄/► per regolare il contrasto.


Debole ó Forte


Servirsi dei pulsanti ▲/▼ per selezionare un modo gamma.


1 DEFAULT 1 PERS. 2 DEFAULT 2 PERS. 3 DEFAULT


6 PERS.


3 PERS.


6 DEFAULT 5 PERS. 5 DEFAULT 4 PERS. 4 DEFAULT


Regolazione delle impostazioni PERS.


Selezionare un modo che include la funzione PERS., poi premere il


pulsante ► oppure


ENTER


. Si visualizza un dialogo che aiuta l’utente a


regolare il modo.


Questa funzione è utile quando si vuole


modificare la luminosità di tonalità particolari.


Selezionare un’opzione mediante i pulsanti


◄/► e regolare le impostazioni tramite i

GAMMA


pulsanti ▲/▼.


Premendo il tasto

ENTER

si visualizza un modello test che consente


di verificare gli effetti della regolazione.


Ogni volta che si preme il pulsante


ENTER

,


il modello varia come qui di seguito indicato.


Senza modello ð Scala grigio 9 fasi


Rampa Scala grigio 15 fasi

Le otto bande di equalizzazione corrispondono

a otto tonalità del modello (scala grigio 9 fasi), tranne la più scura all’estrema sinistra. Se si desidera regolare la seconda tonalità da sinistra sul modello test, utilizzare la banda di regolazione “1”.

Èpossibile controllare la tonalità più scura all’estrema sinistra del modello test con qualsiasi banda di regolazione dell’equalizzazione.

• Potrebbero comparire delle righe o altro rumore sullo schermo quando viene attivata

questa funzione, ma non si tratta di un malfunzionamento.

(continua alla pagina seguente)


ViewSonic

25

PJL7211

Page 30
Image 30
ViewSonic VS12890 manual Menu Foto, Lumin, Contrasto, Gamma

VS12890 specifications

The ViewSonic VS12890 is a cutting-edge display solution that caters to a wide range of applications, from business presentations to home entertainment. This versatile display features a 1280x720 resolution which ensures a clear and vivid visual experience, making it ideal for both professional and personal use.

One of the standout features of the VS12890 is its advanced LED backlight technology. This not only provides brighter images but also enhances energy efficiency, ensuring lower power consumption while delivering stunning picture quality. The screen brightness of 300 nits and a contrast ratio of 1000:1 combine to produce deep blacks and bright whites, ensuring that your content pops and remains visually engaging.

The VS12890 boasts a rapid response time, making it suitable for fast-paced video content and gaming, where every millisecond counts. This ensures minimal blur during motion, allowing users to enjoy smooth, fluid action without distracting artifacts. The display also incorporates wide viewing angles, typically at 178 degrees, so that colors remain consistent and true-to-life from any position in front of the display.

Connectivity options are extensive on the ViewSonic VS12890, equipped with multiple HDMI, VGA, and USB ports that provide flexibility in connecting various devices. This means users can easily switch between laptops, gaming consoles, and other multimedia devices without hassle. The inclusion of integrated speakers further enhances the multimedia experience, negating the need for external sound solutions for everyday tasks.

Moreover, the design of the VS12890 is both sleek and professional. Its slim bezel maximizes the screen real estate while ensuring that it integrates seamlessly into any environment. Whether mounted on a wall or placed on a desk, it brings an aesthetic appeal that complements modern setups.

In conclusion, the ViewSonic VS12890 sets itself apart with its robust performance, impressive features, and versatile applications. Whether you're utilizing it for presentations, streaming movies, or gaming, it promises to deliver an outstanding visual experience that meets the demands of today's users, making it a worthwhile addition to both commercial and residential spaces.