VQ-7024 specifications
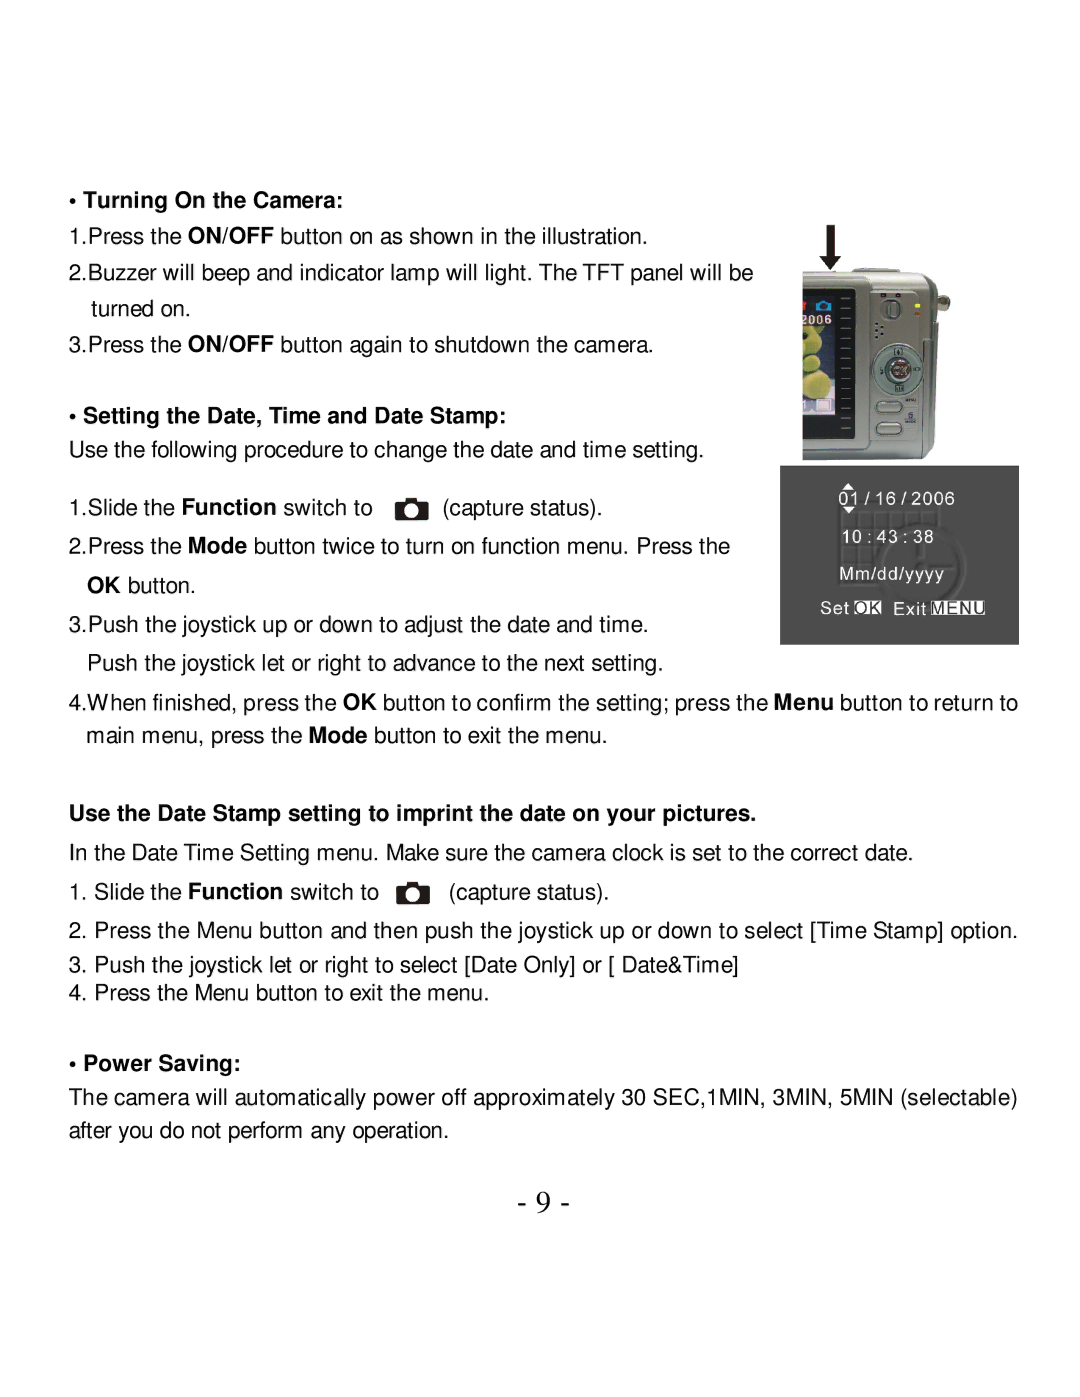
The VistaQuest VQ-7024 is a compact and user-friendly digital camera designed for photography enthusiasts seeking an engaging yet straightforward photographic experience. This camera stands out with its balance of simplicity and functionality, making it a great choice for both budding photographers and seasoned users who appreciate portability.At the core of the VQ-7024 is a 7.1-megapixel image sensor that delivers sharp, high-resolution images. Users can capture stunning photos with clarity and detail, whether they are shooting landscapes or close-ups. The camera's 2.4-inch LCD screen allows for easy framing, reviewing, and playback of images, providing an intuitive interface for users to navigate settings and options.
One of the standout features of the VQ-7024 is its versatility regarding shooting modes. The camera offers several preset modes tailored for various settings such as portraits, night shots, and sports photography. This feature enables users to optimize their settings for different environments effortlessly, ensuring great results no matter the situation.
The VQ-7024 is equipped with a 4x digital zoom, which enhances its ability to capture distant subjects without sacrificing image quality. The zoom function combined with a built-in flash allows users to take quality photographs in low-light conditions, making the camera suitable for indoor shoots and evening events.
Another notable characteristic of the VistaQuest VQ-7024 is its lightweight and compact design. Weighing in at just a few ounces, this camera is highly portable, fitting comfortably into a pocket or small bag. This makes it an ideal companion for travel and quick outings where carrying large equipment isn't practical.
On the technology front, the VQ-7024 supports video recording, enabling users to capture memorable moments in motion. With the ability to record VGA-quality videos, users can create short clips effortlessly, perfect for sharing on social media or with friends and family.
In terms of storage, the camera is compatible with standard SD and SDHC memory cards, allowing for ample space to store a significant number of photos and videos. This feature ensures users can shoot freely without constant worry about storage limits.
In summary, the VistaQuest VQ-7024 is a stylish and functional digital camera that embodies ease of use and portability. With its 7.1-megapixel sensor, versatile shooting modes, compact design, and video recording capabilities, it caters effectively to the needs of a diverse range of users, offering a great entry point into the world of photography.

