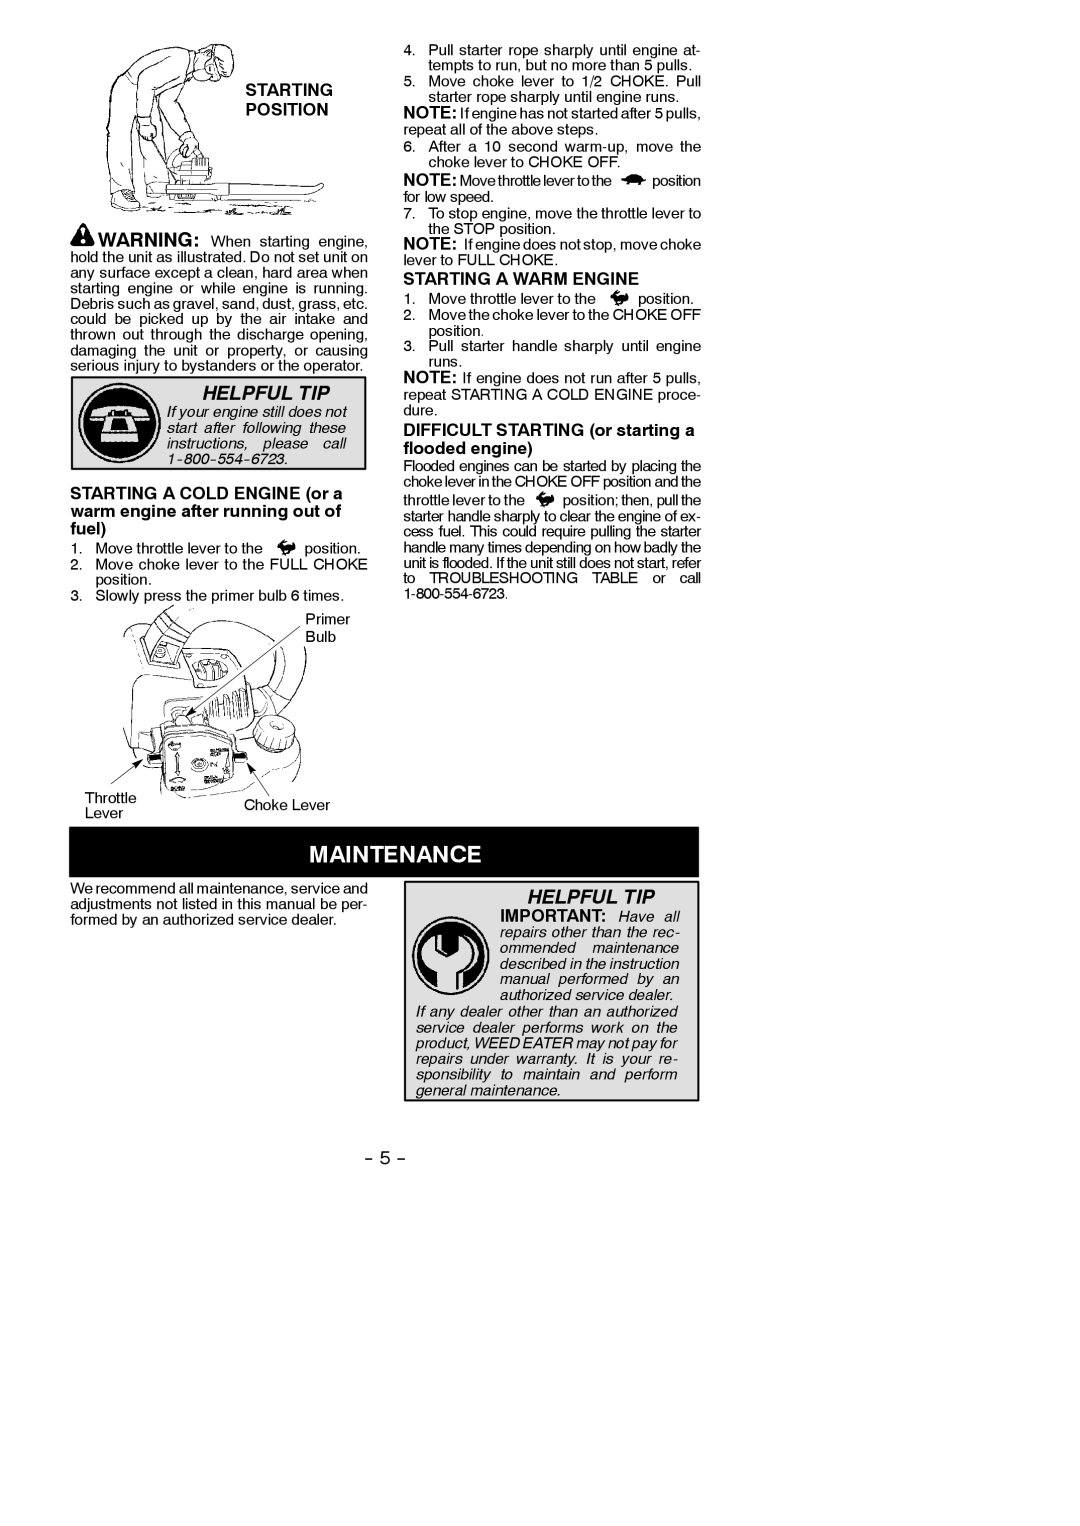
STARTING
POSITION
![]() WARNING: When starting engine, hold the unit as illustrated. Do not set unit on any surface except a clean, hard area when starting engine or while engine is running. Debris such as gravel, sand, dust, grass, etc. could be picked up by the air intake and thrown out through the discharge opening, damaging the unit or property, or causing serious injury to bystanders or the operator.
WARNING: When starting engine, hold the unit as illustrated. Do not set unit on any surface except a clean, hard area when starting engine or while engine is running. Debris such as gravel, sand, dust, grass, etc. could be picked up by the air intake and thrown out through the discharge opening, damaging the unit or property, or causing serious injury to bystanders or the operator.
HELPFUL TIP
If your engine still does not start after following these instructions, please call
STARTING A COLD ENGINE (or a warm engine after running out of fuel)
1.Move throttle lever to the ![]() position.
position.
2.Move choke lever to the FULL CHOKE position.
3.Slowly press the primer bulb 6 times.
Primer
Bulb
Throttle | Choke Lever | |
Lever | ||
|
4.Pull starter rope sharply until engine at- tempts to run, but no more than 5 pulls.
5.Move choke lever to 1/2 CHOKE. Pull starter rope sharply until engine runs.
NOTE: If engine has not started after 5 pulls, repeat all of the above steps.
6.After a 10 second
NOTE: Move throttle lever to the ![]() position for low speed.
position for low speed.
7. To stop engine, move the throttle lever to the STOP position.
NOTE: If engine does not stop, move choke lever to FULL CHOKE.
STARTING A WARM ENGINE
1.Move throttle lever to the ![]() position.
position.
2.Move the choke lever to the CHOKE OFF position.
3.Pull starter handle sharply until engine runs.
NOTE: If engine does not run after 5 pulls, repeat STARTING A COLD ENGINE proce- dure.
DIFFICULT STARTING (or starting a flooded engine)
Flooded engines can be started by placing the choke lever in the CHOKE OFF position and the
throttle lever to the | position; then, pull the |
starter handle sharply to clear the engine of ex- cess fuel. This could require pulling the starter handle many times depending on how badly the unit is flooded. If the unit still does not start, refer to TROUBLESHOOTING TABLE or call
MAINTENANCE
We recommend all maintenance, service and adjustments not listed in this manual be per- formed by an authorized service dealer.
HELPFUL TIP
IMPORTANT: Have all
repairs other than the rec- ommended maintenance described in the instruction manual performed by an authorized service dealer.
If any dealer other than an authorized service dealer performs work on the product, WEED EATER may not pay for repairs under warranty. It is your re- sponsibility to maintain and perform general maintenance.
