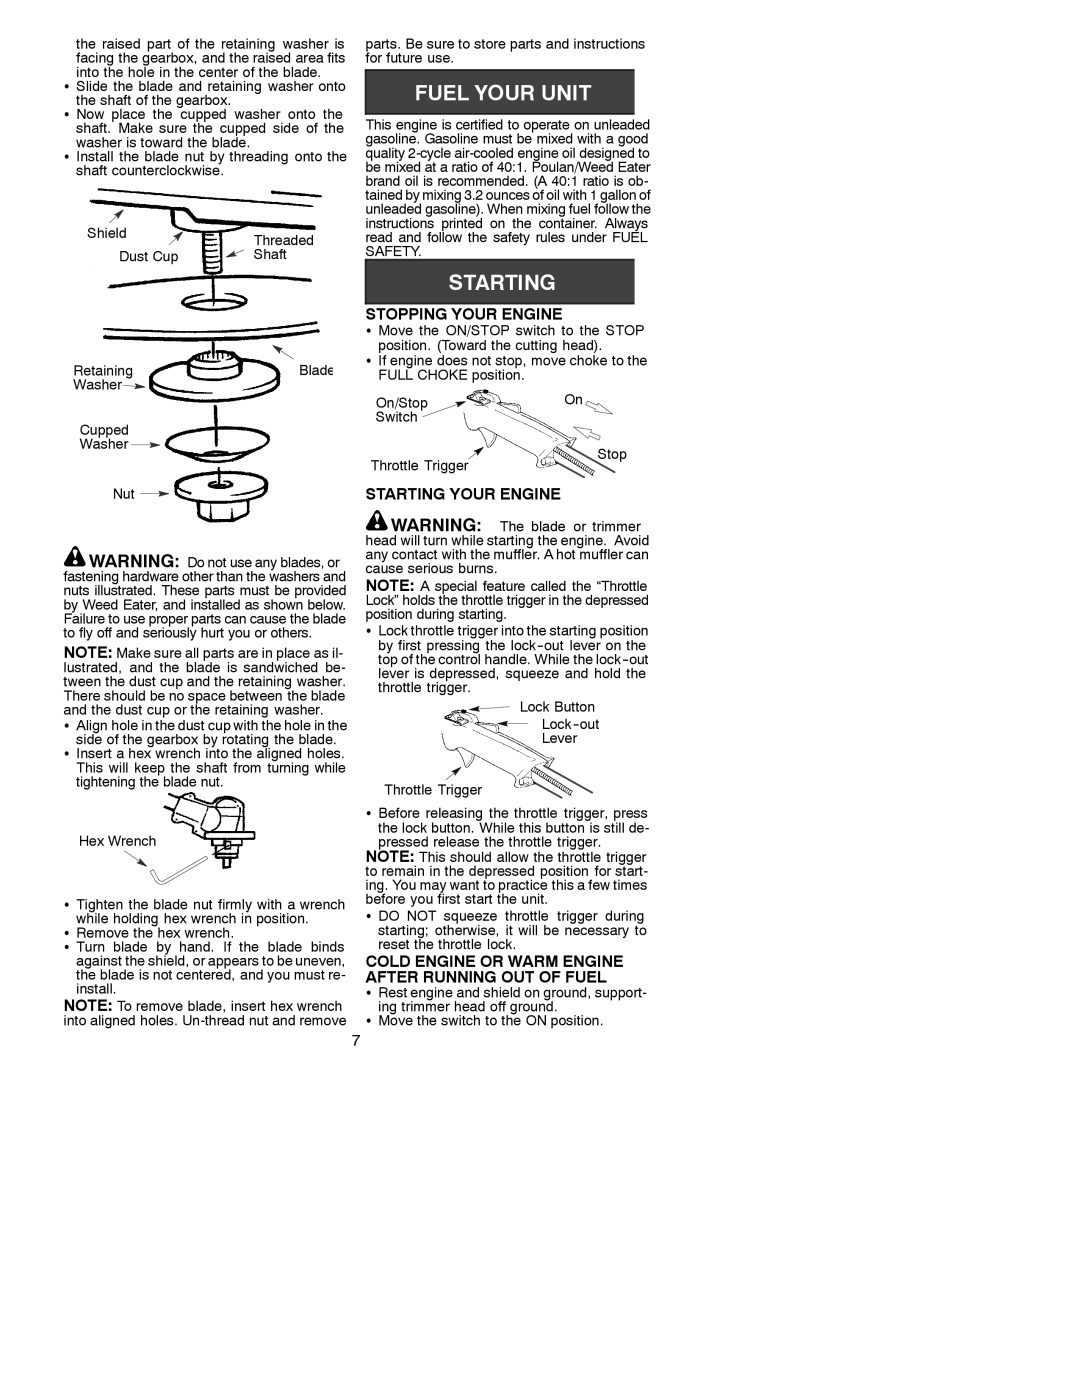
the raised part of the retaining washer is facing the gearbox, and the raised area fits into the hole in the center of the blade.
S Slide the blade and retaining washer onto the shaft of the gearbox.
S Now place the cupped washer onto the shaft. Make sure the cupped side of the washer is toward the blade.
S Install the blade nut by threading onto the shaft counterclockwise.
Shield |
|
|
|
|
| Threaded |
|
|
|
|
|
| |
Dust Cup |
|
|
| Shaft | ||
|
|
| ||||
Retaining | Blade | |
Washer |
|
|
|
| |
Cupped
Washer ![]()
parts. Be sure to store parts and instructions for future use.
This engine is certified to operate on unleaded gasoline. Gasoline must be mixed with a good quality
STOPPING YOUR ENGINE
S Move the ON/STOP switch to the STOP position. (Toward the cutting head).
SIf engine does not stop, move choke to the FULL CHOKE position.
On/Stop |
|
|
|
|
| On | ||||||||||||||||
Switch |
|
|
|
|
|
|
|
|
|
|
|
|
|
|
|
|
| |||||
|
|
|
|
|
|
|
|
|
|
|
|
|
|
|
|
| Stop | |||||
Throttle Trigger |
|
|
|
|
|
|
|
|
|
|
| |||||||||||
|
|
|
|
|
|
|
|
|
|
|
|
|
|
|
|
| ||||||
|
|
|
|
|
|
|
|
|
|
|
|
|
|
|
|
|
|
|
|
|
|
|
Nut |
|
|
|
| STARTING YOUR ENGINE |
|
|
|
|
![]() WARNING: Do not use any blades, or fastening hardware other than the washers and nuts illustrated. These parts must be provided by Weed Eater, and installed as shown below. Failure to use proper parts can cause the blade to fly off and seriously hurt you or others.
WARNING: Do not use any blades, or fastening hardware other than the washers and nuts illustrated. These parts must be provided by Weed Eater, and installed as shown below. Failure to use proper parts can cause the blade to fly off and seriously hurt you or others.
NOTE: Make sure all parts are in place as il- lustrated, and the blade is sandwiched be- tween the dust cup and the retaining washer. There should be no space between the blade and the dust cup or the retaining washer.
SAlign hole in the dust cup with the hole in the side of the gearbox by rotating the blade.
SInsert a hex wrench into the aligned holes. This will keep the shaft from turning while tightening the blade nut.
Hex Wrench
STighten the blade nut firmly with a wrench while holding hex wrench in position.
SRemove the hex wrench.
S Turn blade by hand. If the blade binds against the shield, or appears to be uneven, the blade is not centered, and you must re- install.
NOTE: To remove blade, insert hex wrench into aligned holes.
7
![]() WARNING: The blade or trimmer head will turn while starting the engine. Avoid any contact with the muffler. A hot muffler can cause serious burns.
WARNING: The blade or trimmer head will turn while starting the engine. Avoid any contact with the muffler. A hot muffler can cause serious burns.
NOTE: A special feature called the “Throttle Lock” holds the throttle trigger in the depressed position during starting.
SLock throttle trigger into the starting position by first pressing the
Lock Button
Lever
Throttle Trigger
S Before releasing the throttle trigger, press the lock button. While this button is still de- pressed release the throttle trigger.
NOTE: This should allow the throttle trigger to remain in the depressed position for start- ing. You may want to practice this a few times before you first start the unit.
S DO NOT squeeze throttle trigger during starting; otherwise, it will be necessary to reset the throttle lock.
COLD ENGINE OR WARM ENGINE AFTER RUNNING OUT OF FUEL
SRest engine and shield on ground, support-
ing trimmer head off ground.
SMove the switch to the ON position.
