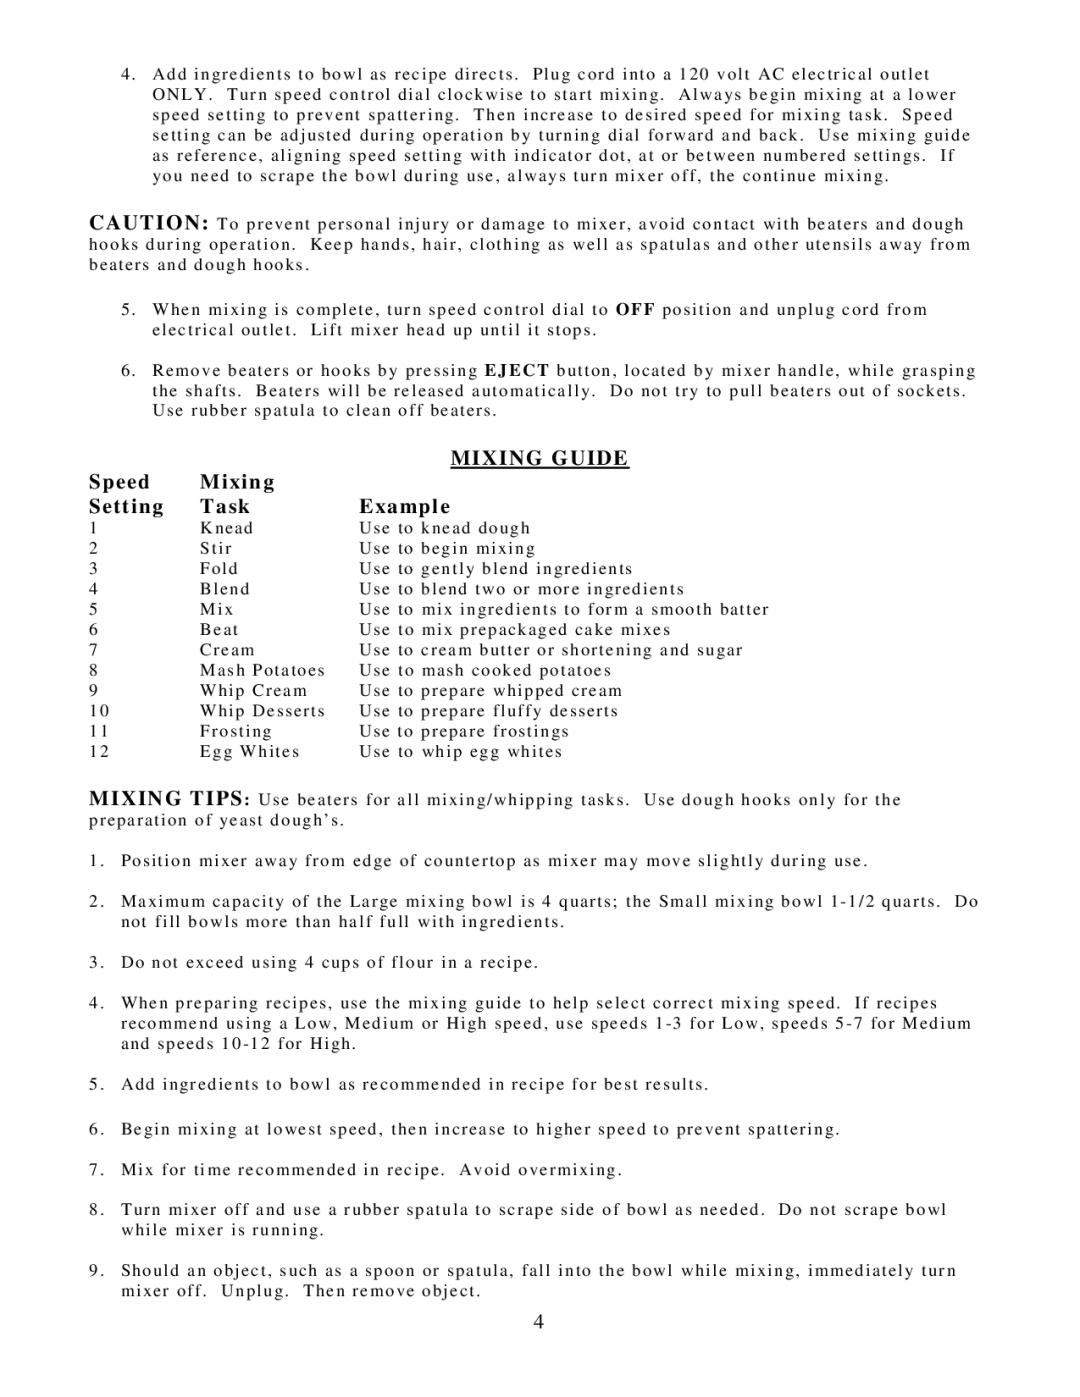
4. Add ingredients to bowl as recipe directs. Plug cord into a 120 volt AC electrical outlet ONLY. Turn speed control dial clockwise to start mixing. Always begin mixing at a lower speed setting to prevent spattering. Then increase to desired speed for mixing task. Speed setting can be adjusted during operation by turning dial forward and back. Use mixing guide as reference, aligning speed setting with indicator dot, at or between numbered settings . If you need to scrape the bowl during use, always turn mixer off, the continue mixing.

CAUTION: To prevent personal injury or damage to mixer, avoid contact with beaters and dough hooks during operation. Keep hands, hair, clothing as well as spatulas and other utensils away from beaters and dough hooks.

5 . When mixing is complete, turn speed control dial to O FF position and unplug cord from electrical outlet. Lift mixer head up until it stops.

6. Remove beaters or hooks by pressing EJ ECT button, located by mixer handle, while grasping the shafts . Beaters will be released automatically. Do not try to pull beaters out of sockets. Use rubber spatula to clean off beaters .

Speed

Mixing

MIXING GUIDE


Setting

Task

Example

1

Knead

Use to knead dough

2

Stir

Use to begin mixing

3

Fold

Use to gently blend ingredients

4

Blend

Use to blend two or more ingredients

5

Mix

Use to mix ingredients to form a smooth batter

6

Beat

Use to mix prepackaged cake mixes

7

Cream

Use to cream butter or shortening and sugar

8

Mash Potatoes

Use to mash cooked potatoes

9

Whip Cream

Use to prepare whipped cream

10

Whip Desserts

Use to prepare fluffy desserts

11

Frosting

Use to prepare frostings

12

Egg Whites

Use to whip egg whites

MIXING TIPS: Use beaters for all mixing/whipping tasks. Use dough hooks only for the preparation of yeast dough’s.

1. Position mixer away from edge of countertop as mixer may move slightly during use.

2. Maximum capacity of the Large mixing bowl is 4 quarts; the Small mixing bowl 1 -1/2 quarts. Do not fill bowls more than half full with ingredients.

3. Do not exceed using 4 cups of flour in a recipe.

4. When preparing recipes, use the mixing guide to help select correct mixing speed. If recipes recommend using a Low, Medium or High speed, use speeds 1 -3 for Low, speeds 5 -7 for Medium and speeds 10 -12 for High.

5. Add ingredients to bowl as recommended in recipe for best results.

6. Begin mixing at lowest speed, then increase to higher speed to prevent spattering.

7. Mix for time recommended in recipe. Avoid overmixing.

8. Turn mixer off and use a rubber spatula to scrape side of bowl as needed . Do not scrape bowl while mixer is running.

9. Should an object, such as a spoon or spatula, fall into the bowl while mixing, immediately turn mixer off. Unplug. Then remove object.

4

Page 4
Image 4
West Bend Mixer instruction manual Speed Mixing, Setting Task Example

Mixer specifications

The West Bend Mixer is an essential tool for both amateur cooks and professional chefs looking to elevate their culinary creations. Renowned for its robust performance and innovative features, the West Bend Mixer is designed to streamline the mixing process, ensuring consistent results every time.

One of the standout features of the West Bend Mixer is its powerful motor. This appliance comes equipped with a high-efficiency motor that provides ample power for even the most demanding tasks, such as kneading dough or blending thick batter. Its versatility allows it to handle a wide range of mixing needs, from whipping egg whites to mixing heavy cookie dough.

The design of the West Bend Mixer is engineered for ease of use and convenience. It features multiple speed settings, allowing users to adjust the mixing intensity according to the specific requirements of their recipes. This adaptability is invaluable when transitioning from slow mixing to high-speed whipping. Additionally, the intuitive control panel is user-friendly, making it accessible for cooks of all skill levels.

Another notable characteristic of the West Bend Mixer is its durable construction. Made with high-quality materials, the mixer is built to withstand the rigors of daily use. The bowl is often designed with a non-slip base to ensure stability during mixing, while the ergonomic handle allows for easy maneuvering. Moreover, many models come with a tilting head, which simplifies the addition of ingredients and facilitates cleaning.

In terms of technology, the West Bend Mixer incorporates advanced mixing technology that promotes thorough blending. The unique mixing action allows for a complete amalgamation of ingredients, ensuring that there are no pockets of unmixed items. Some models also include a splash guard to prevent messes, keeping your kitchen clean while you work.

The versatility of the West Bend Mixer is further enhanced by the availability of various attachments. Many mixers come with standard attachments such as beaters, dough hooks, and whisks, allowing users to tackle various culinary tasks. Optional attachments like food processors and spiralizers can also transform the mixer into a multifunctional kitchen powerhouse.

In summary, the West Bend Mixer combines power, versatility, and user-friendly design, making it an invaluable addition to any kitchen. Its robust motor, multiple speed settings, and durable construction, paired with advanced mixing technologies, ensure that it can handle a wide variety of tasks efficiently. For those who appreciate quality and performance in their kitchen appliances, the West Bend Mixer stands out as a reliable choice, ready to assist in crafting delicious dishes with ease.