ETL-ES-Fairview-WH10 specifications
The Westinghouse ETL-ES-Fairview-WH10 is an advanced lighting solution designed to enhance both indoor and outdoor environments with its energy-efficient technology and modern aesthetics. This fixture exemplifies the fusion of functionality and style, making it an ideal choice for residential and commercial applications.One of the standout features of the Westinghouse ETL-ES-Fairview-WH10 is its LED technology, which provides bright, reliable illumination while consuming significantly less energy than traditional incandescent or fluorescent lights. With a robust lumen output, this fixture ensures ample lighting for various settings, from kitchens and living spaces to outdoor patios and garden areas.
The design of the Fairview-WH10 showcases a contemporary look, characterized by clean lines and a minimalist profile. Its sleek form fits seamlessly into a variety of décor styles, whether modern, traditional, or transitional. The durable construction incorporates high-quality materials, ensuring longevity and resistance to the elements, making it suitable for outdoor installations as well.
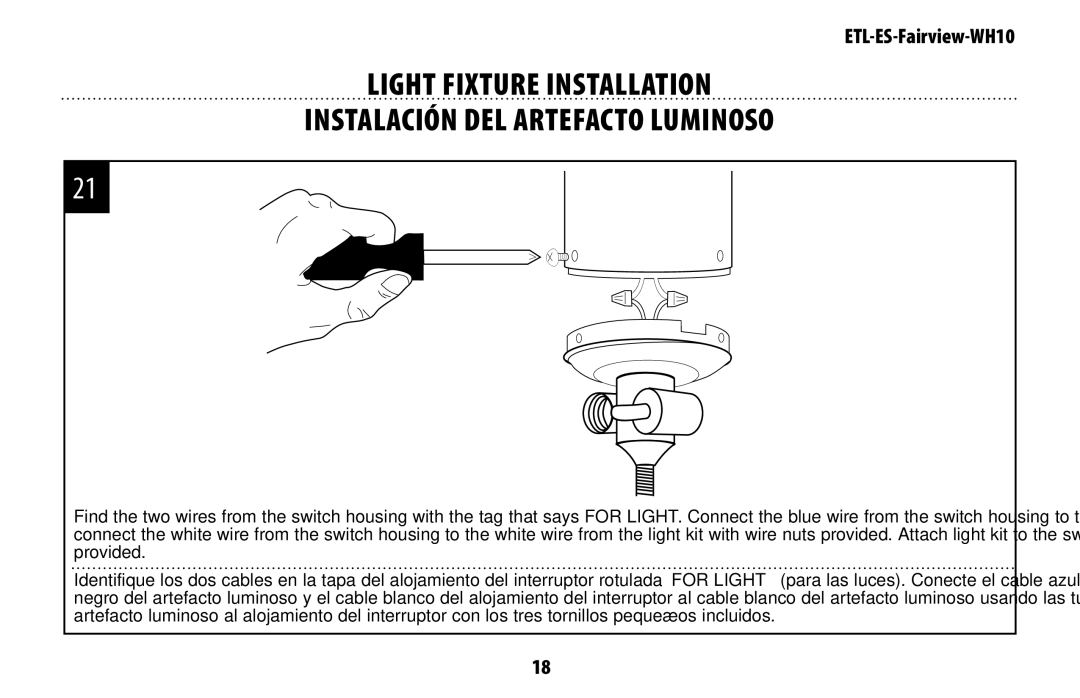
Another impressive aspect is its user-friendly installation process. The Fairview-WH10 is designed with intuitive mounting options that allow for quick setup, making it accessible for both professional electricians and DIY enthusiasts alike. Additionally, the fixture is compatible with various dimmer switches, providing flexibility in adjusting light levels depending on mood and occasion.
Safety and compliance are also paramount, as this fixture is ETL classified. It meets stringent safety standards, giving customers peace of mind regarding its reliability and performance. Furthermore, the fixture’s energy efficiency can lead to significant cost savings on electricity bills, allowing users to enjoy a bright environment without the associated high energy costs.
Another technological edge of the Fairview-WH10 includes its versatility in application. It can be used in residential settings, such as dining areas and hallways, as well as commercial spaces like offices and storefronts. Its weatherproof design further expands its usability, allowing for effective outdoor illumination in walkways and landscapes.
In summary, the Westinghouse ETL-ES-Fairview-WH10 stands out as an exemplary lighting solution that combines energy efficiency, aesthetic appeal, and versatility. Its advanced LED technology, safety certifications, and modern design make it a smart choice for anyone looking to enhance their lighting environment while keeping energy consumption in check.

