Quick Wash cycle
This cycle features
Soak cycle
This cycle features brief periods of agitation and soak time to remove heavy soils and stains that need pretreatment. Use warm water when soaking laundry. Hot water can set stains. Use the amount of detergent or presoak additive recommended by the manufacturer. When the Soak cycle ends, add detergent and start a new wash cycle.
Pre-Wash cycle
This cycle features a brief period of agitation to help remove heavy soils and stains that need pretreatment. Use the amount of detergent or presoak additive recommended by the manufacturer. After the
Rinse and Spin
When using extra detergent for heavily soiled clothes, or washing
1.Push in the Cycle Control knob and turn it clockwise to any of the Rinse settings.
2.Pull out the Cycle Control knob. The washer fills to the selected load size, agitates, drains, and spins.
NOTE: An Extra Rinse option is available (on some models). See “Starting Your Washer.”
Drain and Spin
A drain and spin may help shorten drying times for some heavy fabrics or
1.Push in the Cycle Control knob and turn it clockwise to any of the Spin settings.
2.Pull out the Cycle Control knob. The washer drains, then spins.
Adding Liquid Chlorine Bleach
Always measure liquid chlorine bleach. Do not guess. Never use more than 1 cup (250 mL) for a full load. Follow manufacturer’s directions for safe use. Use a cup with a pouring spout to avoid spilling.
1.Let the washer fill and begin agitating the load.
2.Add bleach to the wash cycle so it can be removed in the rinse cycle. Pour bleach around the agitator, not directly on the load.
■Follow directions on the care labels. Do not use chlorine bleach on wool, silk, spandex, acetates, or some flame- retardant fabrics.
■When soaking with chlorine bleach, add detergent to soak water.
NOTE: Undiluted bleach will damage any fabric it touches. The damage appears as rips, holes, tears, or color loss and may not show up until several washings later.
Adding LiquidFabricSoftener
Always dilute fabric softener with ½ to 1 cup (125 to 250 mL) warm water. Undiluted fabric softener can stain fabrics.
■Add diluted fabric softener only in the final rinse.
■Fabric softener should not be mixed with other laundry products. Greasy stains can form. To remove greasy stains, wet the stain and rub with liquid detergent or a bar of soap. Rewash.
■Too much fabric softener can make some items (diapers and towels) nonabsorbent. If this happens, use less fabric softener, or do not use it every time.
WASHER CARE
Cleaning YourWasher
Cleaning the exterior
Use a soft, damp cloth or sponge to wipe up any spills such as detergent or bleach. Occasionally wipe the outside of your washer to keep it looking new.
Cleaning the interior
Clean your washer interior by mixing 1 cup (250 mL) of chlorine bleach and 2 cups (500 mL) of detergent. Pour this into your washer and run it through a complete cycle using hot water. Repeat this process if necessary.
NOTE: Remove any hard water deposits using only cleaners labeled as washer safe.
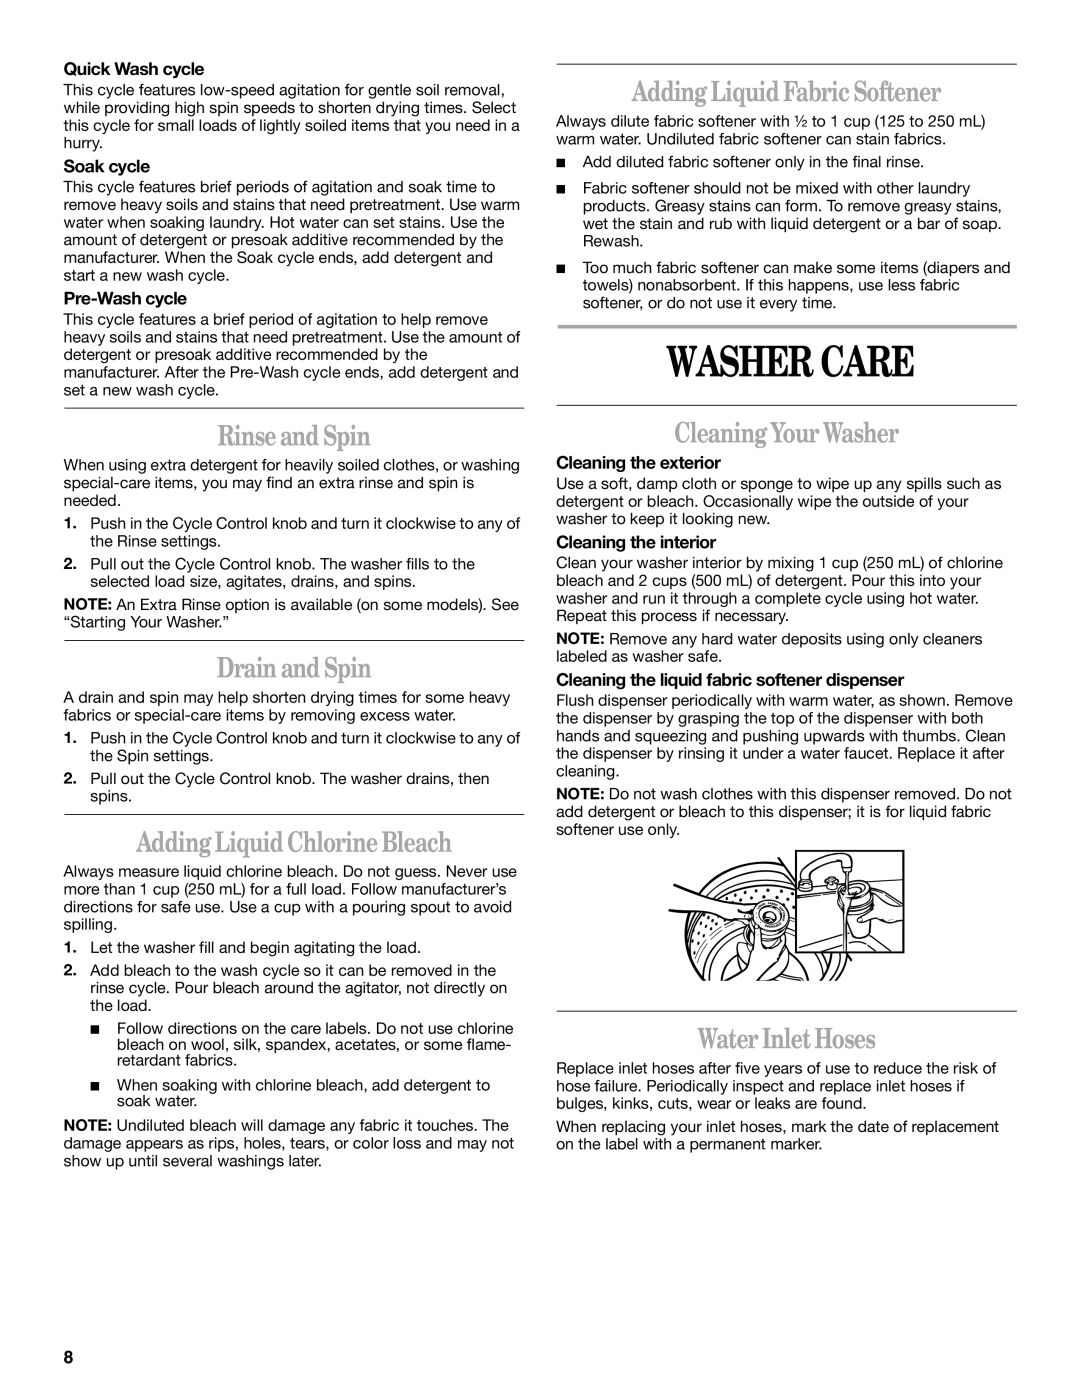
Cleaning the liquid fabric softener dispenser
Flush dispenser periodically with warm water, as shown. Remove the dispenser by grasping the top of the dispenser with both hands and squeezing and pushing upwards with thumbs. Clean the dispenser by rinsing it under a water faucet. Replace it after cleaning.
NOTE: Do not wash clothes with this dispenser removed. Do not add detergent or bleach to this dispenser; it is for liquid fabric softener use only.
Water Inlet Hoses
Replace inlet hoses after five years of use to reduce the risk of hose failure. Periodically inspect and replace inlet hoses if bulges, kinks, cuts, wear or leaks are found.
When replacing your inlet hoses, mark the date of replacement on the label with a permanent marker.
8