Installing it properly
1.Allow 1.25 cm (l/2 inch) space on each side and at the top of the refrigerator for ease of installation.
2.If the hinge side of the refrigerator is to be against a wall, you might want to leave extra space so the door can be opened wider.
3.The refrigerator can be flush against the back wall.
Leveling it
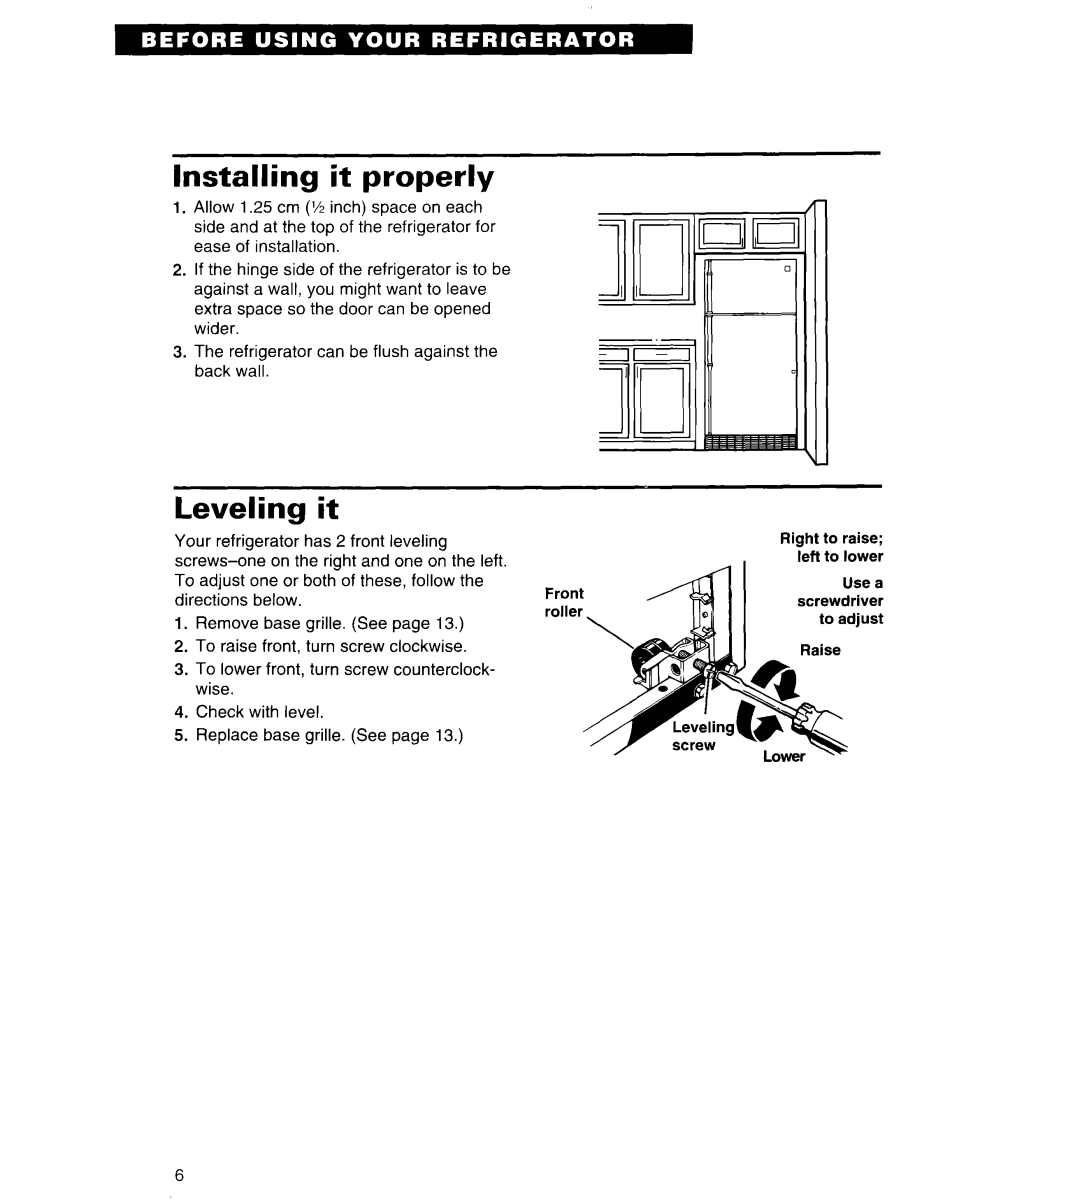
Your refrigerator has 2 front leveling
1.Remove base grille. (See page 13.)
2.To raise front, turn screw clockwise.
3.To lower front, turn screw counterclock- wise.
4.Check with level.
5.Replace base grille. (See page 13.)
Right to raise; left to lower
screwdriver
6